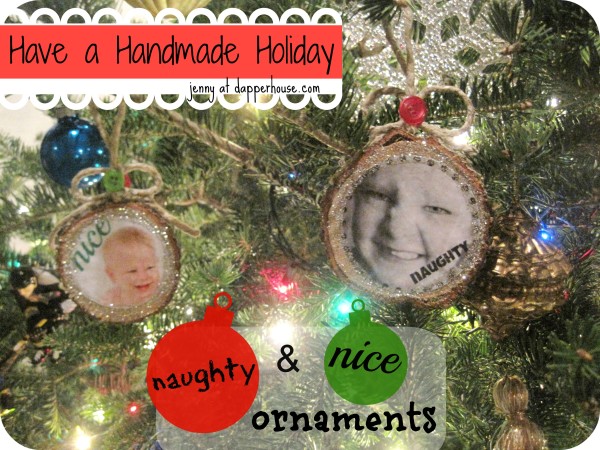
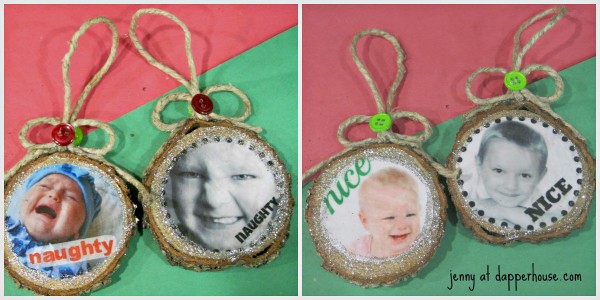
A friend told me about this idea of using photos of children to make DIY Photo naughty and nice Christmas Tree Ornaments. Her idea was to use a framed photo with one side a “naughty” face and the other a “nice” face. I made a spin off of this idea using more natural, Reggio Emilia inspired products. These are sentimental keepsakes that make perfect gifts for parents. You need minimal supplies and about a day total to include drying time between steps. If you want to decrease drying time, leave out the glitter glue step! Here are step by step instructions to re-create this cute craft.
Supplies:
Tree Cookies (you can make your won with a saw or buy on etsy),
Twine, Modge Podge, Paint Brush, Photo printed out on regular paper,
Glue Gun, Hot Glue Sticks, Scissors, Glitter Glue, Buttons.

Step One is to take two photos of your child. One making a “naughty” face and another with a “nice” face. You need to measure the photos to make sure that they will fit the way you want them to on the tree cookie. Mine were 3 inches diameter so I copied the photos onto a word doc and measured them there. I printed the photos on my own home printer on regular paper. Cut out the photos and lay out your supplies.
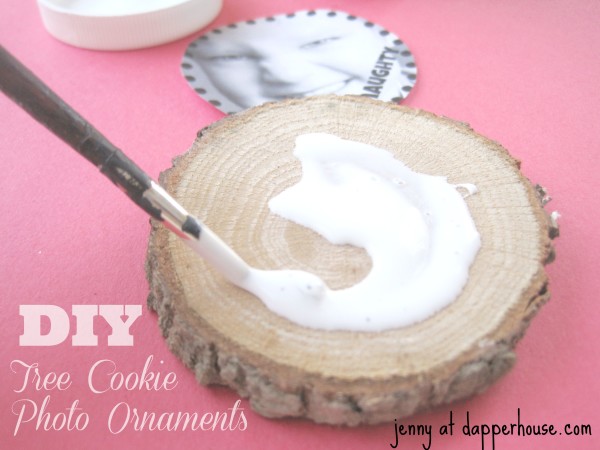
Step Two Coat the tree cookie with a good layer of Modge Podge. Lay the picture down and quicky press it from the center out to remove air bubbles and adhere the photo.
TIP: Work quickly before the paper is wet enough to tear or for the ink to bleed. Use the handle of the paintbrush to roll over the photo, or a credit card edge or even a clean, dry finger.
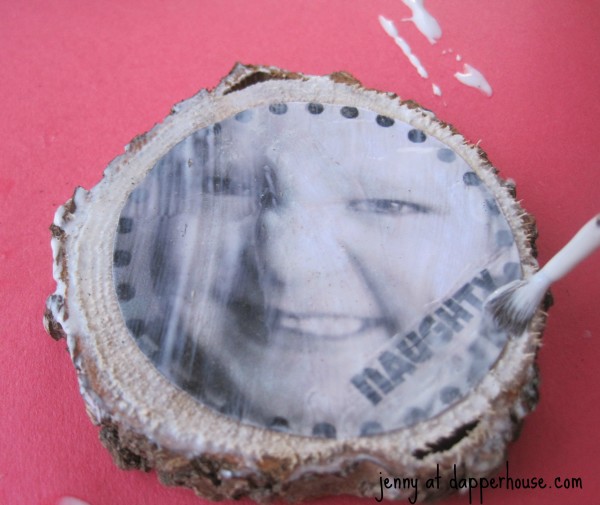
Use the brush to spread an even coat of Modge Podge over the photo. Make sure that the photo edges are stuck down. Let this dry before continuing.
Step Three is to flip the ornament over and follow Step Two for the other photo.
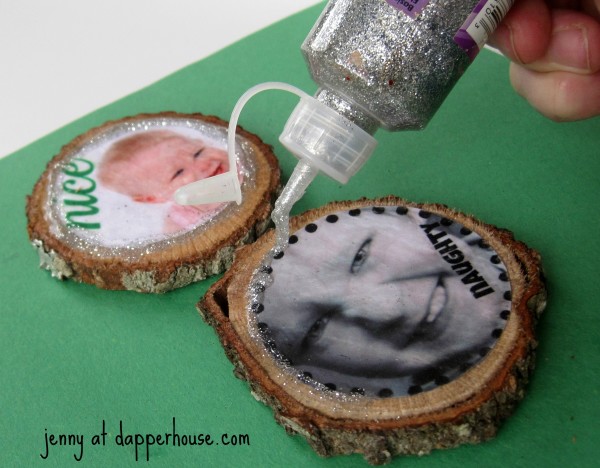
Step Four is to take the glitter glue and rub it around the edges of the ornament. You can leave this step out to save time and to create a different look. I used it because I like the tree lights glimmering off of the glitter.
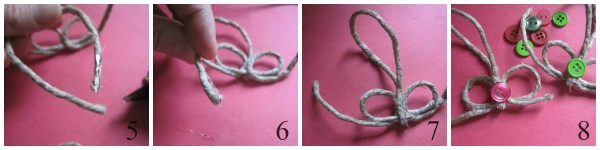
Step Five While the second side is drying, You can work on completing your decorative twine hanger! For each ornament you are going to cut two pieces of twine each about 5 inches long. For the bow, follow the visual tutorial below using the glue gun to hold each step into place!
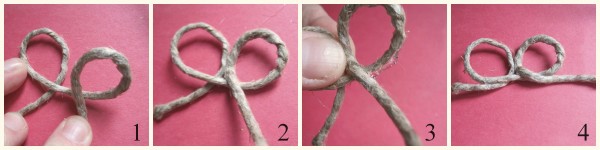
Then take the second string and glue the ends to either side of the bow. Embellish with a button on each side. (I coordinated the color of the words “Naughty and Nice” to the same color buttons)
Step Six When everything is dry, it is time to attach the hanger to the ornament. Using the hot glue gun place a bead of glue along the bottom of the bow and hold onto the top of the ornament to secure. Withing a minute, you will be done! An easy and beautiful keepsake ornament of your child!
Sharon
These are so creative! I love these. They are so creative and don’t cost money! Great idea!