Step 4.
Hot Glue Gun and Making Your Roses
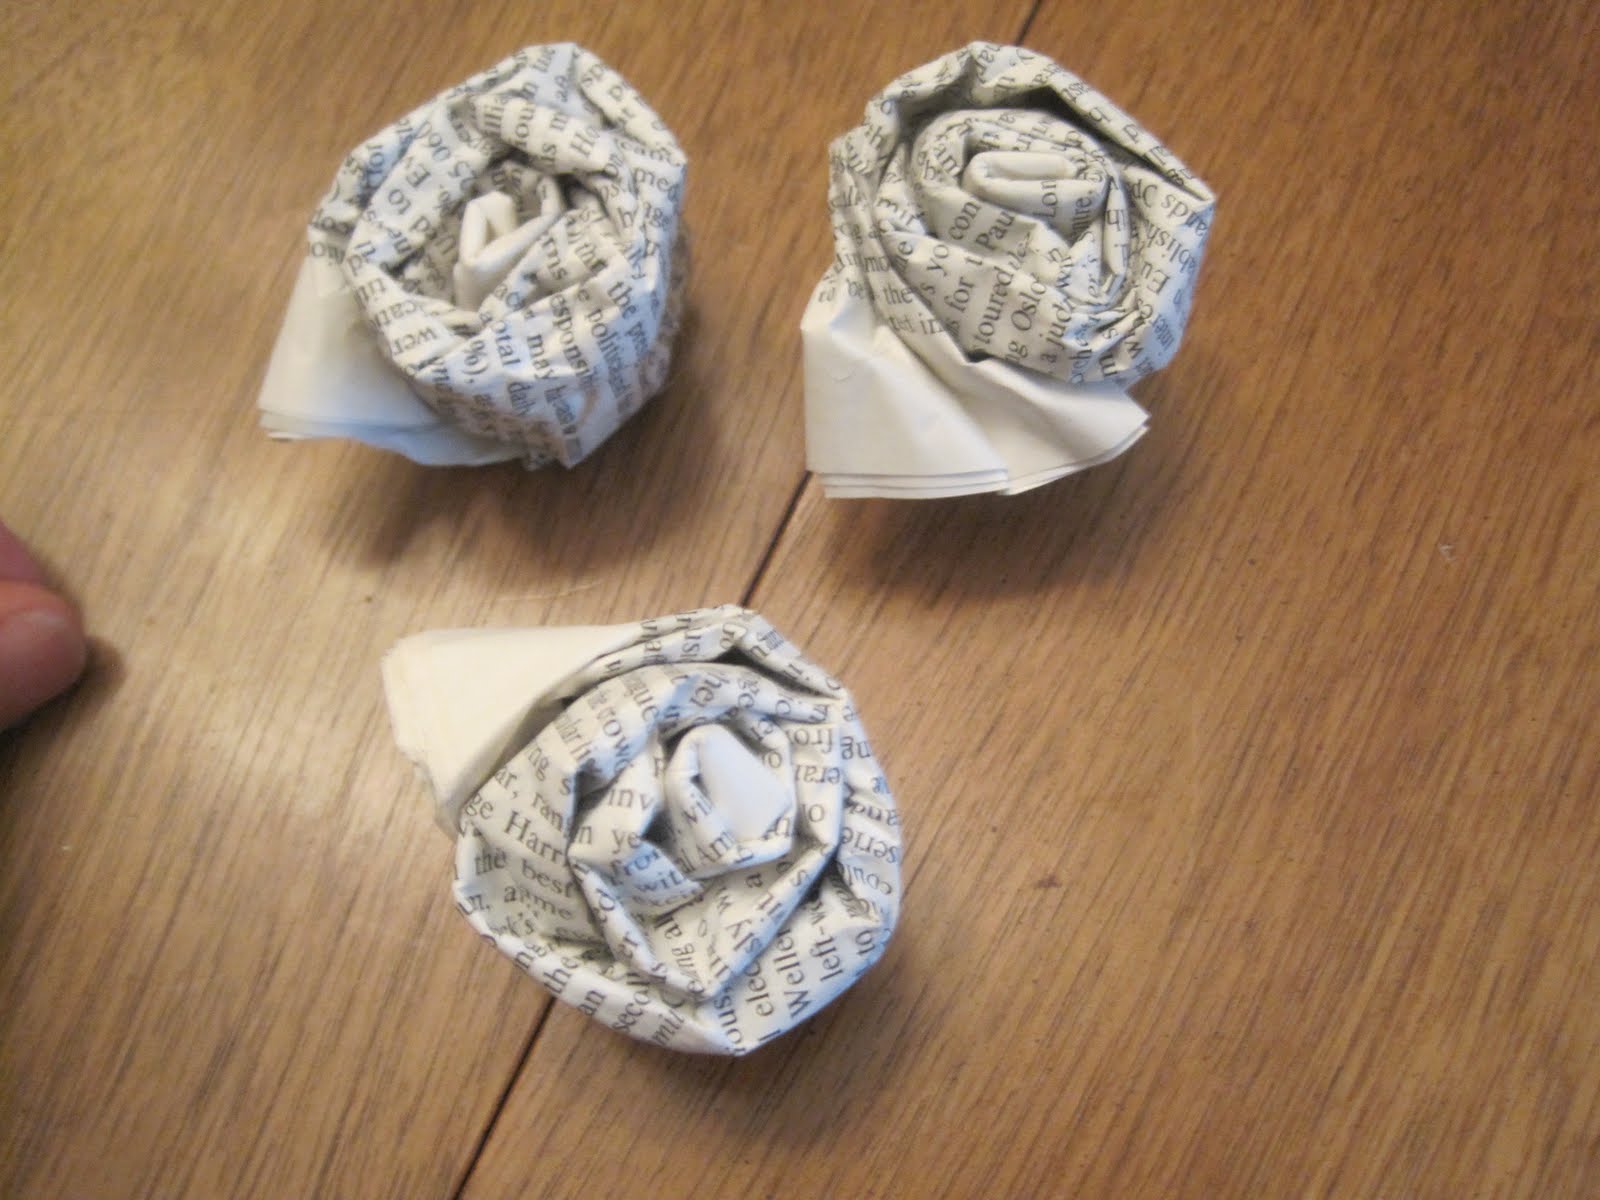
This is where the magic of creativity comes into play as you create each
individual rose. With your hot glue gun fired up and ready, you are going to put a
bead of glue inn your first, center fold and hold until fully held together.

Then you are going to glue as you roll trying to keep the glue at the bottom half of the
paper (this is to prevent globs and string of glue on top of your beautiful roses.
Be careful of this so you don’t ruin all your time and hard work).

Use about 1 – 2 inches of glue and then roll your paper up to that point using varying degrees of
tightness and looseness to create a less unified and more realistic look.

You can manipulate the small fold edge at the top to create this look too. Hold tight each
time to make sure the hold is set.

When you near the end of your paper you can:
– put a dab of glue inside each of the open end pages to hold them together.
– wrap the paper still only gluing the bottom half, then fold the top end down at an angle (this is what I do)
– glue the paper up the entire edge of the end for a clean edge, round rose.
Step. 5
Create & Decorate!
What is your project now?
You can glue them together to create a topiary.
You can glue them around a frame or create a corner grouping.
Use floral wire (it needs to be sturdy to hold the weight), floral tape and hot glue
to create stems.
You can use silk floral pieces for the bases of the roses and
the leaves for a more realistic look, or you can also make these out of paper
for continuity.
Endless imaginative and practical ideas for these roses.