Hey that Rhymes 🙂
I’m a poet and didnt even know it.
(alright, alright)
* I usually do my DIYs on a less “”busy”
surface than the newspaper,
so I do apologize about that…hope you can see
everything alright
everything alright
despite the backgroud.
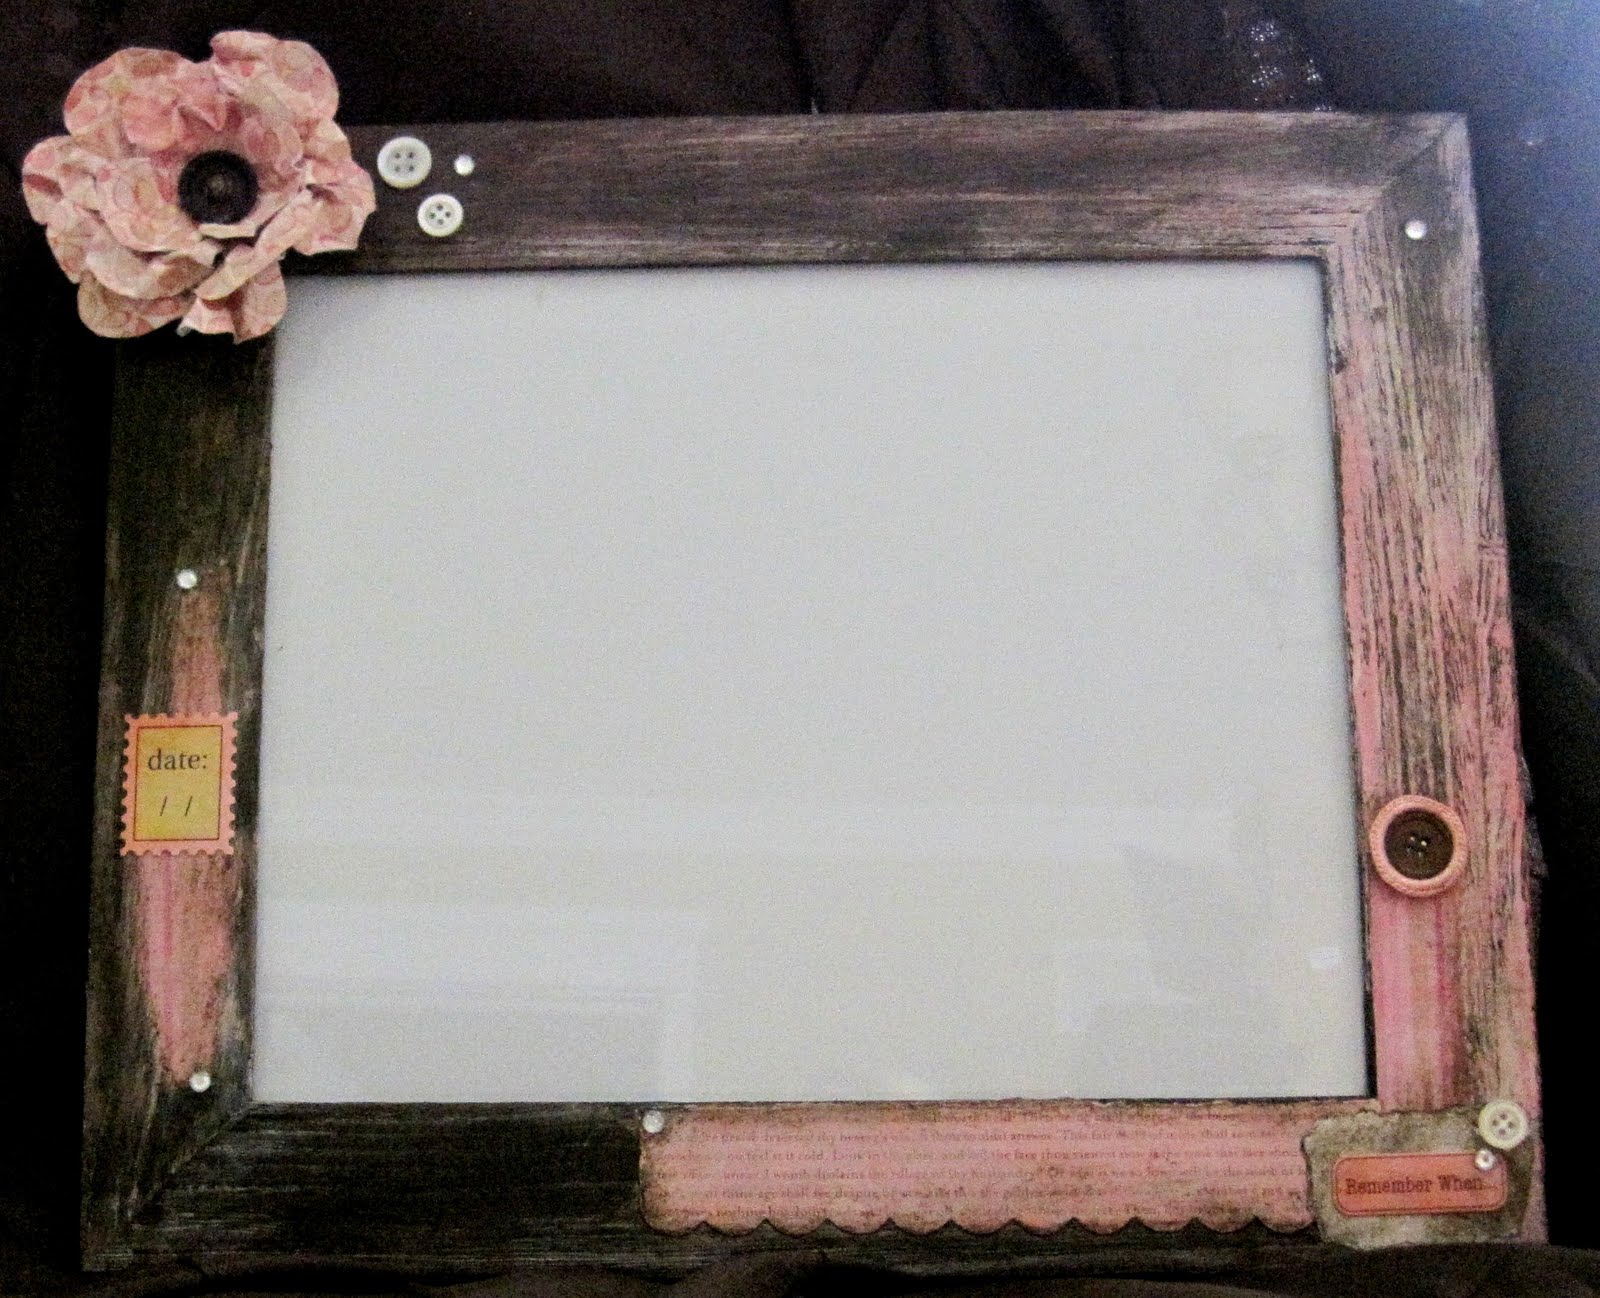
Quick Frame Tutorial
I purchased this frame on sale at a hobby store,
but you could use a dollar store frame or
one from a second hand store.
The requirements are that it needs to be wide,
flat and wood (plastic or resin doesn’t work as well).
Gather your paints and papers in the color scheme you desire.
(I used Pinks and Browns)
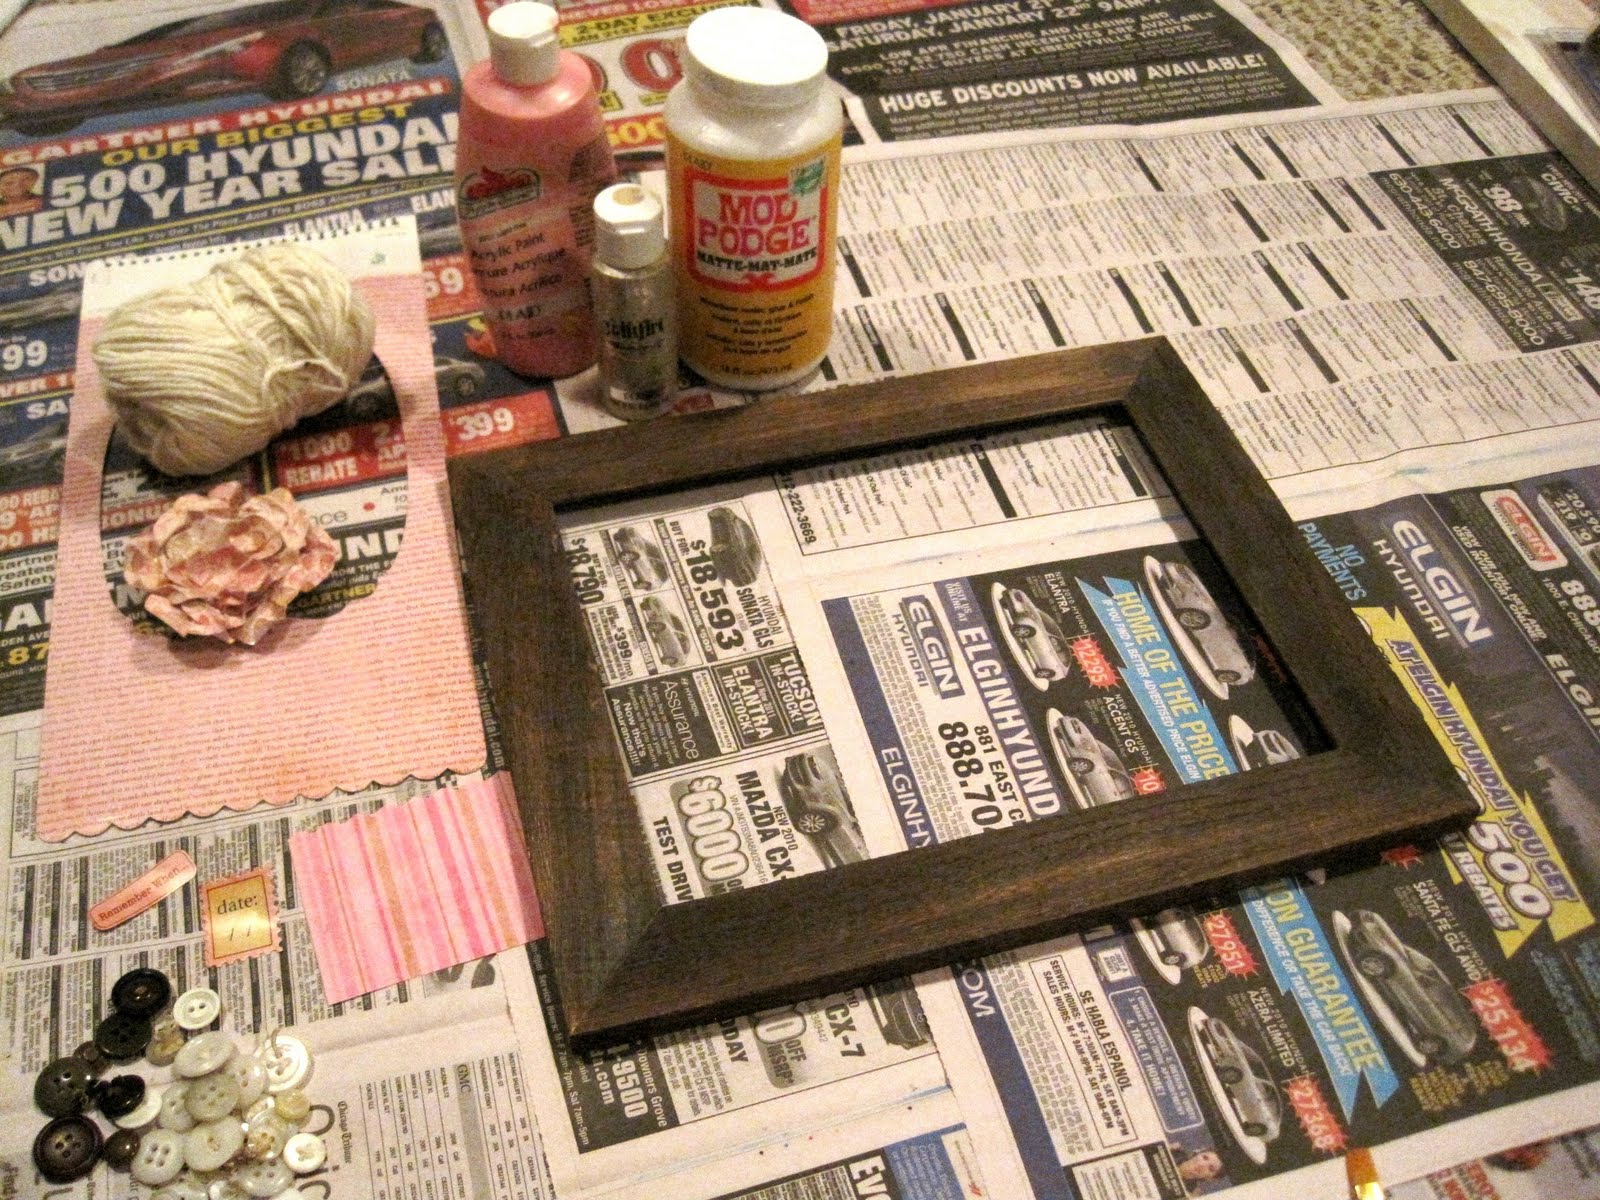
Then collect accents to adorn the frame.
(I used a paper flower that I had previously made, vintage buttons,
rhinestones and coordinating stickers)
I was thinking of using the natural twine (in the photo)
but later decided not to use it.
You will also need scissors, sand paper, paper towel,
strong craft glue ( I like e6000 and others from this line),
paint brushes and Modge Podge.
1.) Remove glass and back from frame.
Lightly sand the frame to promote adhesion of products.
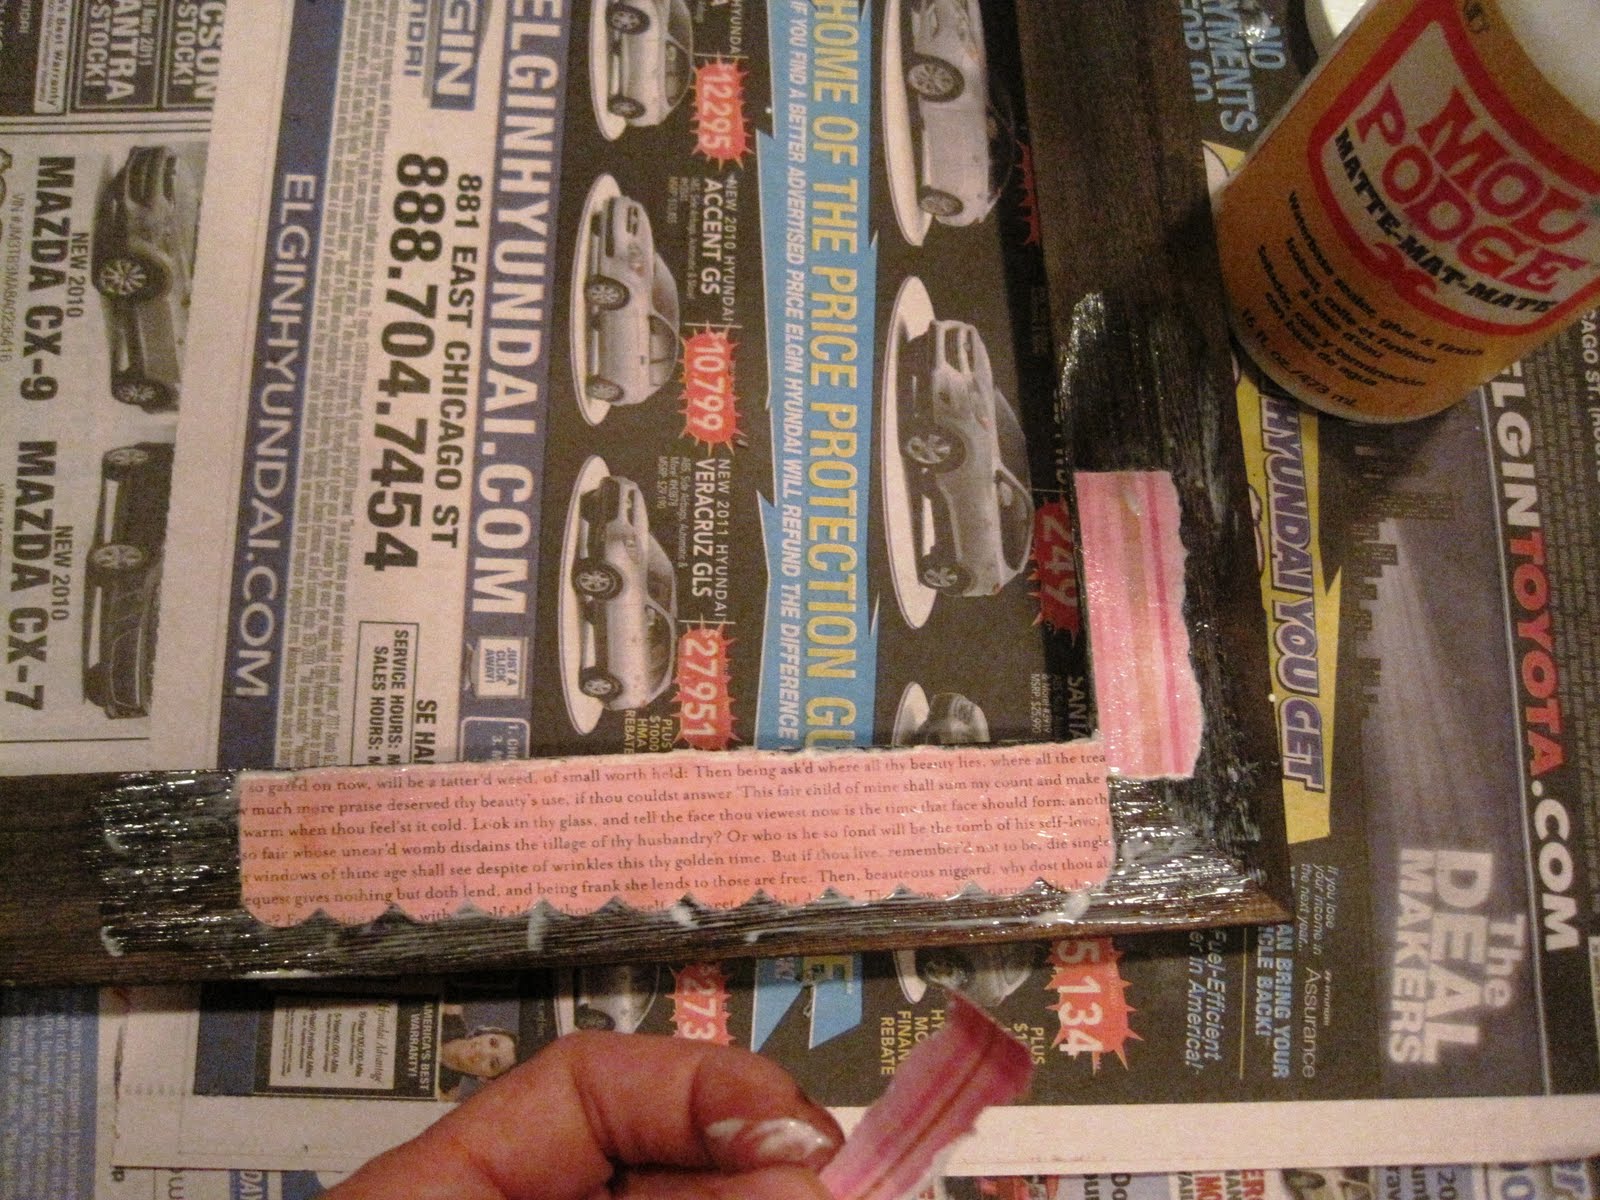
2.) Tear or cut decorative papers and experiment by
moving them around on the frame until you like the design.
Modge Podge the frame and them add a coat over the papers.
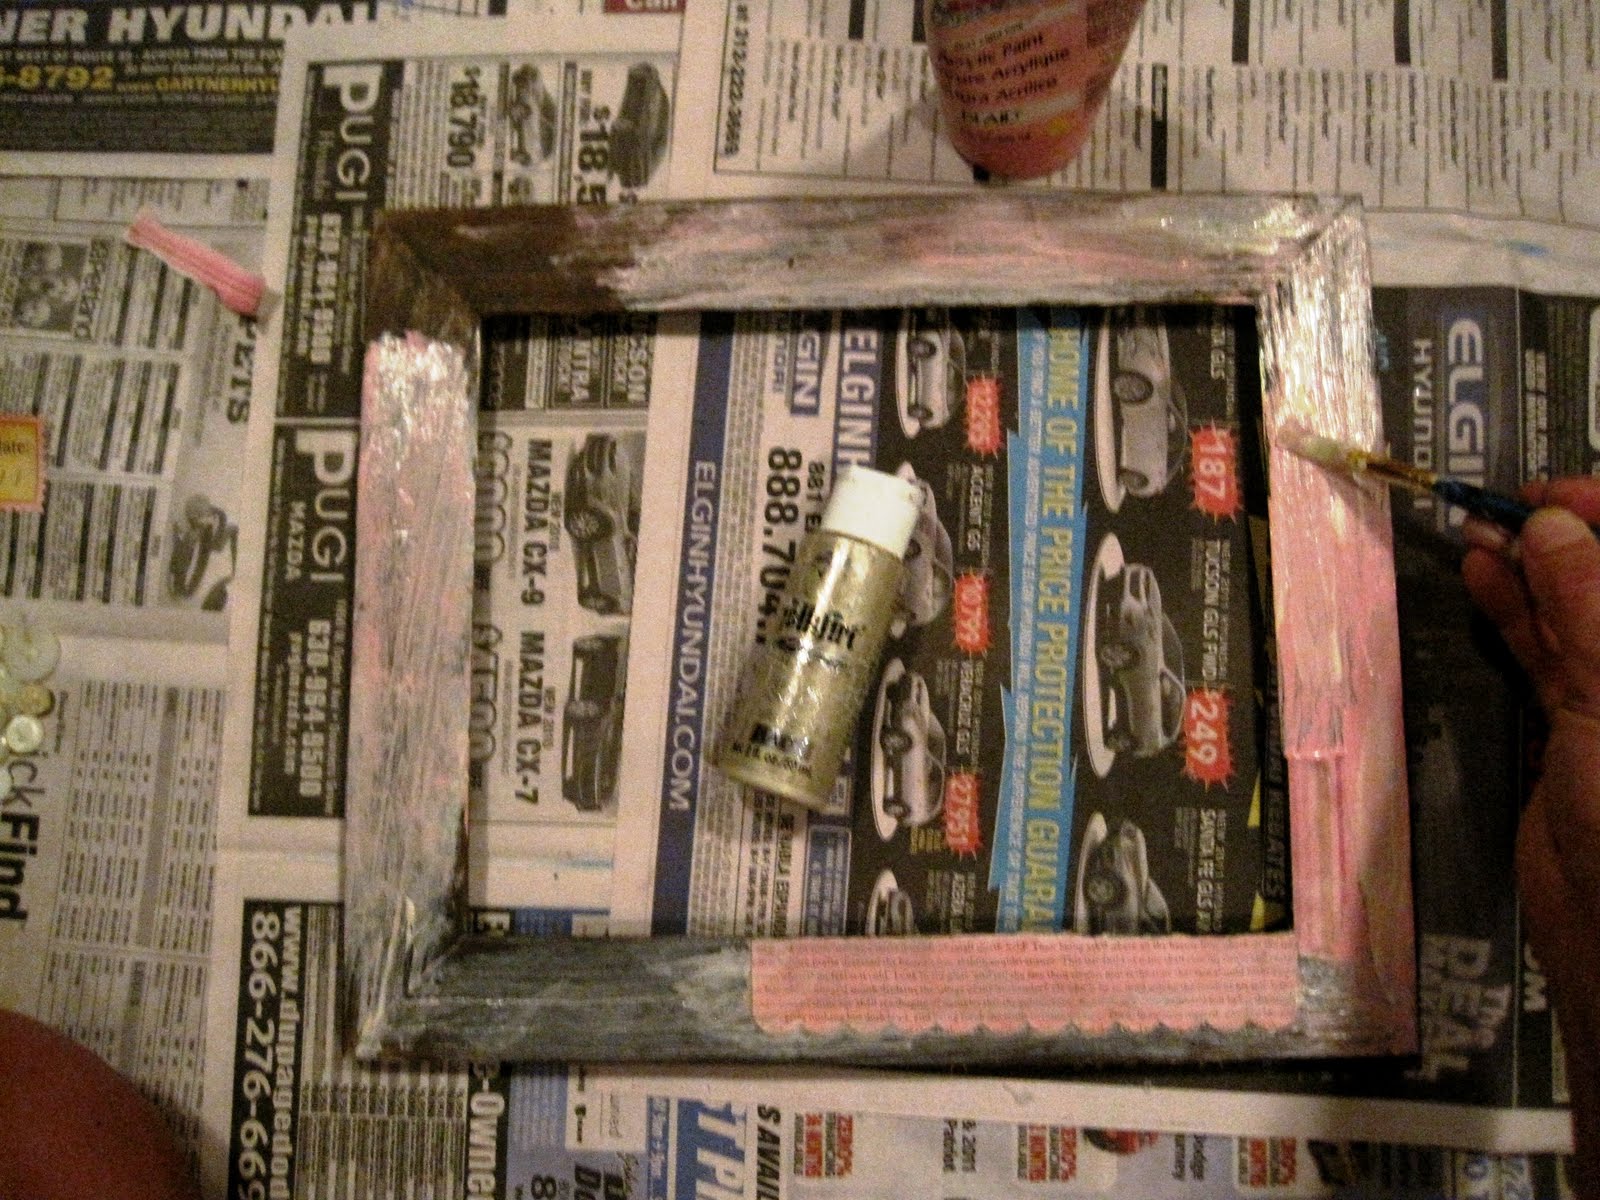
3.) I decided to add paint at this point because I wanted some
of the paper to be set above the paint. I used pink and a very light,
shimmer gold added separately around the frame.
(use your lighter colors at this stage)
4.) Next I added more paper on the paint and Modge Podge
over the top of the paper.
over the top of the paper.
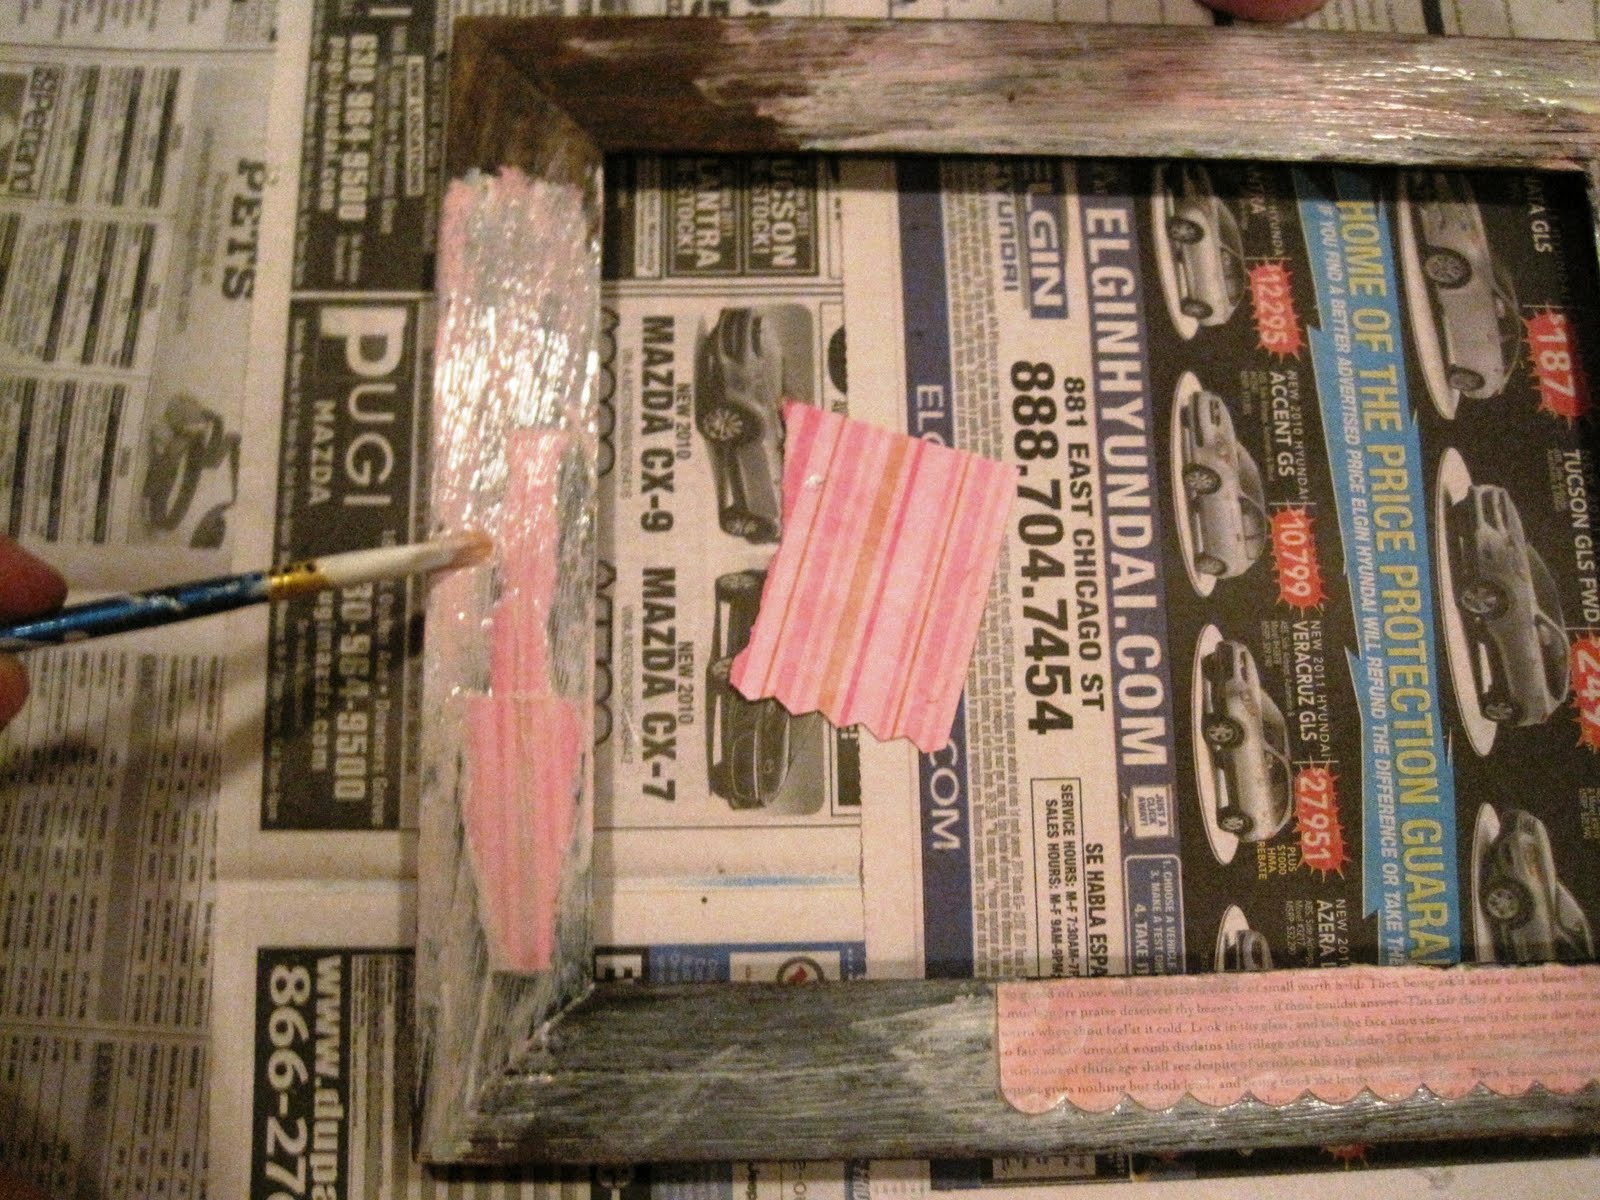
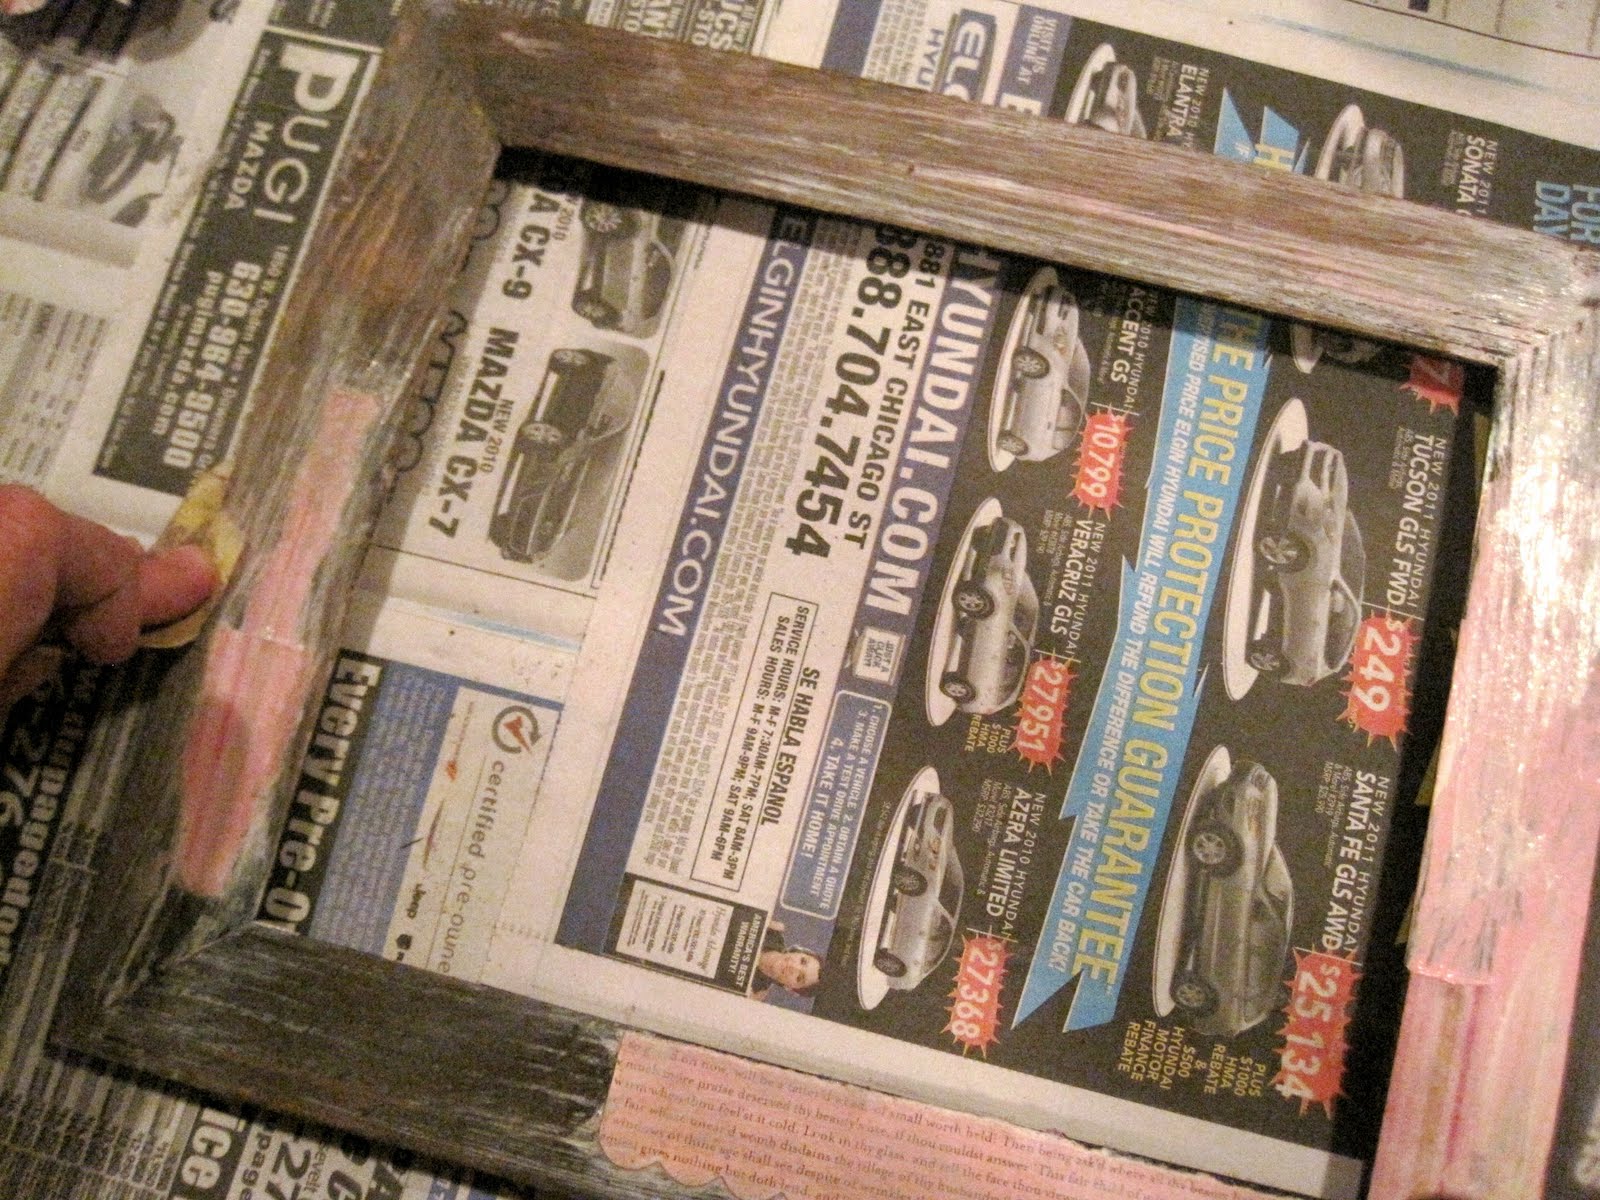
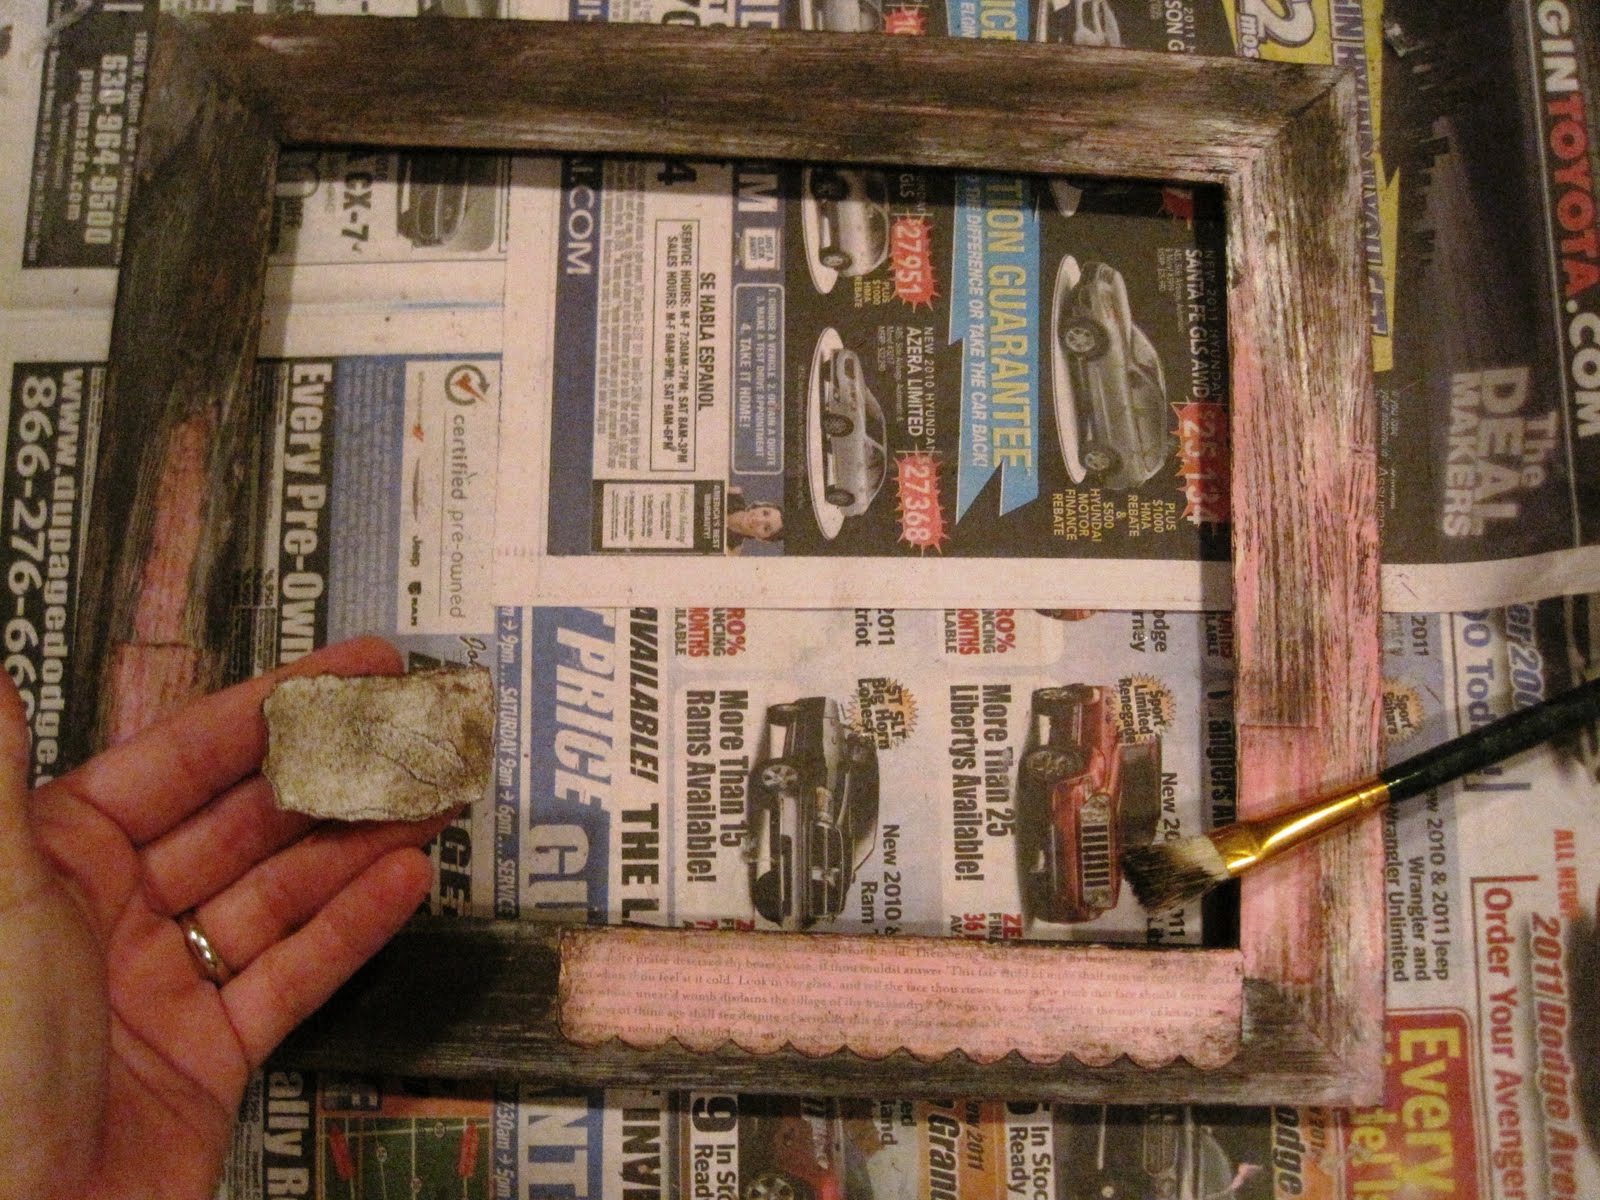
5.) I used a bit of paper towel to lightly swipe off some of the paint.
I did this so that the accents of the wood grain would be filled with
color and so the paint would not appear thick on the frame.

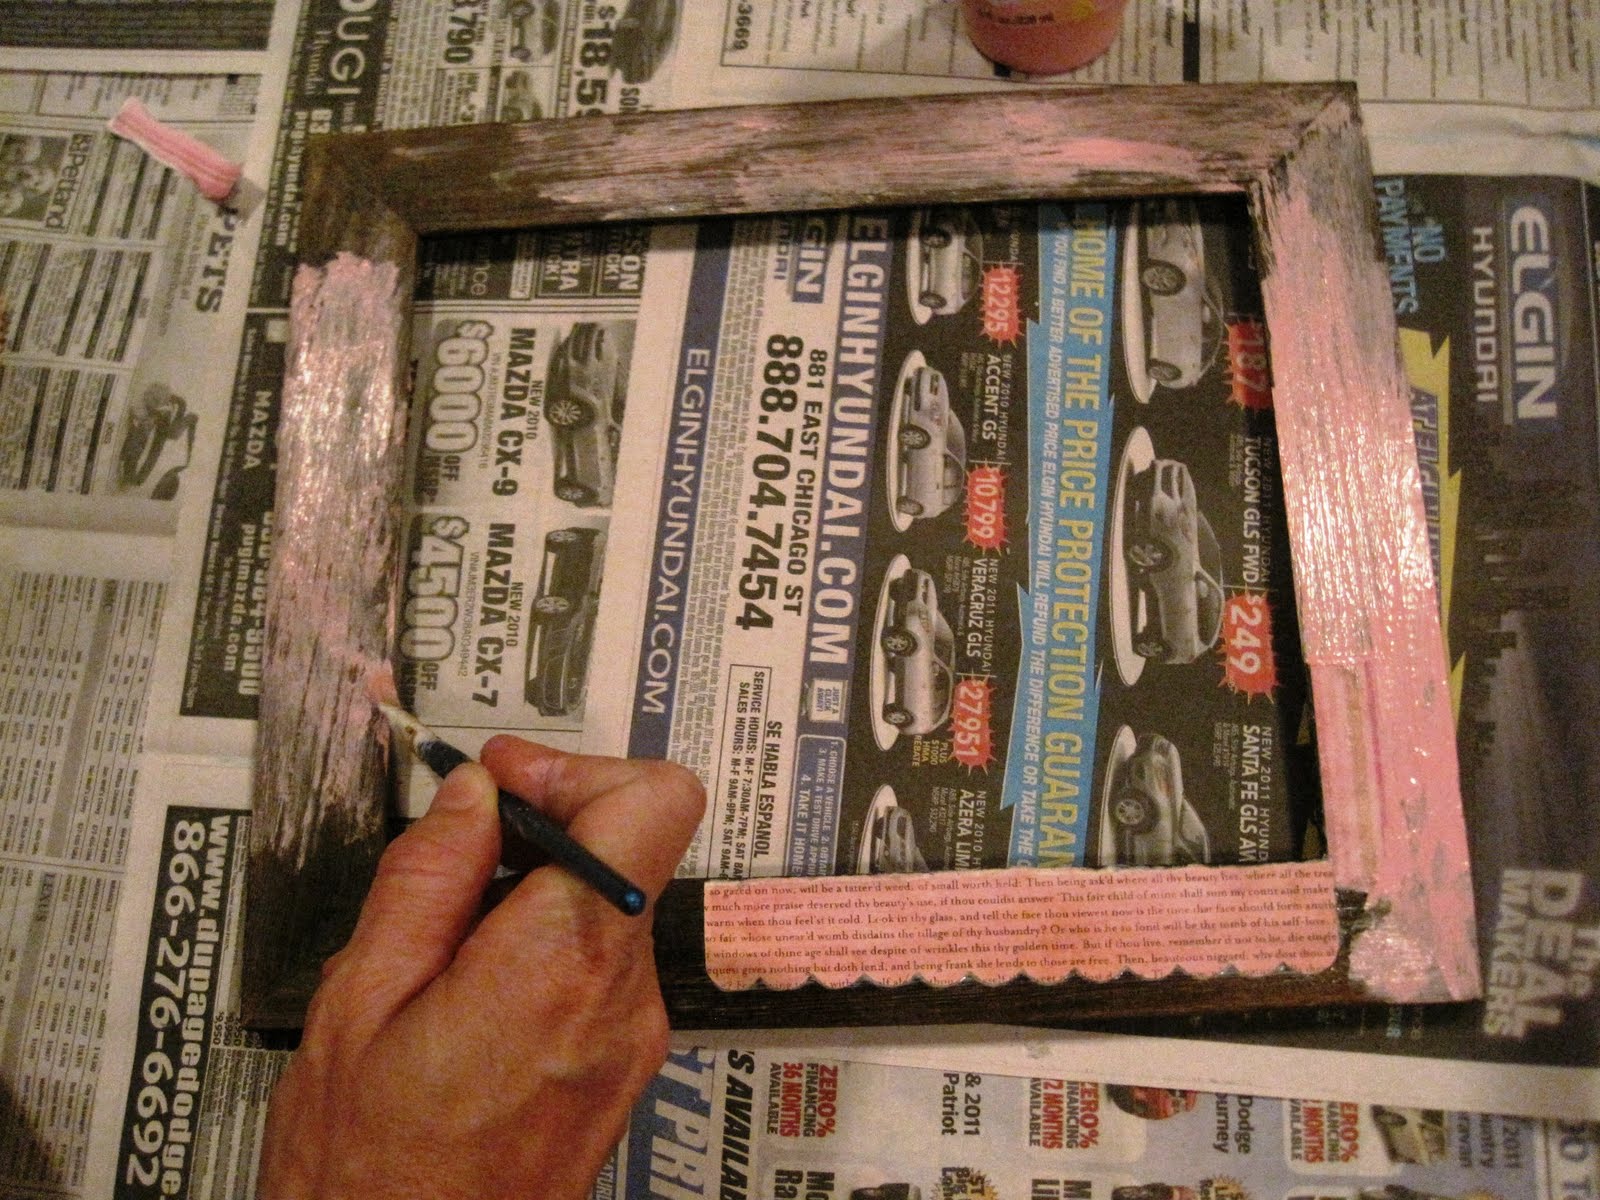
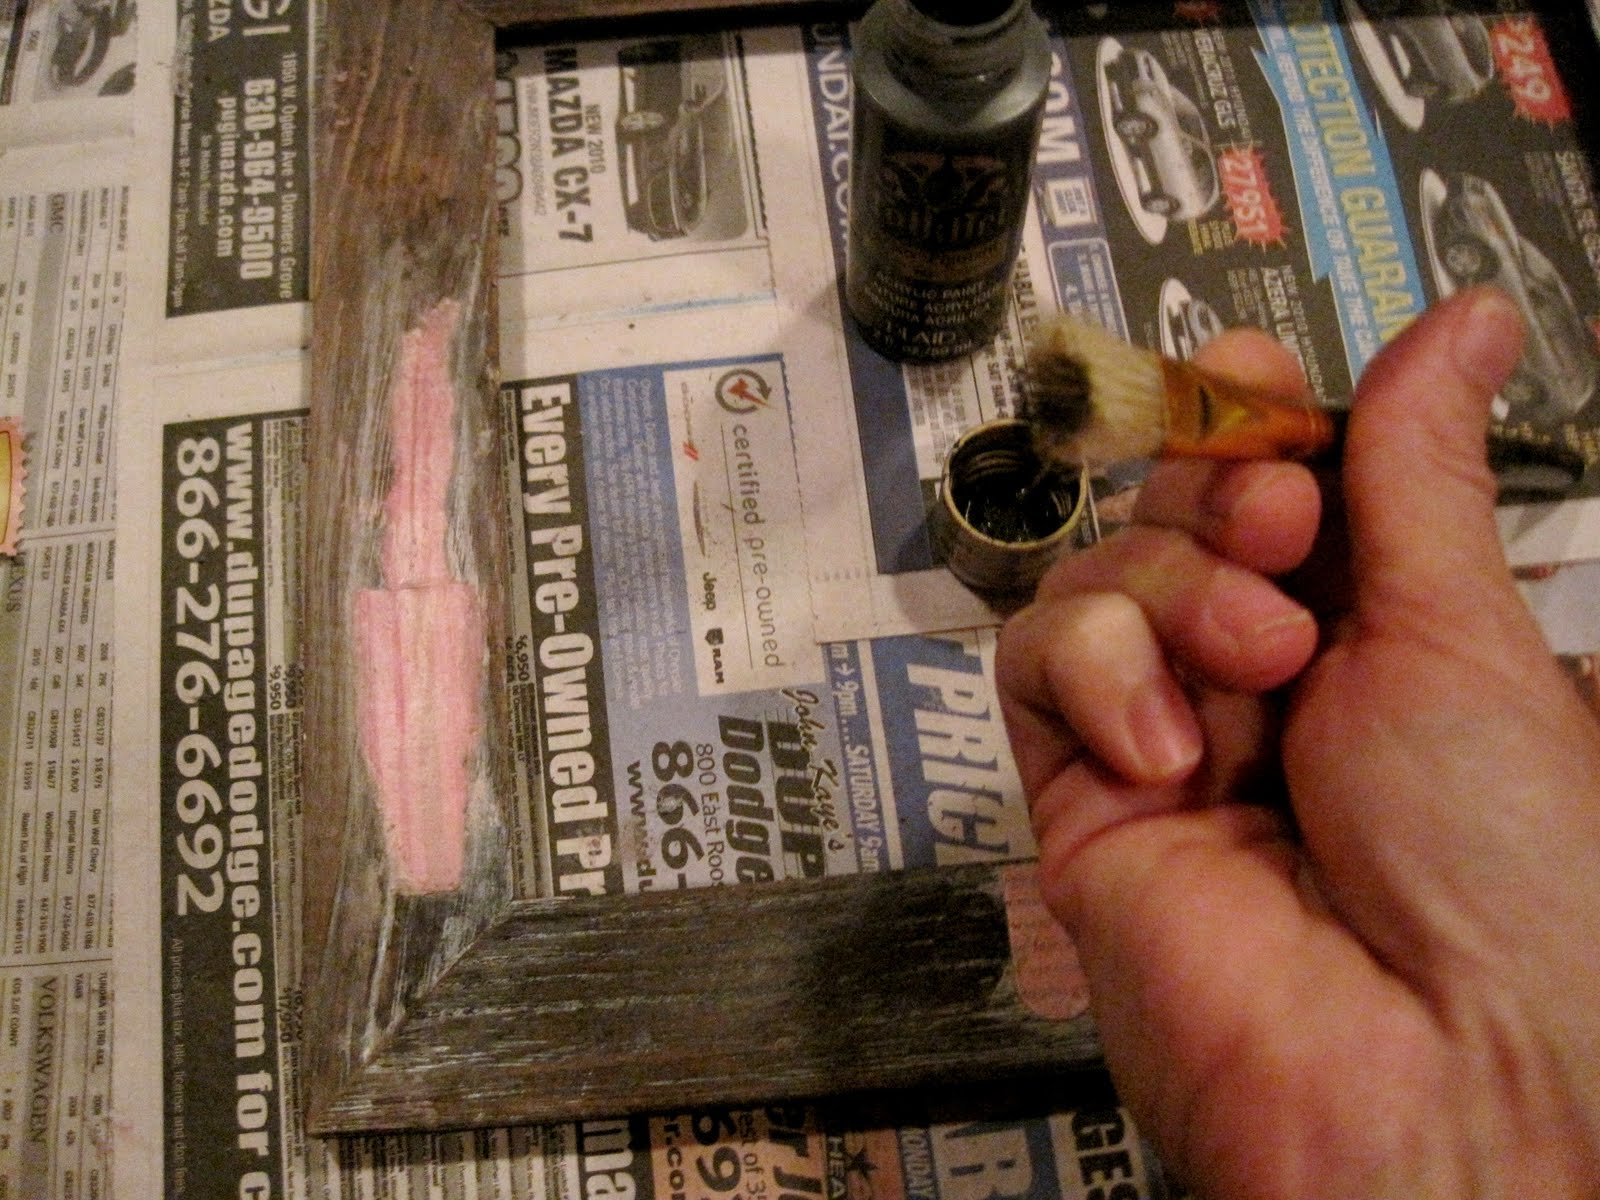
6.) Then I prepared to use a stiff brush and darkest brown paint.
(use your dark color/s now)
I put a small amount of paint on the brush then dabbed it off
on the paper so it was limited and “dry”.
Next I brushed various spots around the frame for dark accent.
I put a small amount of paint on the brush then dabbed it off
on the paper so it was limited and “dry”.
Next I brushed various spots around the frame for dark accent.
This can create an aged, antiqued affect, especially why I added
the brown around the edges of the paper.
the brown around the edges of the paper.
7.) I ripped a rectangle piece of white paper, scrunched it up
into a tiny ball to create lots of wrinkles. After I unfolded it,
I brushed it with the brown again to create an aged affect.
into a tiny ball to create lots of wrinkles. After I unfolded it,
I brushed it with the brown again to create an aged affect.
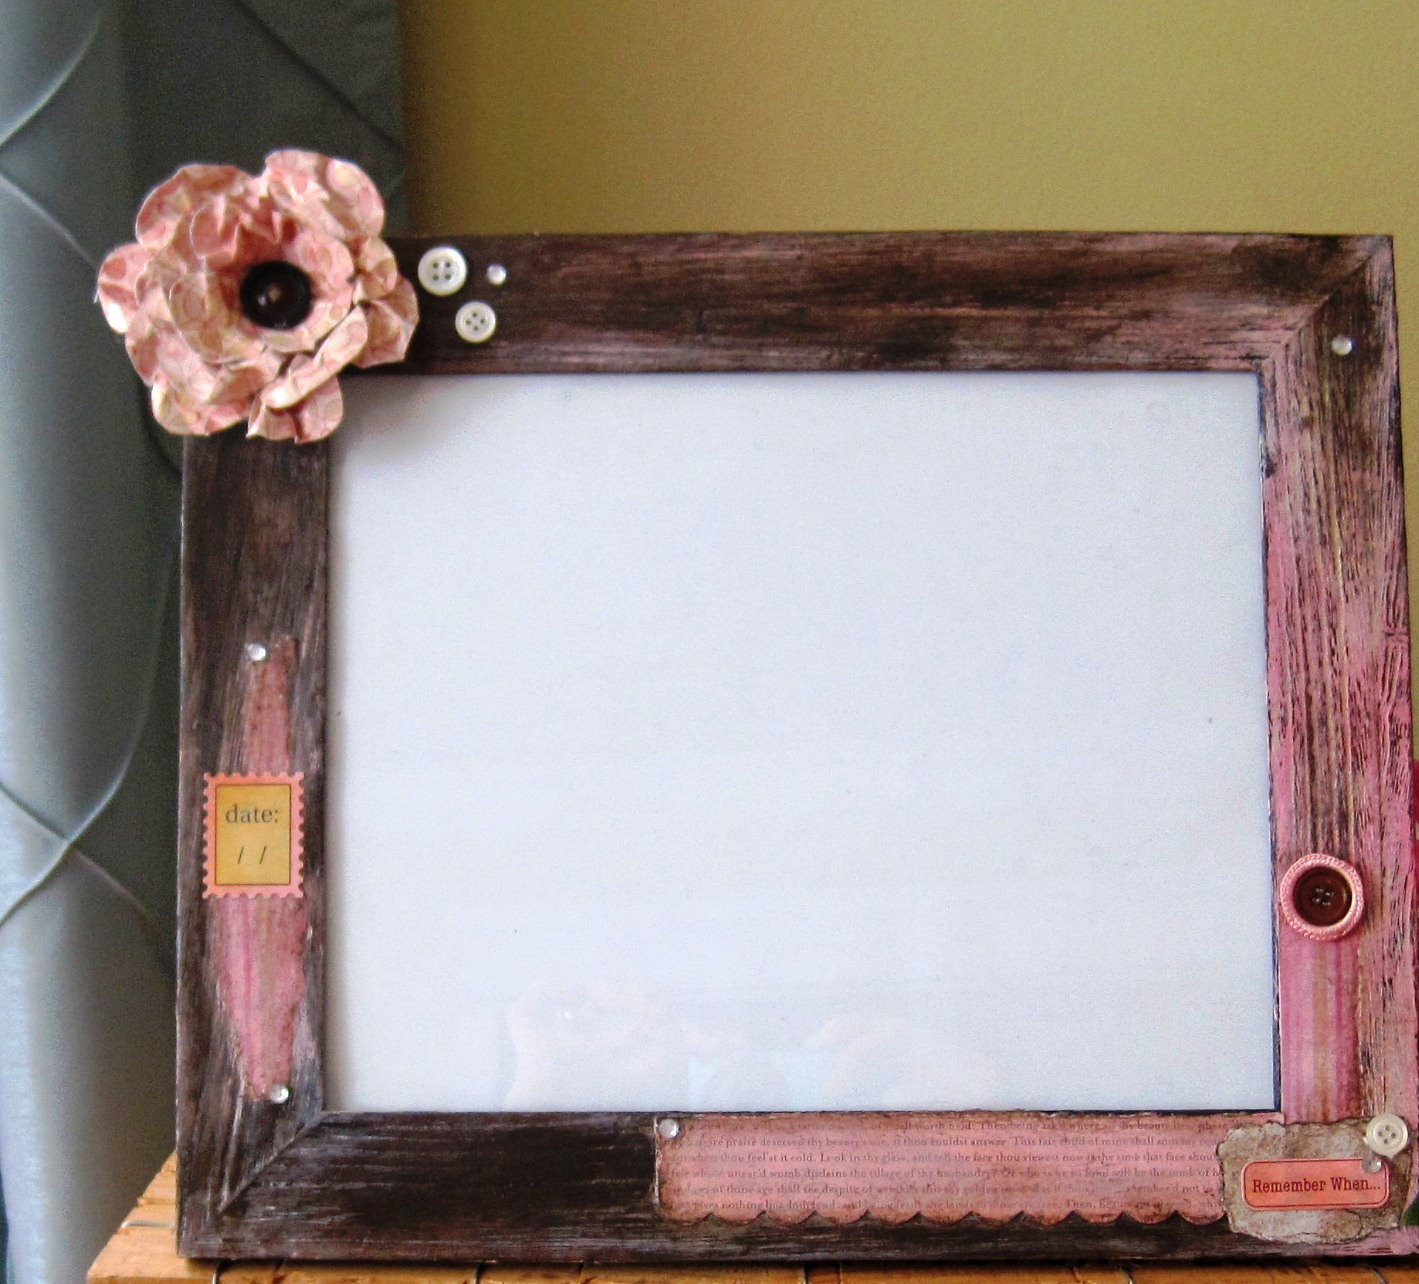
8.) I Modge Podged this to the bottom right corner and began to play around with the positions of my adornments . During the process I remembered that I had pink embroidery circles with mirrored plastic inside. I removed the mirrored pieces and fit vintage brown buttons inside. I added the rest of my embellishments with strong craft glue.


9.) I let it dry for a few hours, sealed the entire frame with
Modge Podge and let dry overnight.
10.) Return glass and back. A great idea is to add a piece of paper
inside the frame with a personalized note instead of a card.
Easy, adorable, and SUPER FUN!
inside the frame with a personalized note instead of a card.
Easy, adorable, and SUPER FUN!
A few notes about this craft:
· It can be done very inexpensively or more expensively
depending on the frame and embellishments.
· It can be a fun craft for older children and great for play dates or parties
· Use these custom frames for gifts to match the season or the person’s décor. Especially for a baby nursery, housewarming gift, or gift from a child to teacher or friend.
· The Possibilities are endless as your imagination!
! Have a Fabulous Day ! – Jenny at Dapperhouse