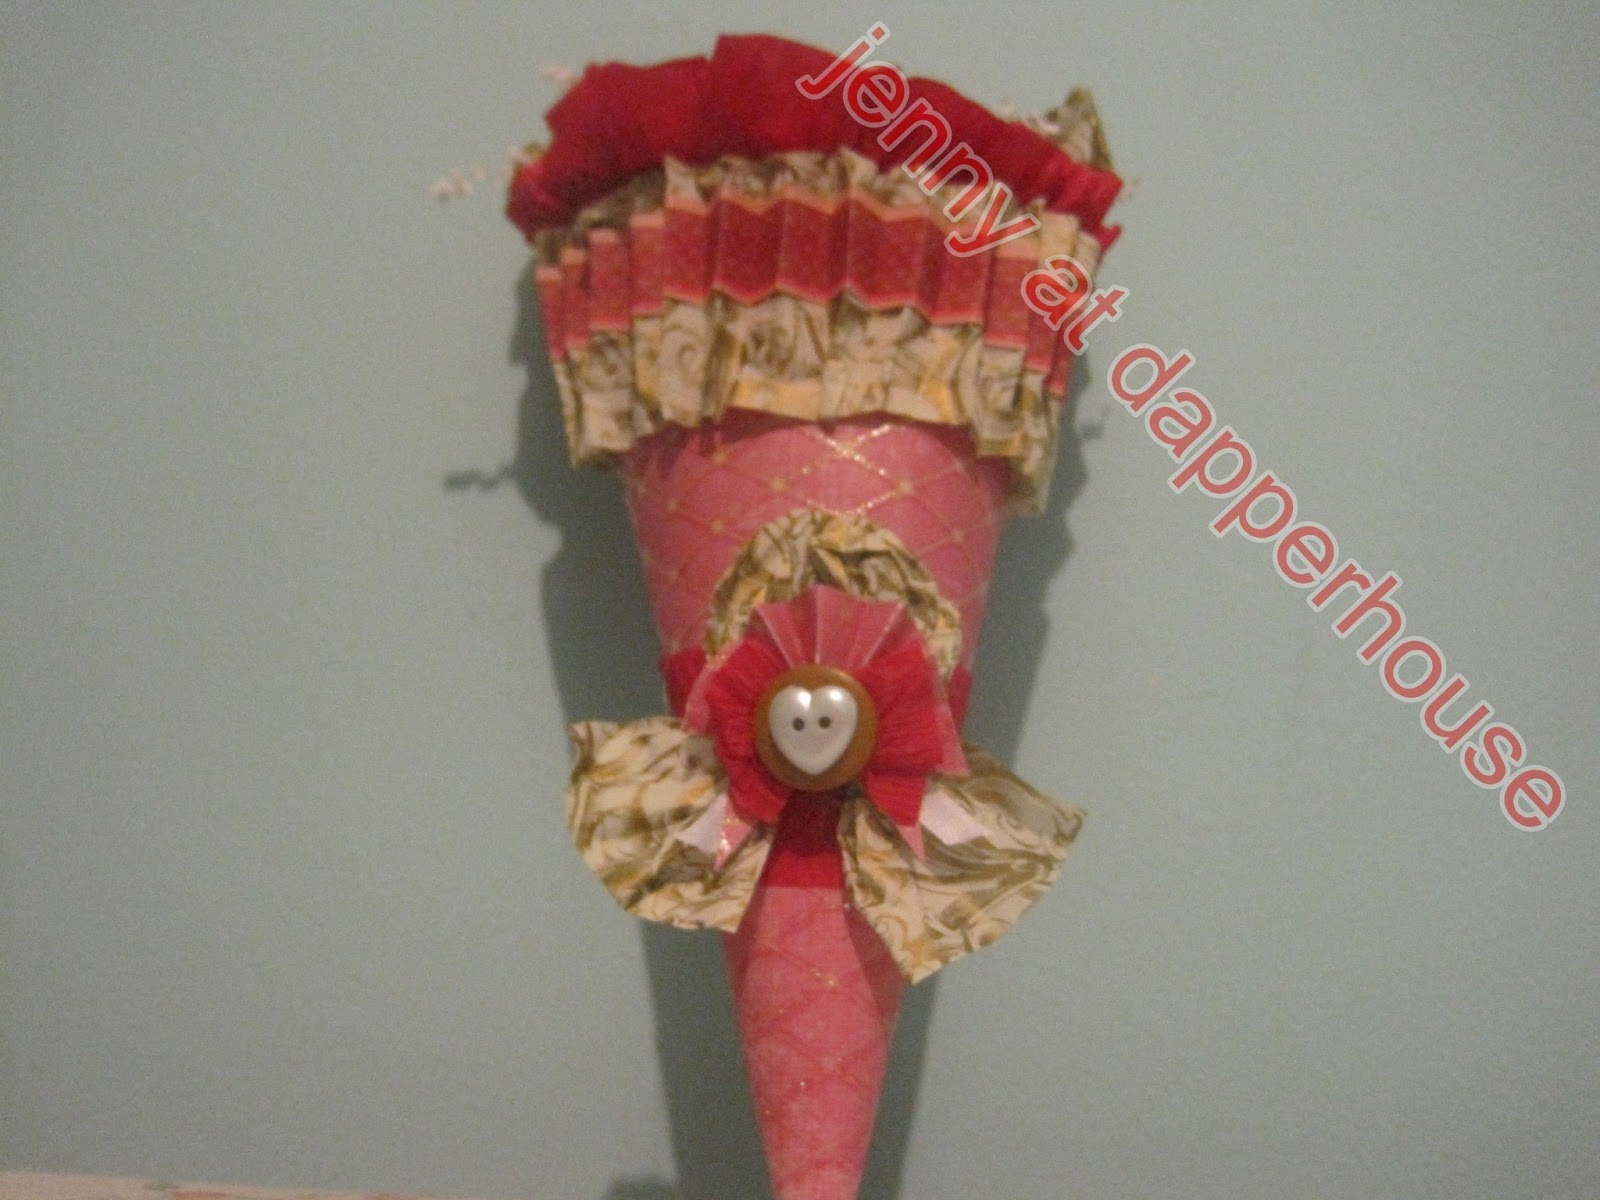
Valentine’s Day is less than a week away and many of us are so busy that we will end up running up to the local drug store to buy something generic for a person that is special to us. But don’t do that just yet! I have a simple and fun craft idea for you that can be done in less than 30 minutes and has “unique”, “love” and “personal” all over it! All you need are a few crafting supplies and no special skills to make a gorgeous, hand-made Valentine Gift Cone for your Valentine. Great for teachers, care givers, grand parents. . . anyone and everyone who is dear to your heart! I will show you each easy step in making this DIY cone for giving goodies. And remember that this can be adapted with the paper you use to suit every holiday and occasion! Even a “get well soon” and “thank you” are more special with this gift. Fill it with homemade treats or store bought goodies, notes, photos, jewelry and any little gift you can imagine! YOu can also make these in decorative papers that match your home and hang them on a pin board, suspend them with string or place on a mantle for a beautiful handmade accent. Lets get to it!


Supplies:

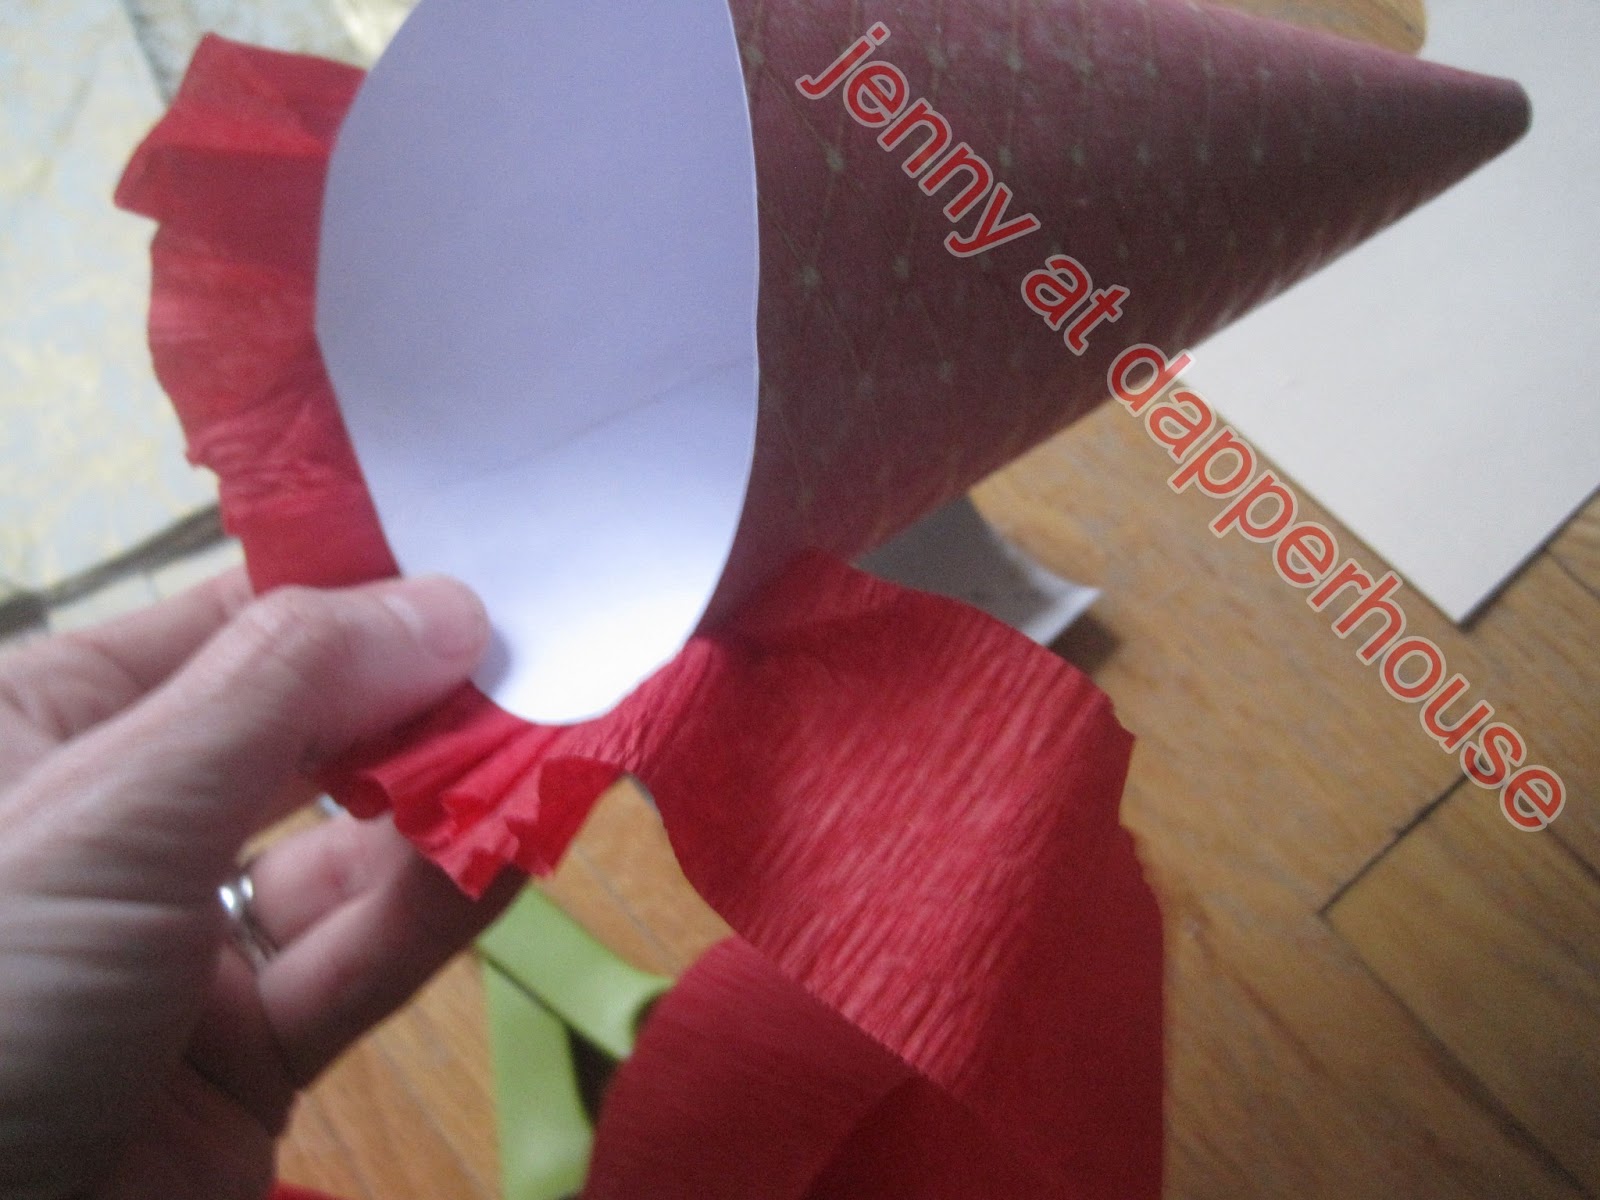
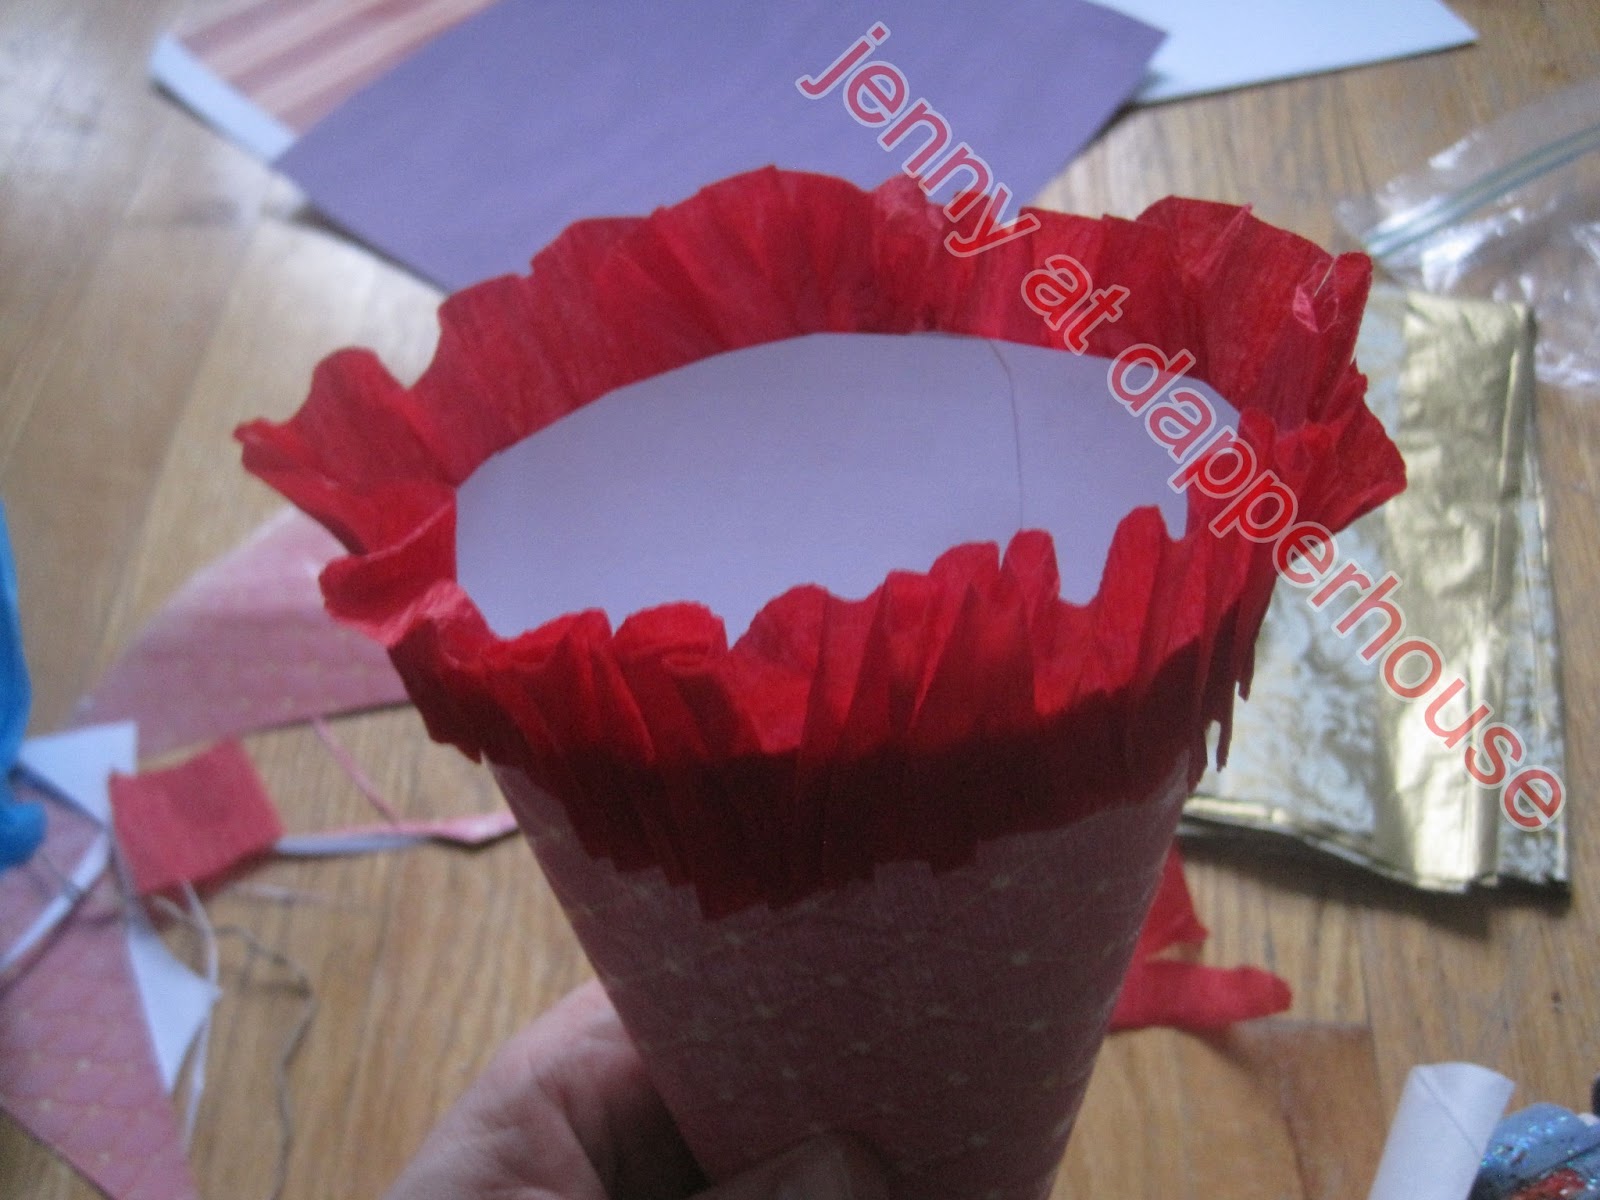
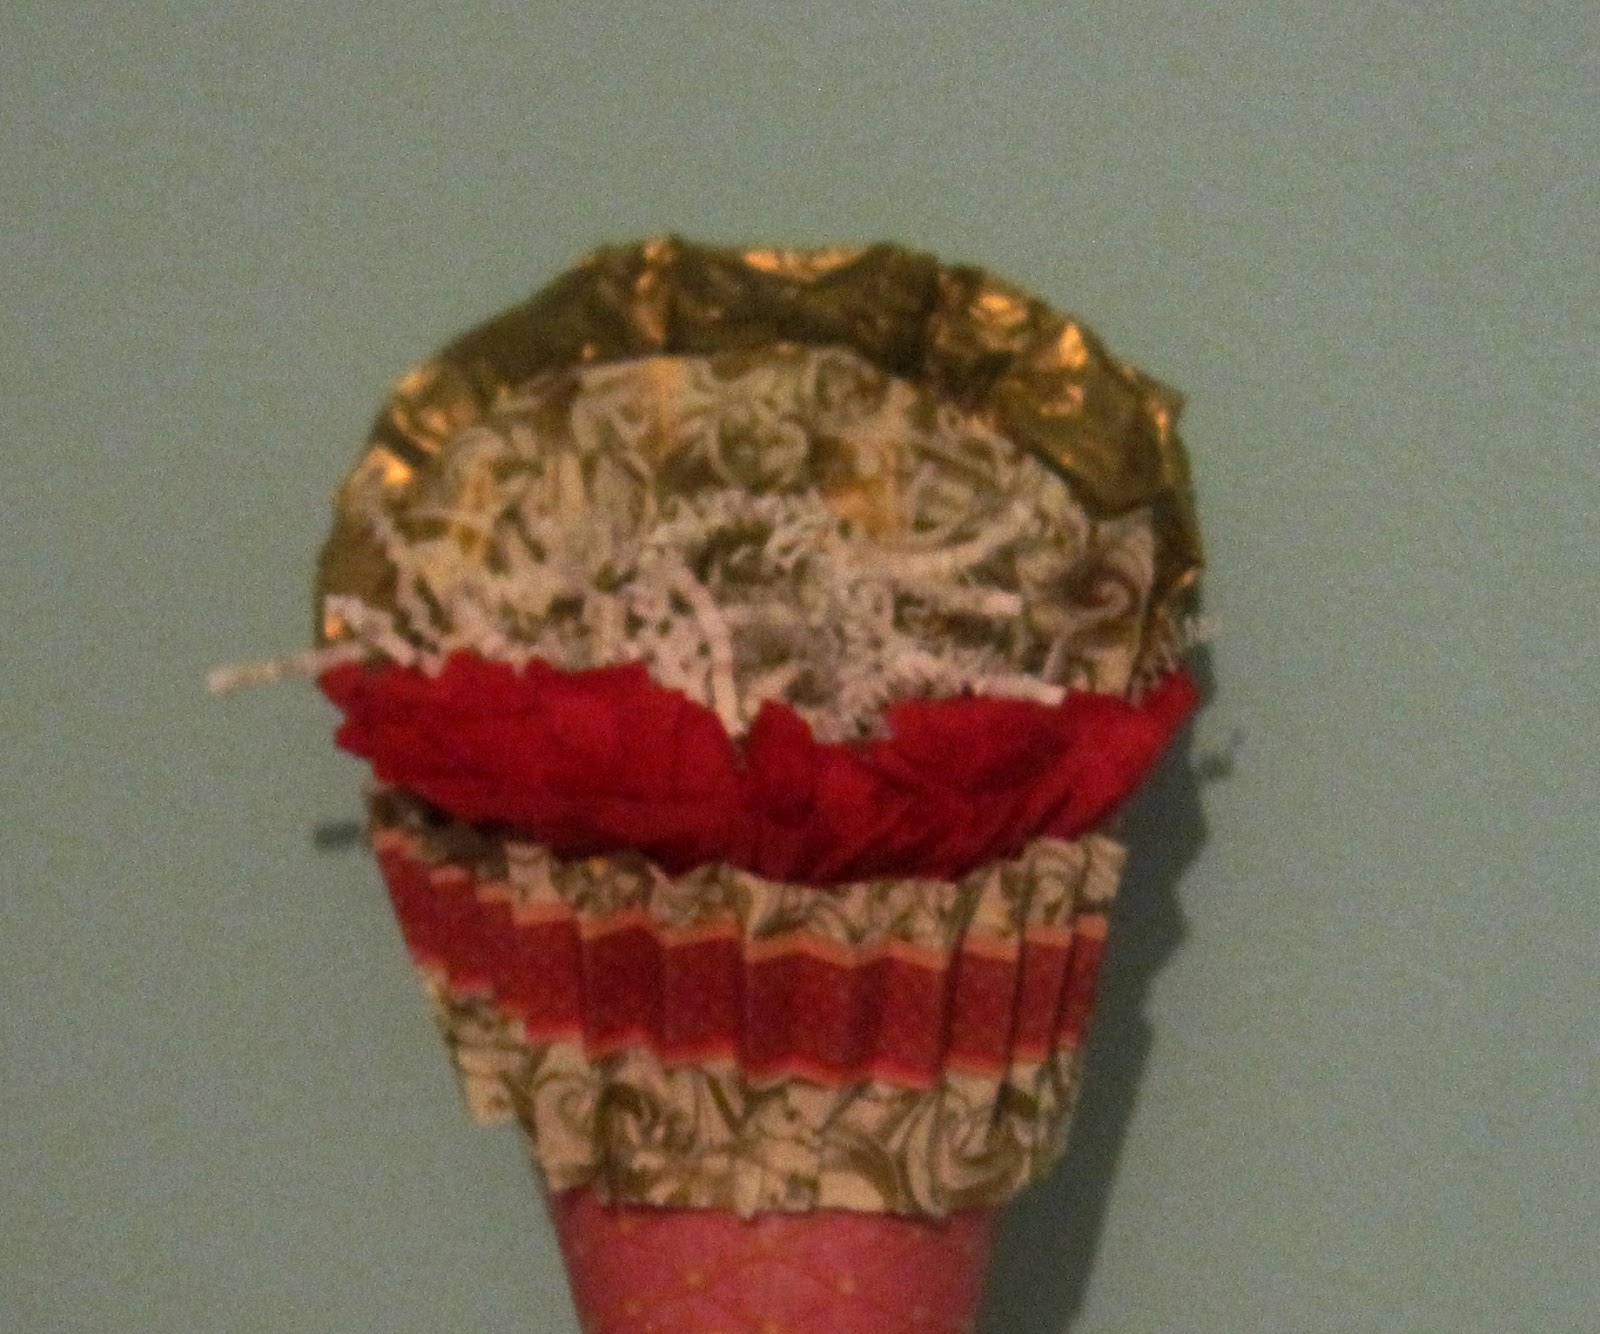
Decorative papers that coordinate for the occasion
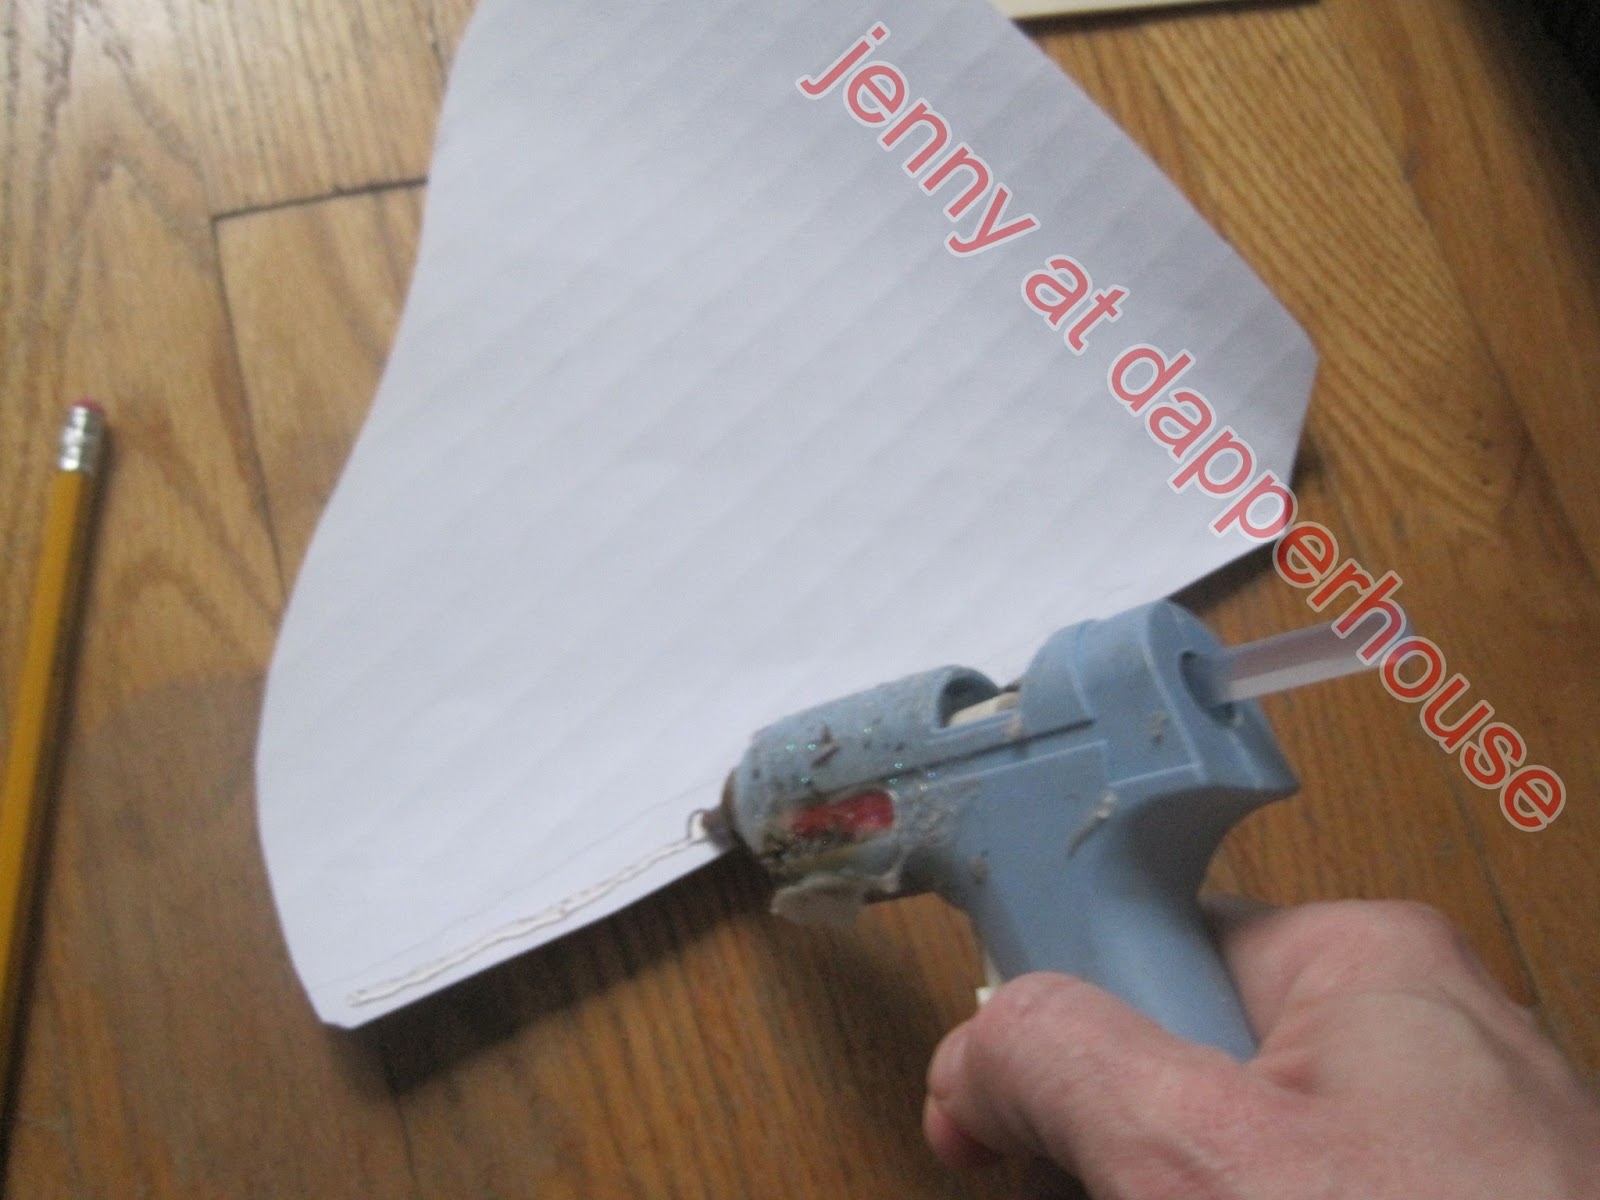
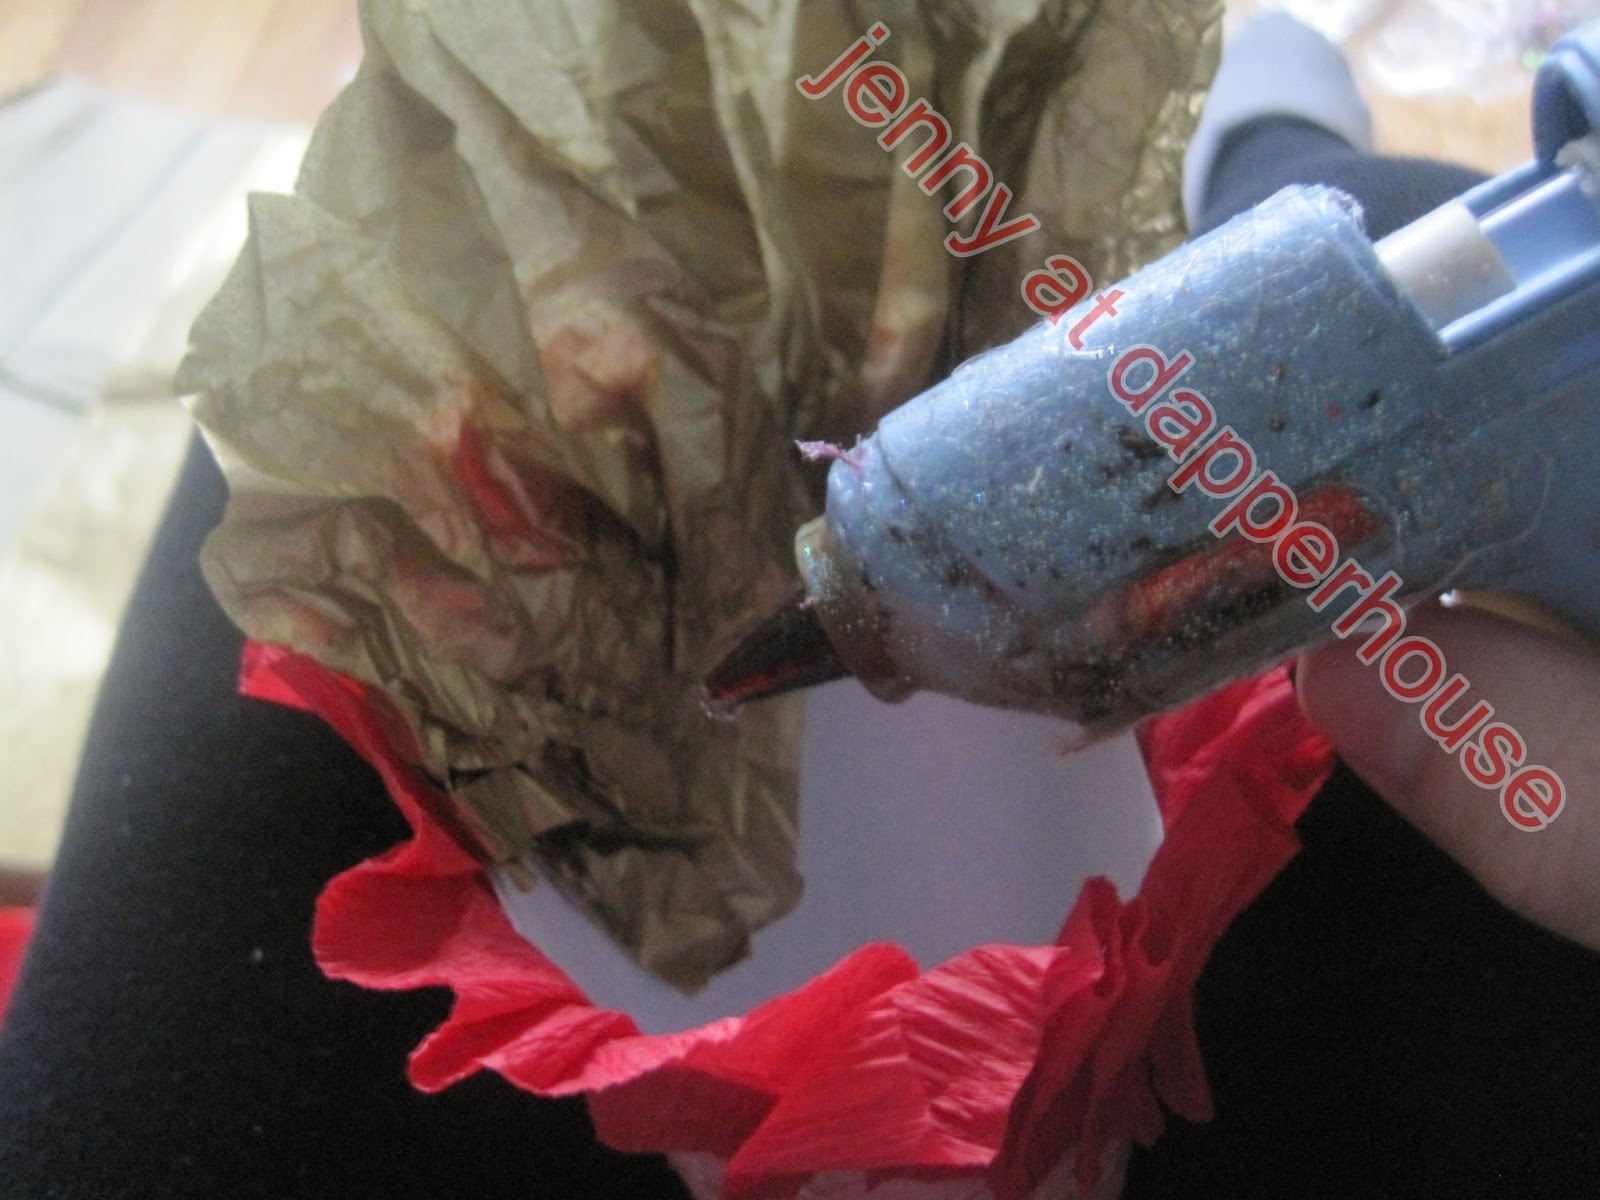
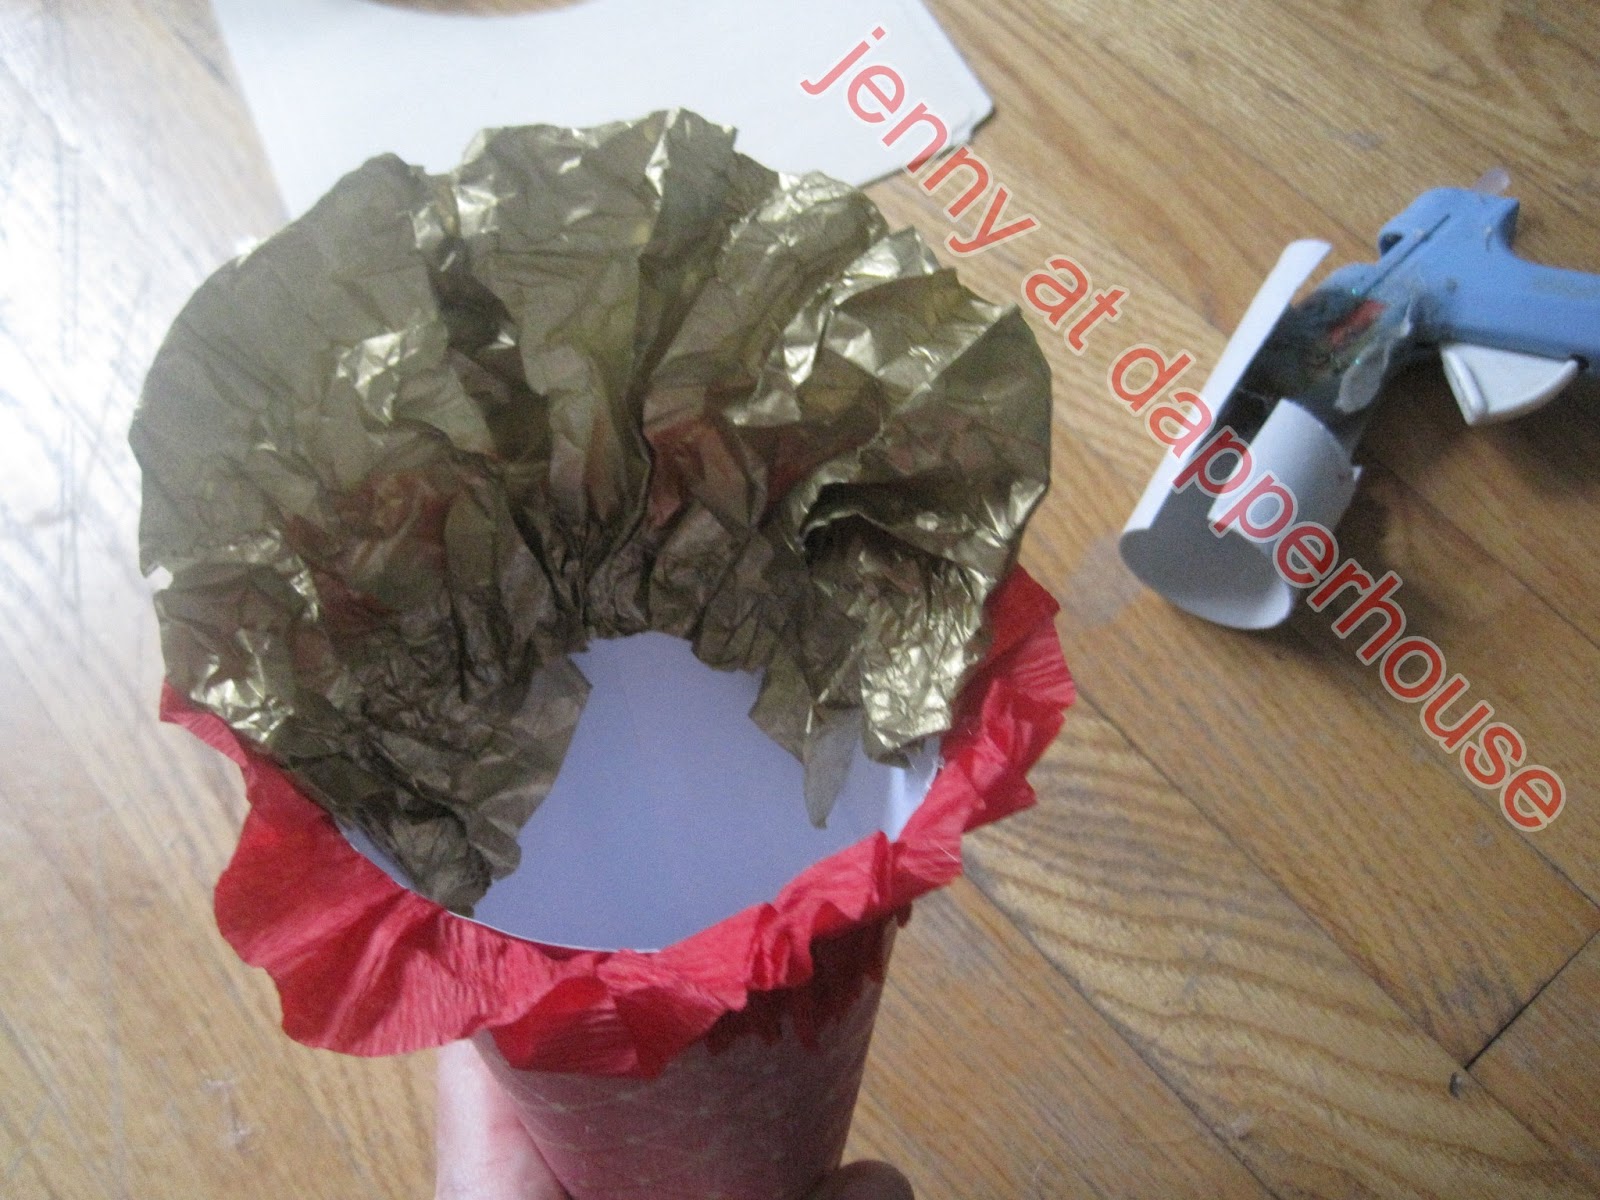
Glue gun and Glue Sticks
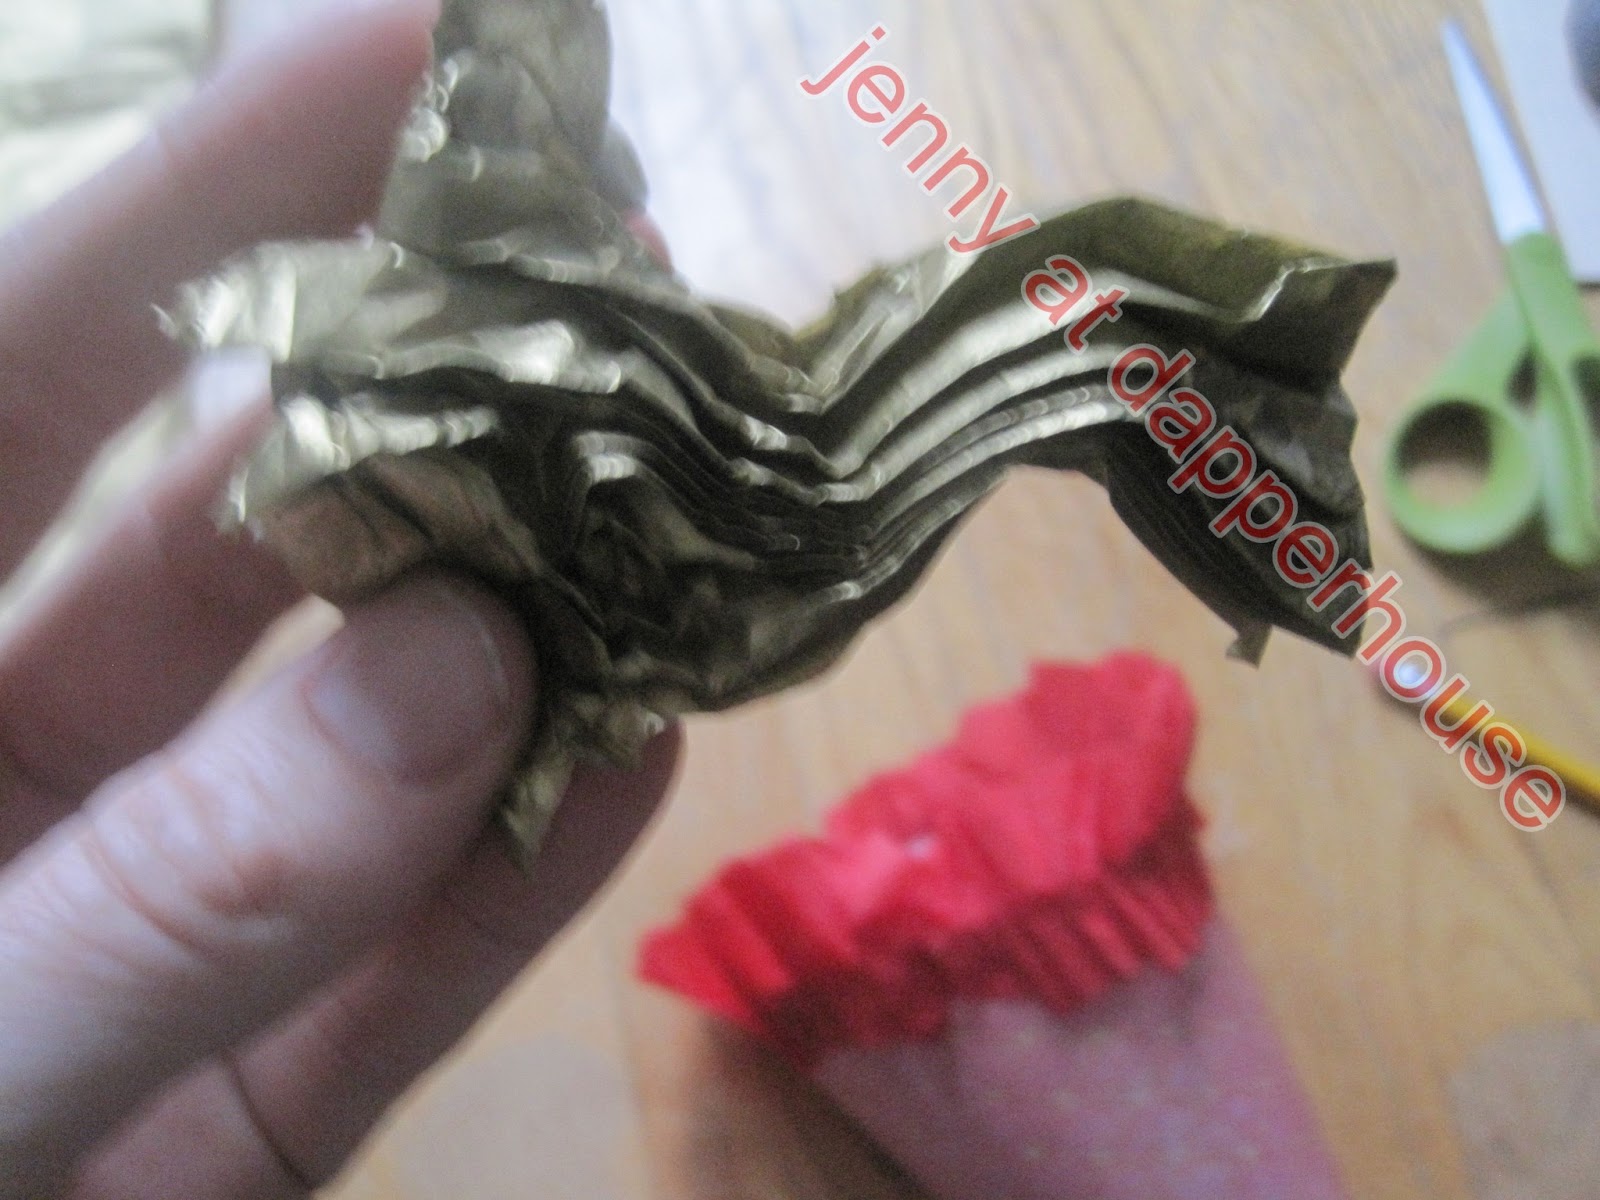
Tissue paper gift wrap in coordinating colors
Embellishments such as buttons, flowers, bows etc. 
Scissors 
Pencil
*You are working with scissors and hot glue so PLEASE 
be careful to not burn yourself and keep this project away from little ones. 

BEGIN
Choose the paper that you sill be using for the cone. 
Wrap it into the shape of a cone.  Adjust the paper to the size that you want.
Use the pencil to mark where you will cut off the
excess paper and cut until it is in a cone shape ready to be glued as shown below. 

Add a bead of hot glue along the edge of the paper and glue your cone into place.

Take any kind of tissue paper like the streamer I used or a strip cut from tissue wrapping paper 
and make a long strip that is at least double the size measured around the top of the cone. 

Glue the tissue around the outside edge of the cone bunching and gathering it into a ruffle as you go.

Here it is coming around to the end. I put glue on the paper and press the bunched up tissue 
onto the glue, then where the folded tissue is sticking up away from the cone 
I will use a small dot of glue to press it flat. 

Done with 2 steps and ready for step 3. 

Take a piece of tissue gift wrap and strip that will be glued to the inside back 
of the cone and stick up over the top. 
(Scroll down to see what I am talking about so that you can measure 
the height you want it to stick up) 
I did it about 4 inches total (an inch glued inside and 3 sticking up) 
but you can do whatever you like!
Once measured begin to accordion fold the paper so that the folds will be vertical to the cone. 

Once your strip is folded, you can scrunch it up so that the paper is wrinkled if you like. 

Unfold it to the size that will be glued along the back of the cone. 
Put glue on the inside of the cone and press the paper against it.
Then use the glue gun to secure the loose folds of paper to the back so that it looks “clean”. 

This is what line looked like after I trimmed the edges with scissors so that it 
curved down on the sides. 

Fold another strip of tissue similar to the one that edged the outside of the cone, 
only make it smaller as it is going to line the empty space inside the front of the cone.
Glue the strip inside as shown the same way you did the first one
 to fluff up the front of the cone! 

 Fold a strip of tissue paper and use it to neatly 
cover up the uneven bottom line around the entire outside cone ruffle. 

Or you can also make a much fancier one by choosing a strip of 
decorative paper that fits the outside of the cone when folded so double the size…

Accordion fold this strip . . . 

Flatten it out and glue it in the center of a coordinating strip of tissue gift wrap. 
Then refold the accordion pleats with the tissue. . . 

Secure it around the cone with hot glue. 

At this point you can make any embellishment you want for the front. 
I chose to layer the same papers I used so far making bows, an accordion pleated flower
along with some festive buttons.

HEY! This picture sneaked through without a watermark 🙂
Then you fill the inside with more tissue paper 
and your gifts!
You can layer candies and notes and gifts in the cone with 
the confetti type of paper I used for a great look and lots of FUN!

This is easy and FUN Right? And just think of all the possibilities that you can
make with different papers for Mother’s Day, Baby or Bridal Shower, or Home decor. 
You can make smaller ones for party favors too!
Seriously, go right now and google images for “decorative paper cones” 
and you will get so many amazing ideas! 
Have FUN dapper friends!

You may also like “DIY Grand Piano Valentine’s Box” & “Stuffed Paper Heart with Surprise Inside

! Have a Fabulous Day ! – Jenny at Dapperhouse