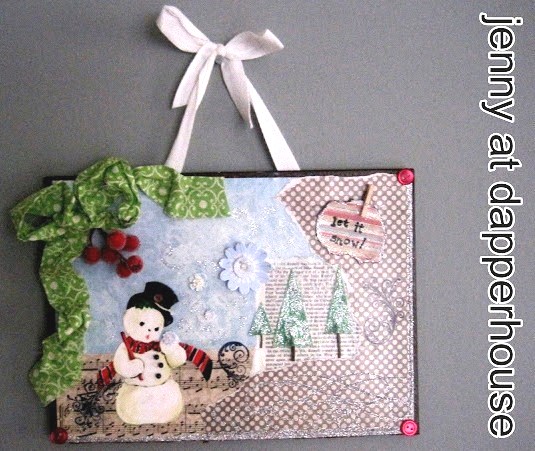
Those of you who know me are aware of my affinity for Altered Art. I love looking at it and creating it. I did a lot for Halloween that sold in the Urban Chic Home Boutique and did some again for Winter as a gift for a family member. Here is a Do It Yourself Tutorial on how I did my Wall Hanging so that you can take the same make something beautiful of your own. You will need decorative papers, glitter glue, Modge Podge, paint, paint brushes of various sizes, stamps and ink, scissors, buttons, beads, bows, fake berries, twigs and any other embellishments you want to use. I also used a snowman printed from the computer an a royalty free site like Graphics Fairy. Put something together in whatever way you think looks good by using all sorts of craft supplies 🙂 Here is the one I made. . .
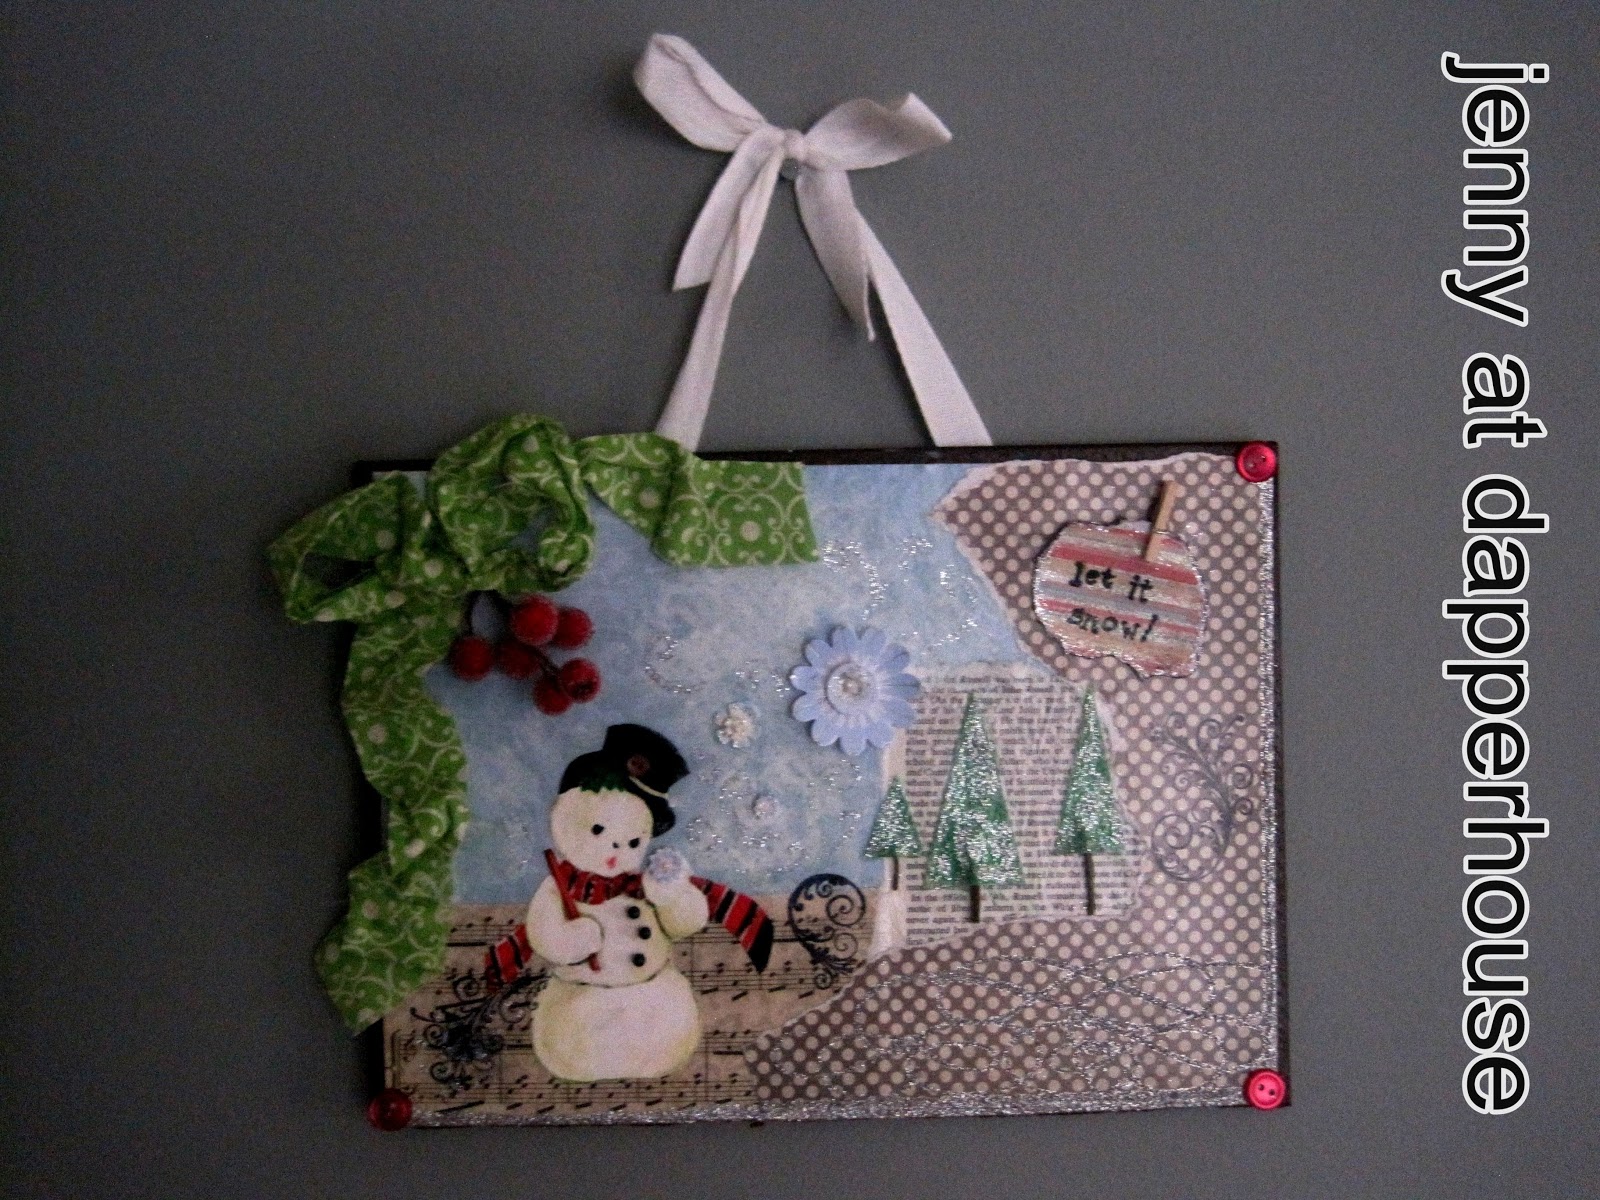
For the base I used the hard cover of an ancient encyclopedia. After deciding on making a winter scene rather than depict a Christmas theme, I picked out papers that I wanted to use. I liked the blue as a wintery sky background and the brown with white dots to represent snowballs.

I ripped the papers and secured them to the base with Modge Podge. I added the snowman and then painted him to add dimension and color. I used buttons and beads to bring the snowman to life and I used 3D flowers to represent snowflakes. I painted the blue paper with watered down white paint in swirls to look like snow blowing in the wind. When that was dry I used the glitter glue to add some depth to the swirls. You can see the rubber stamp and ink in this picture below. I stamped the design onto the picture and let it dry too, although you need to know that stamping on top of a Modge Podge surface makes the ink wipe off easily. Be careful to not smear your ink. You will set the ink at the ends with clear spray.


Going in and adding a little bit more glitter (because I LOVE Sparkles and Shiney things!)

When Everything was completed, I took it out and sprayed it with super glaze of matte spray to seal every different element, make it able to be dusted and preserve it over time to be used every winter or holiday.

You can see the thick but even coat that is sealing the whole finished project. Once it dried I was ready to put the ribbon on the back to hang it on the wall. I used the E6000 Glue to attatch the ribbon to the back.

And here is the finished project! It is so easy and fun to out together a collage! It is a nice hostess gift, holiday gift and can become a treasured bit of meaningful decor to bring out every year to enjoy.

Greta
That looks fantastic! And I can’t believe you painted the let it snow sign. Super cute.
pattersonchick
It came out great.:D