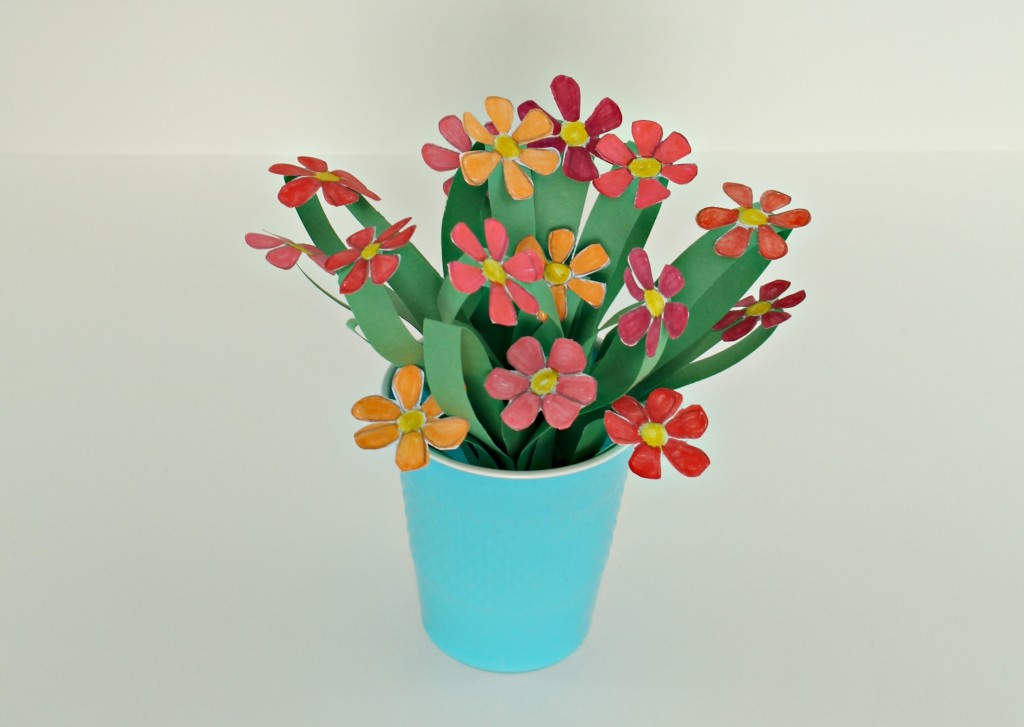
*This is not a sponsored post. Content and opinions belong to jenny at dapperhouse.
I have a lot of posts about making paper flowers. (Search it up and you’ll see). And here is yet another post about how to make a bouquet of flowers for a fun child’s craft or a gift for a friend who can’t have real flowers! It is a very simple concept and lots of fun. Here you go. . .
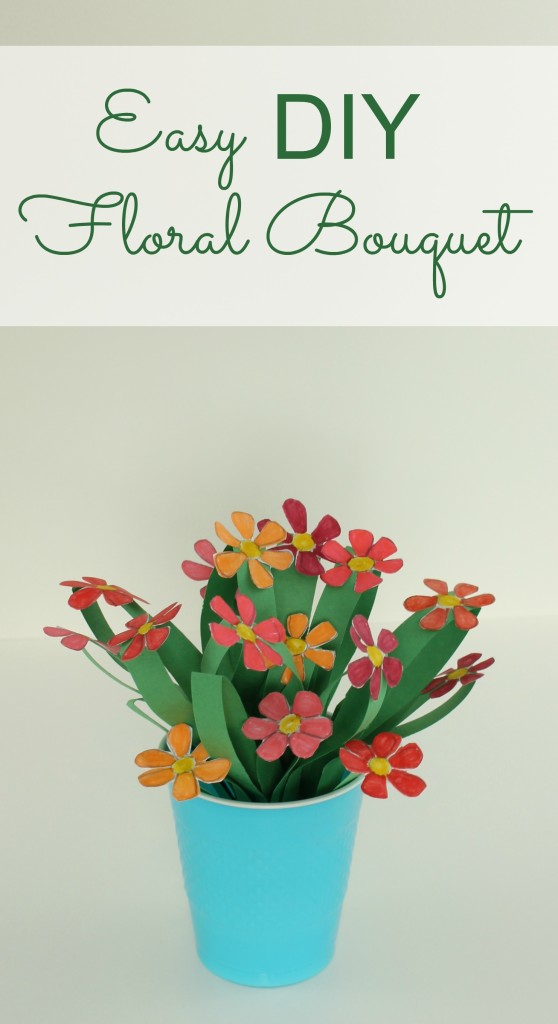
Supplies:
- one sheet green construction paper
- scissors
- piece of plain white paper
- pen or pencil to draw the flowers
- markers to color the flowers
- tape
- glue
- cup or vase (I used a SOLO cup for this craft)
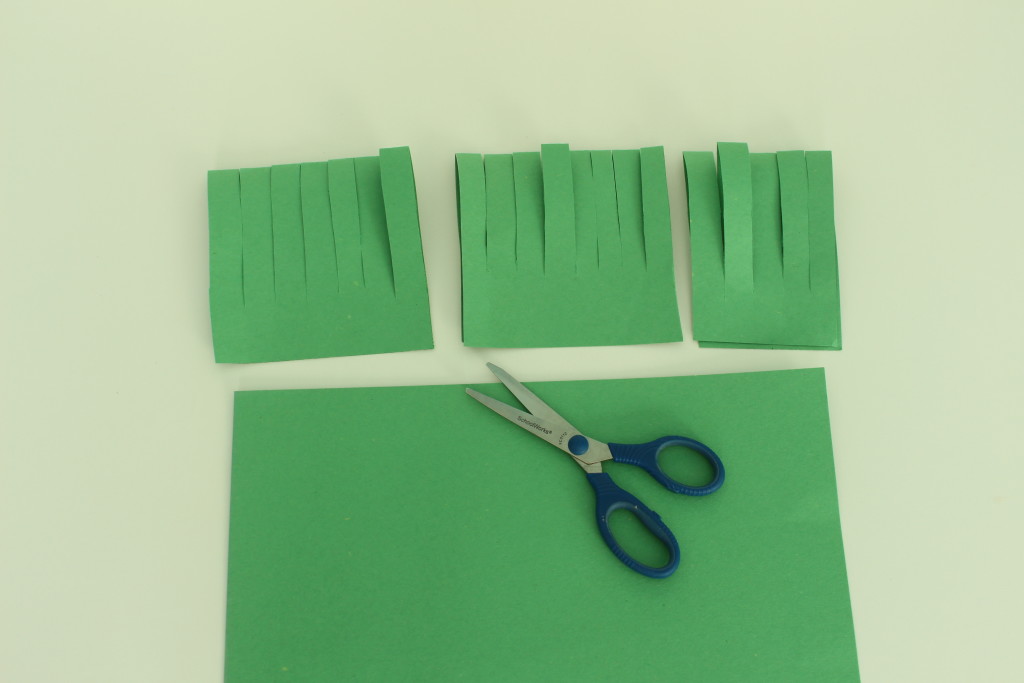
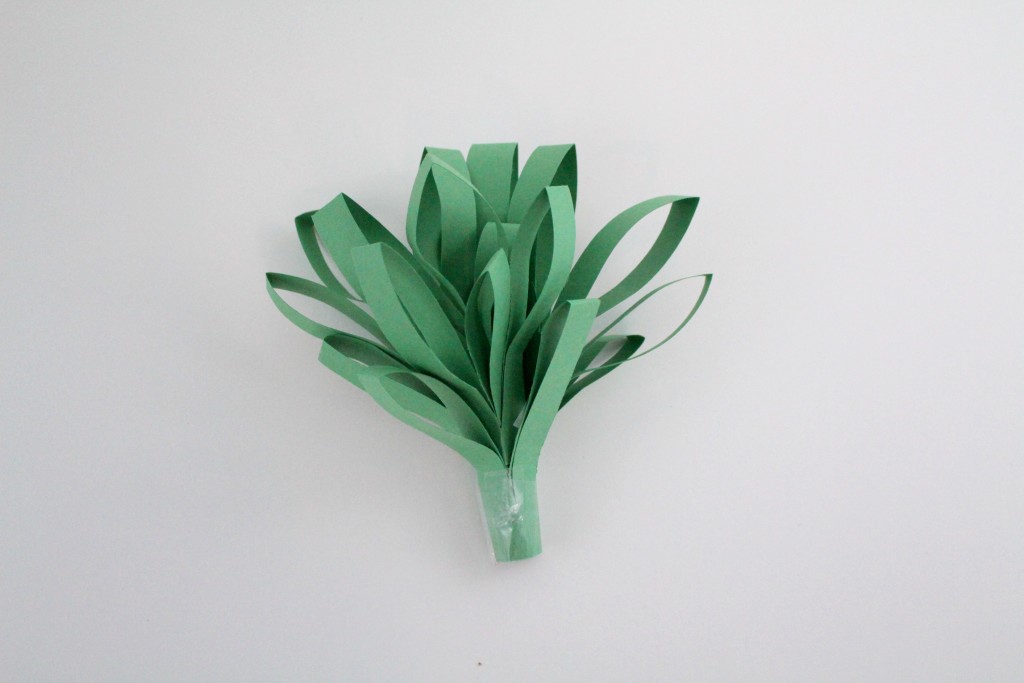
Step 1.) Cut the green paper in half. Take one of the pieces and fold that in half.
Step 2.) Use the scissors to make cuts (the flower stems) From the fold of the paper to about an inch or two from the bottom of the paper edges. Make the cuts at least 1/4 of an inch wide up to 1/2 inch wide.
Step 3.) Cut this into thirds (as shown).
Step 4.) Layer the pieces on top of one another about 2 inches apart so that they are stacked as shown. Tape to secure. *This sill give your bouquet height in the center and an even look when completed.
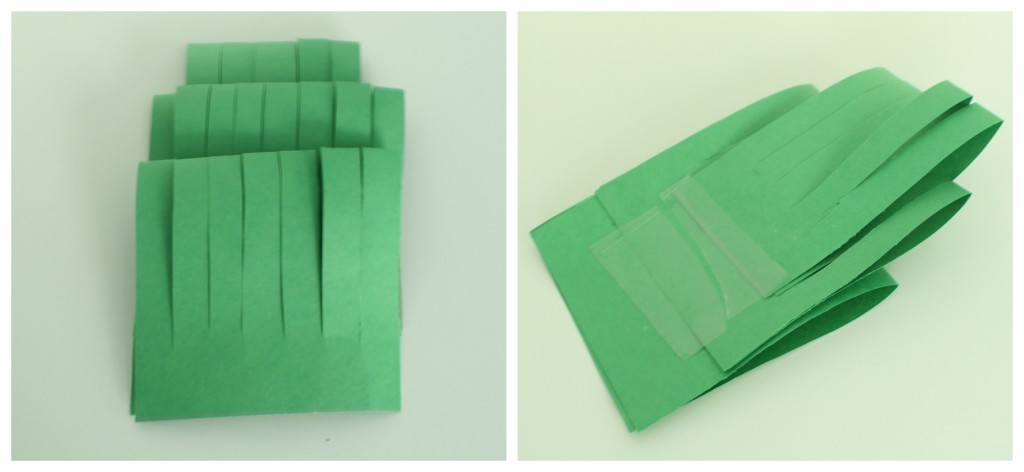
Step 5.) Roll and wrap the stems into a tube and tape well to secure at the bottom. Fluff out the stems a bit and set aside.
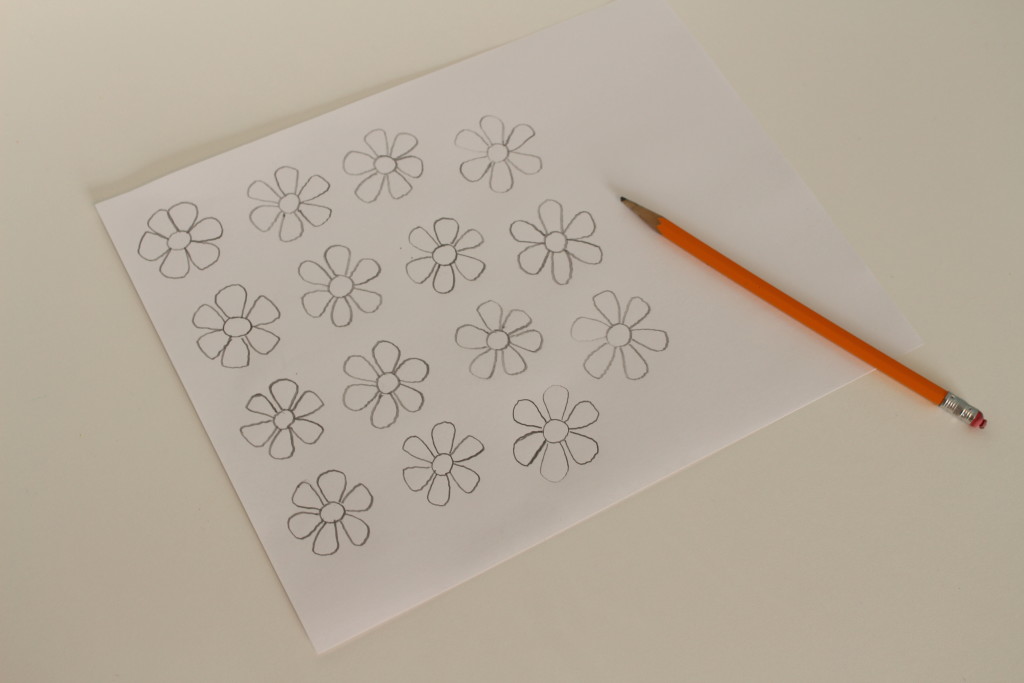
Step 6.) Use your pen or pencil to draw as many flowers as you need (count the amount of stems you have in your bouquet)
Step 7.) Color in your flowers using your markers.
Step 8.) Cut out your flowers.
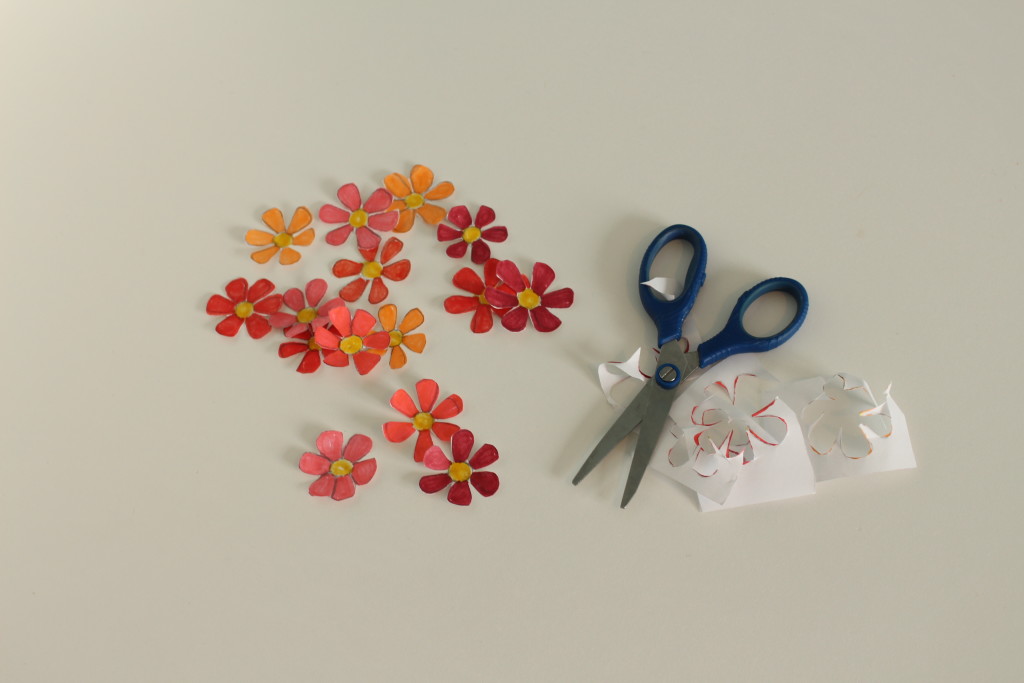
Step 9.) Glue the flowers to the ends of the stems.
Step 10.) Put your bouquet into a cup or vase and enjoy!
