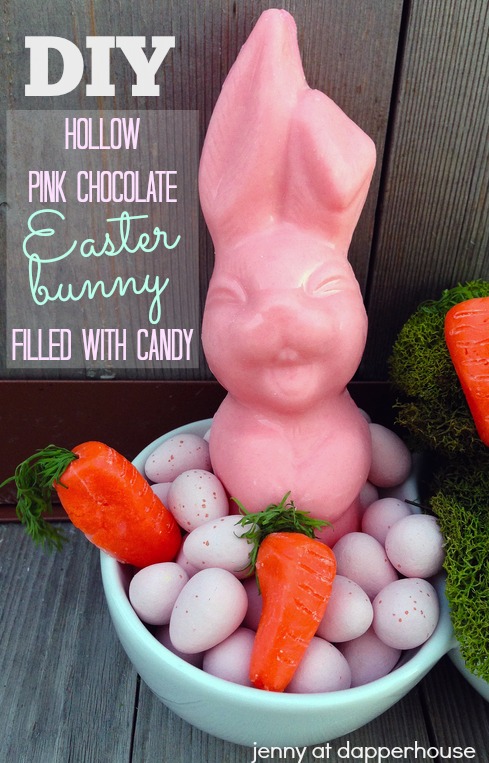
Want to have some fun while making something simply amazing? Of course you do! Making candy in molds is easier than you might think. If you have never done it before then now is the perfect reason to start! Wouldn’t you love to give this cute chocolate bunny to the people you love? I am giving you step by step instructions so that you can make this darling Hollow Pink Chocolate Easter Bunny Filled with Candy.
Time: 1 hour & 15 minutes
Servings: 1
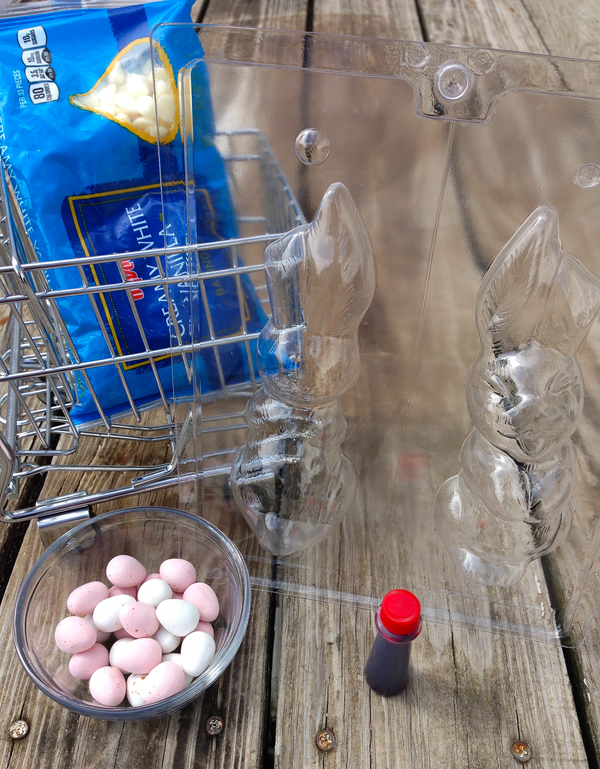
Ingredients
- 2 Cups White Chocolate Baking Chips
- ½ Cup Chocolate Eggs
- 1 Medium Two-Sided Plastic Bunny Mold
- Red or Pink Food Coloring
Optional Tools
- Candy Making Gloves
- Paintbrush
- Icing Bag & Narrow Tip
Instructions
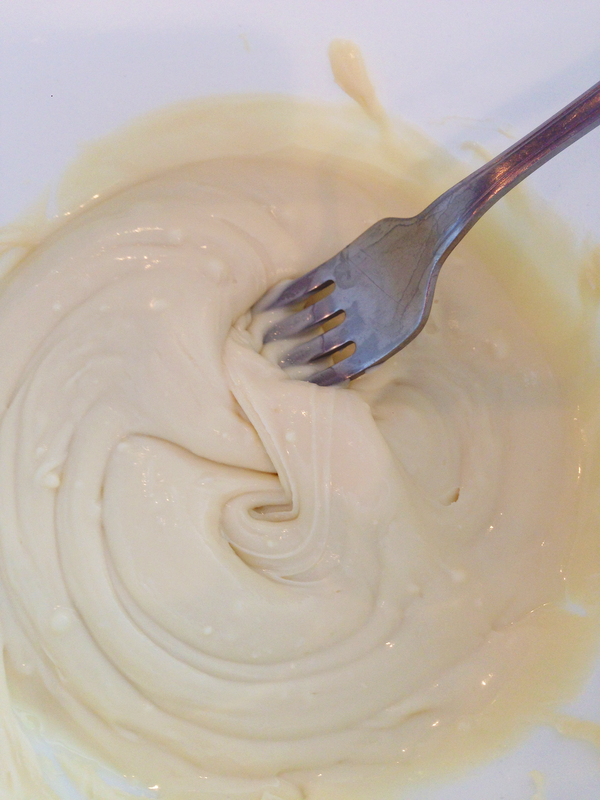
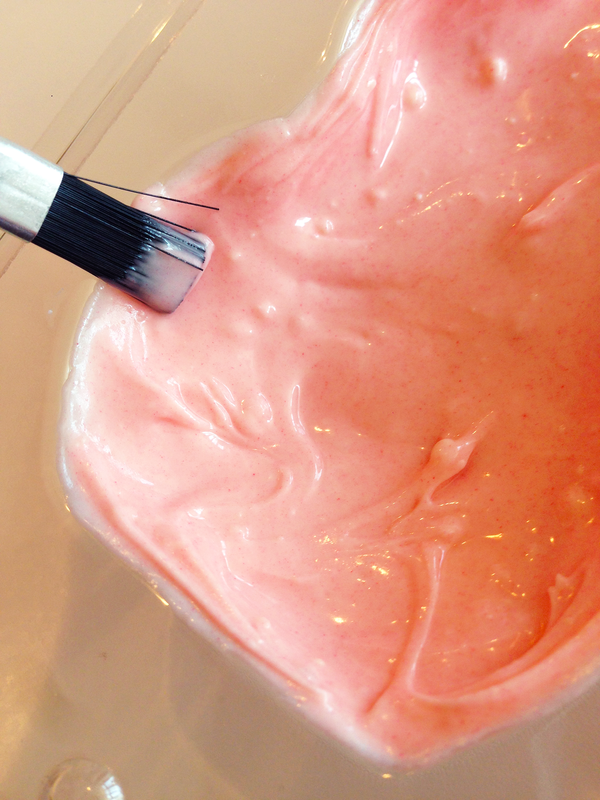
1. Add 1½ cup of white chocolate baking chips to a medium microwavable mixing bowl. Heat in the microwave for 30 seconds. Remove and stir. Microwave twice more at 30 seconds each time, stirring in between, or until completely melted. Heating for short periods (such as 30 seconds at a time) and continuously stirring helps to ensure the chocolate does not burn. Remove from the microwave and stir until chocolate is completely smooth and silky. There may be a few air bubbles throughout.
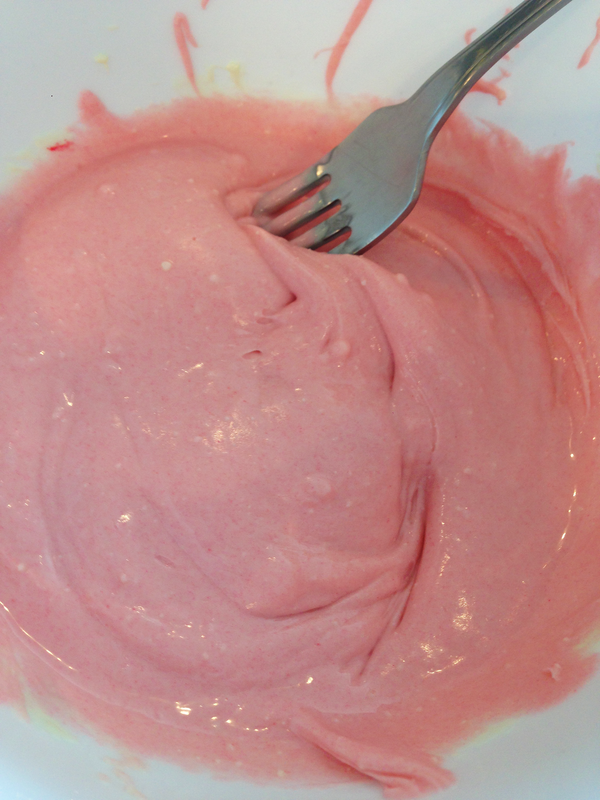
 2. In this recipe, I added 1-2 drops of red food coloring to create a shade of pink. However, I also highly recommend purchasing Wilton’s paste-based food coloring. You can buy pink by itself or in a multi-color pack. Stir the melted chocolate until the color is evenly distributed and as desired.
TIP: Be certain that your plastic bunny mold has been cleaned and dried completely. If there are water or debris in the mold this will ruin the appearance of the chocolate bunny.
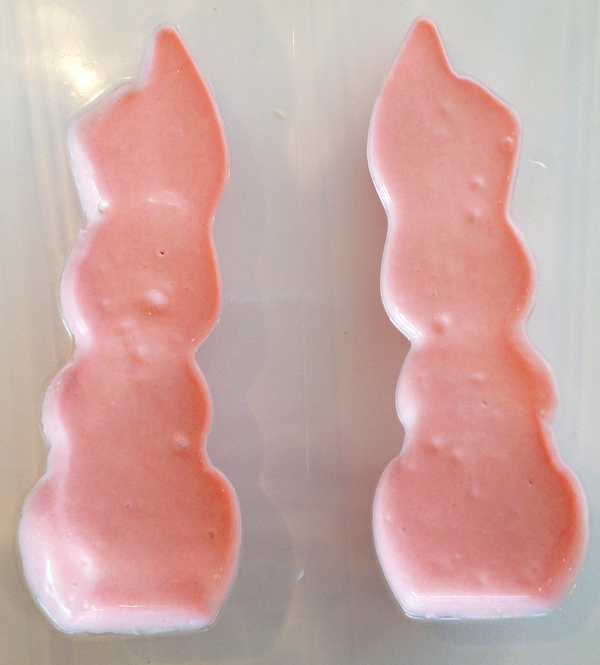
3. Slowly pour, or spoon in, the melted chocolate into the front and back molds. Do not fill the mold to the top, because you want to leave room for your chocolate eggs. Remember, you are creating a hollow bunny!
 TIP: Tap the mold against your countertop to ensure any visible air bubbles at the front of each mold are eliminated. Lift the mold above your head to check for air bubbles. If there are none, you may proceed to the next step.
4. Once all of the air bubbles are removed, tilt the mold back and forth in order to allow the chocolate to spread evenly and along the sides. Next, take a small spoon or unused paintbrush and distribute the chocolate evenly onto the sides of the bunny. Ensure that the sides are not too thin or they will break upon removal from the mold.
 5. Place the filled plastic bunny mold in the freezer for approximately 20 to 30 minutes. Remove the mold from the freezer. Wear candy-making gloves if you have them (they eliminate fingerprints). Lightly touch the inside of the mold to ensure it is solid. Place it on the countertop and gently pop the front and back molds from the plastic. Place them onto a baking sheet or a large plate.

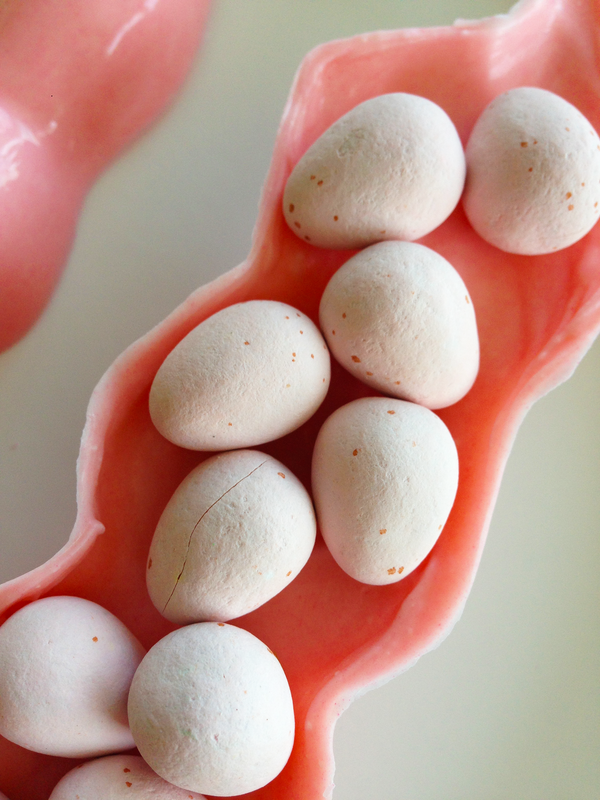
6. Add chocolate eggs to the hollow center of the front OR back mold (do not fill both sides).
7. Add ½ cup white chocolate baking chips to a small microwavable mixing bowl. Heat in microwave for 30 seconds. Remove and stir. If needed, microwave for another 30 seconds or until completely melted. But, again, be careful that the chocolate does not burn. Remove and stir until the chocolate is completely smooth and silky.
8. Add 1 drop of red food coloring to create a shade of pink that matches the body of the bunny. Stir the melted chocolate until the color is evenly distributed and as desired.
9. Take a small spoon, unused paintbrush, OR icing bag (with a tiny round icing tip) and distribute a small string of chocolate along the rim of the front or back bunny molds (you don’t need to do both sides). Take the side that is not filled with pearl sixlets and press it onto the opposite side, ensuring that edges match perfectly. Carefully place the chocolate egg filled bunny onto a plate and into the freezer for approximately 20 minutes. Remove the bunny from the freezer. Gently touch the edges to ensure the mold is securely sealed.
10. If you have a bumpy seam, take a small, sharp knife and gently etch away at the bumps. Be sure not to press too firmly or etch away at the chocolate too much as holes will form.
TIP: Lightly dampen a paper towel with cool water and wipe away excess chocolate flakes at the seam.
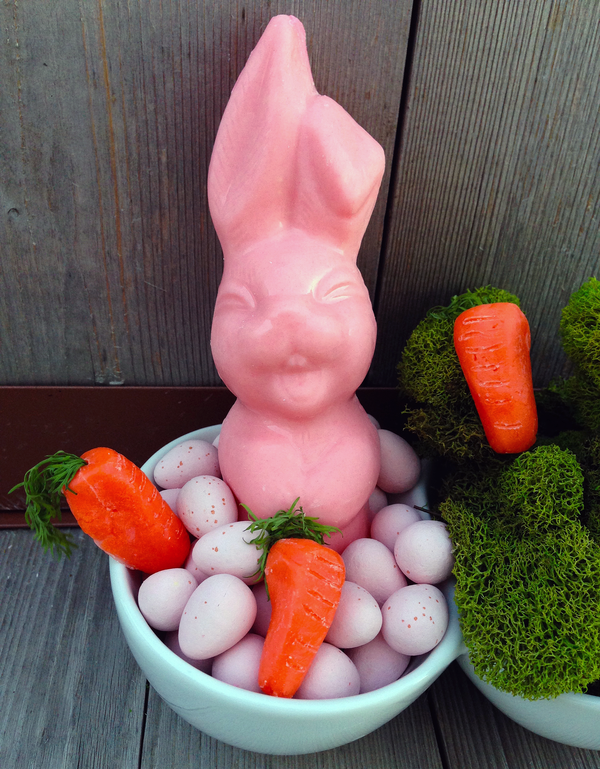
See? It is easy and fun! You could even do this as a foodtivity with older children. Happy Easter!!
What are you DIY – ing this year for Easter?