*This is not a sponsored post. Opinions and content belong to jenny at dapperhouse.
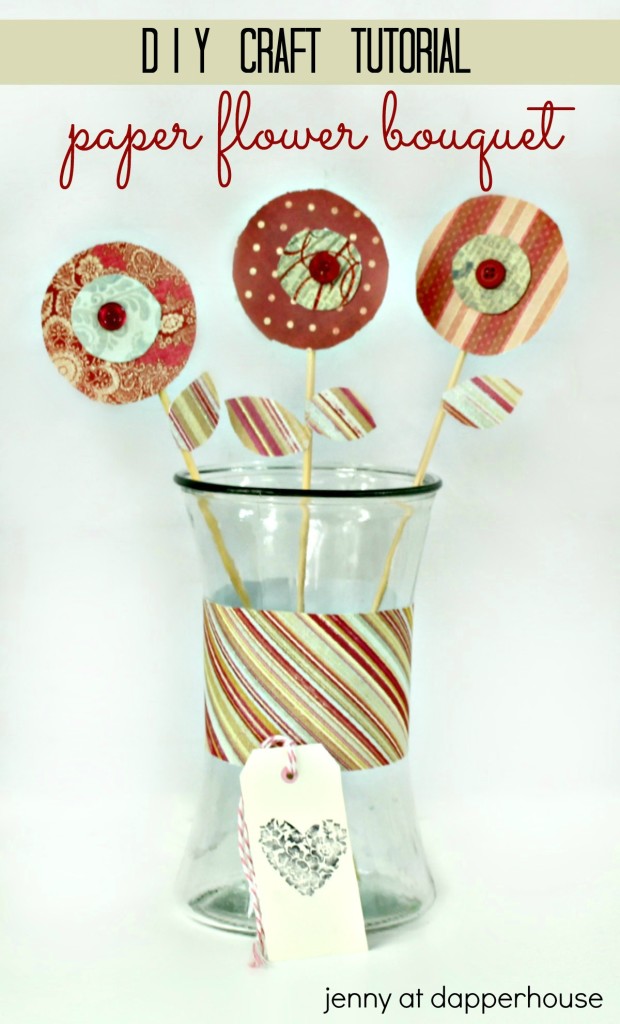
Paper flowers are a great alternative when people are allergic to real flowers or when you want them to last. Paper flowers travel well too, in case you want to deliver them by mail. Not to mention that you can use colors and patterns of paper for any theme that fits the person to whom you are making and sending the flowers! In this post I will show you how to make fast, easy and very pretty DIY paper flowers for any occasion. You simply use the paper that suits your recipient or reason.
Step 1:
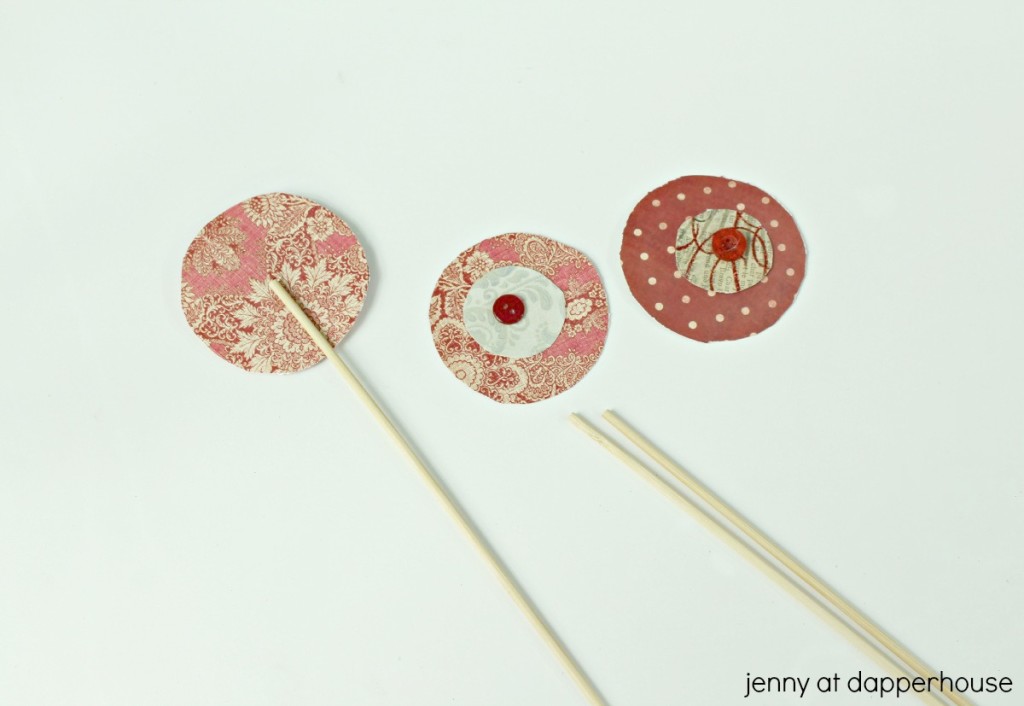
Cut out paper circles the size that you want your flowers to be. Lay them out.
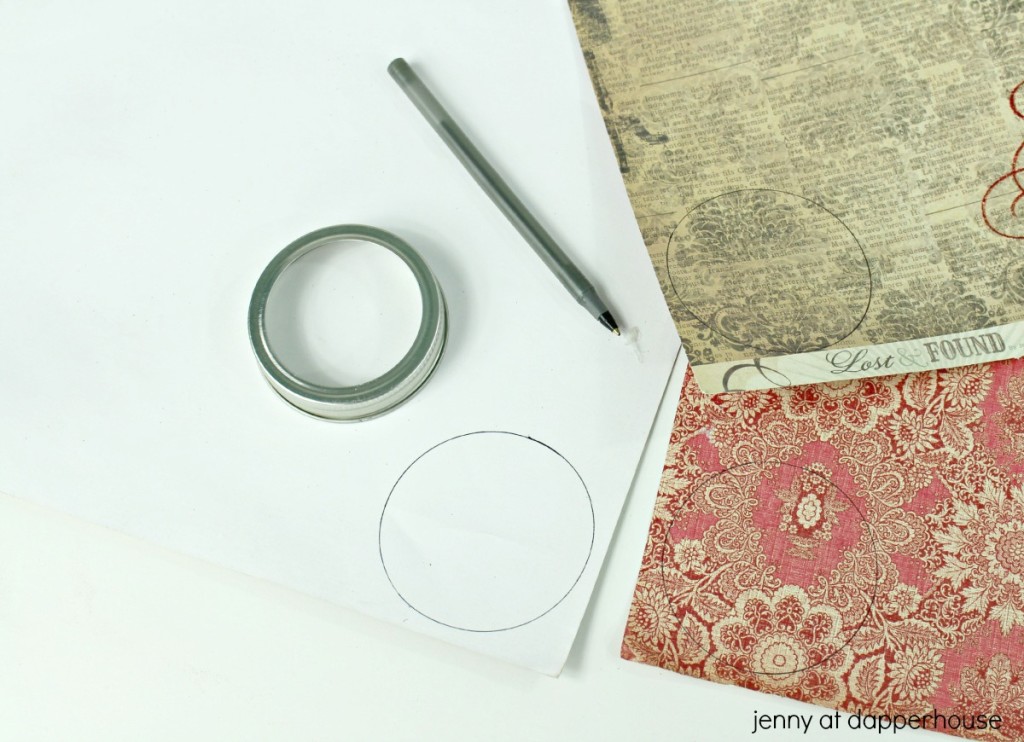
Step 2.
Cut out another set of circles that accent and compliment the flowers. Cut them at least half the size of the first circles. Set them on top of the first circles.
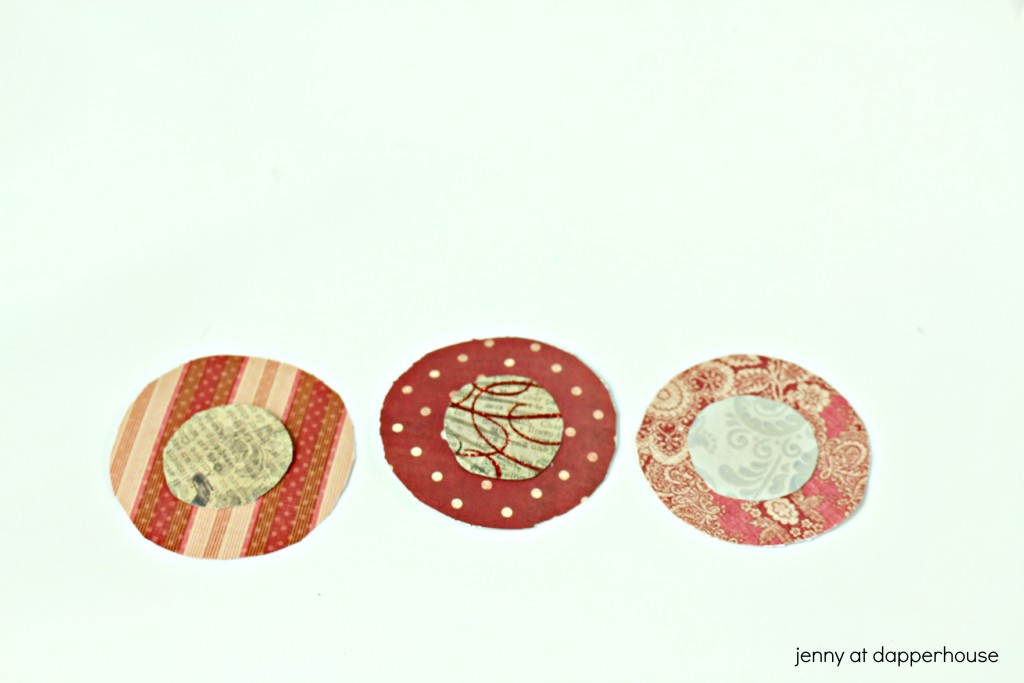
Step 3.
Find buttons, gems or other embellishments to go in the center of each flower. Lay those out as well.
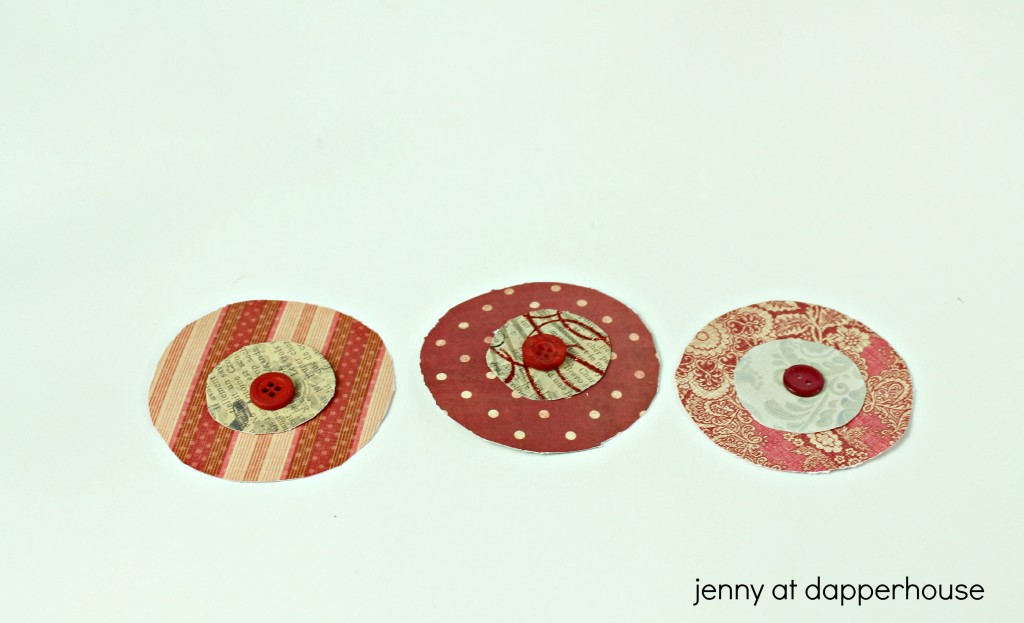
Step 4.
Use a hot glue gun to secure all three pieces of each flower together.
Step 5.
Use the hot glue gun to secure the back of each flower to a wooden skewer.
Step 6.
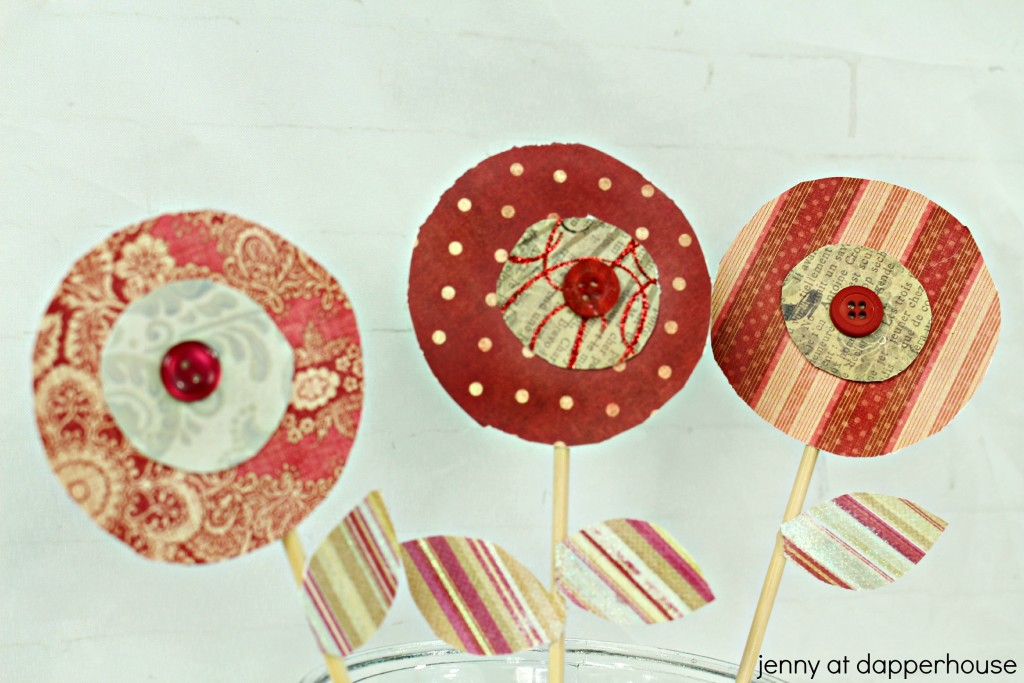
Optional. You can take coordinating paper and cut leaves to hot glue to the stems of the flowers using hot glue.
Step 7.
Cut floral foam to fit your container and press down inside.
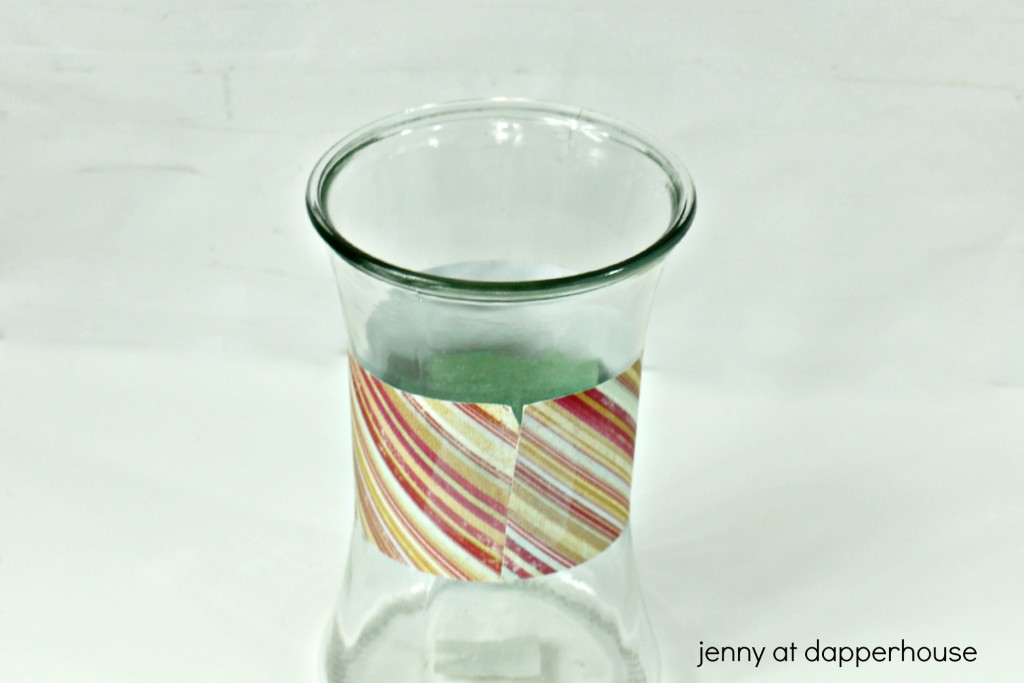
(For this craft I used a glass container so I pushed the flower foam in the center and covered it with a strip of coordinating paper to cover the foam.)
Step 8.
One by one arrange your flowers in the container by pushing them into the floral foam to hold them into position.
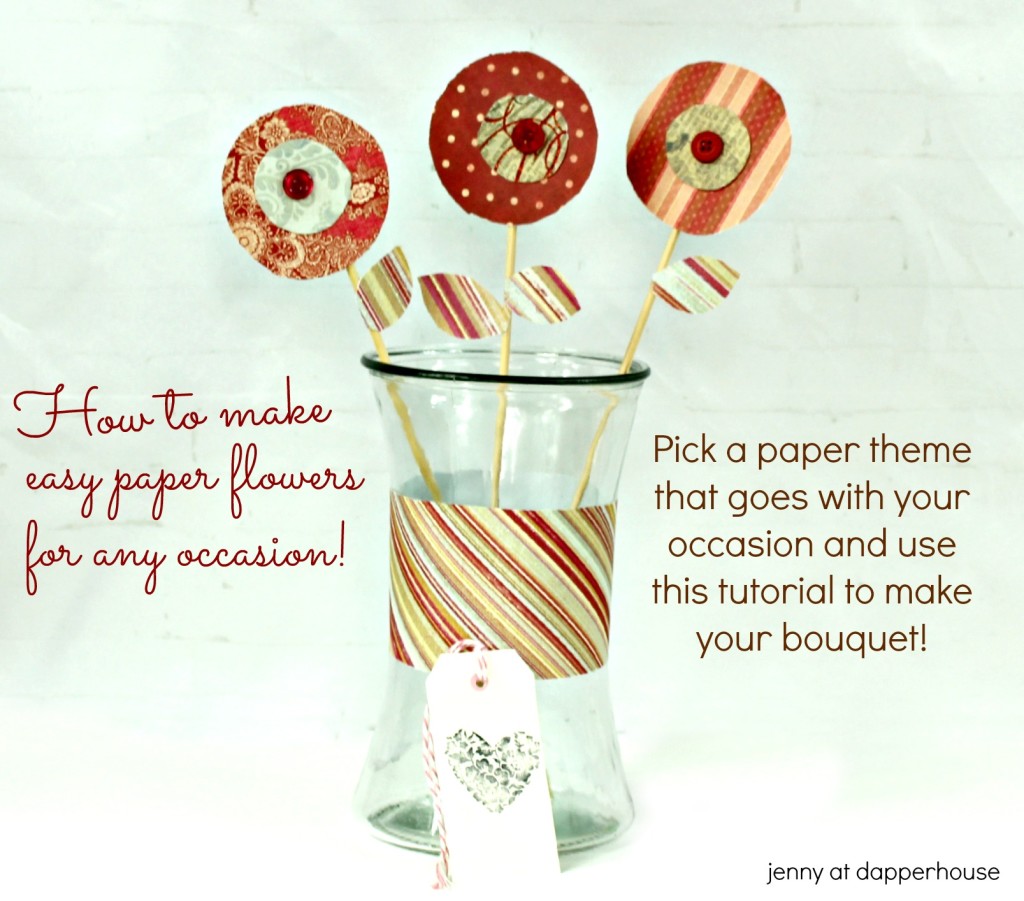
You are done!
So easy right? And super fun to make and give.
This is a fun project to do with kids and let them donate their bouquets to nursing homes and hospitals to brighten someone’s day!
