Being in a social media spotlight or not we all want to look our best. Whether you are choosing a new photo for your facebook profile or sending out a pic on instagram you can take a little time to make it a great picture of yourself! Wearing makeup enhances our features and adds the colors that we love to wear. Touching up photos in editing programs to adjust light, color and some touch ups that enhance your natural beauty takes no time at all. Here are some of my tips and tricks for going from no makeup to magazine style edits in some very easy steps! Enjoy.
Step 1.
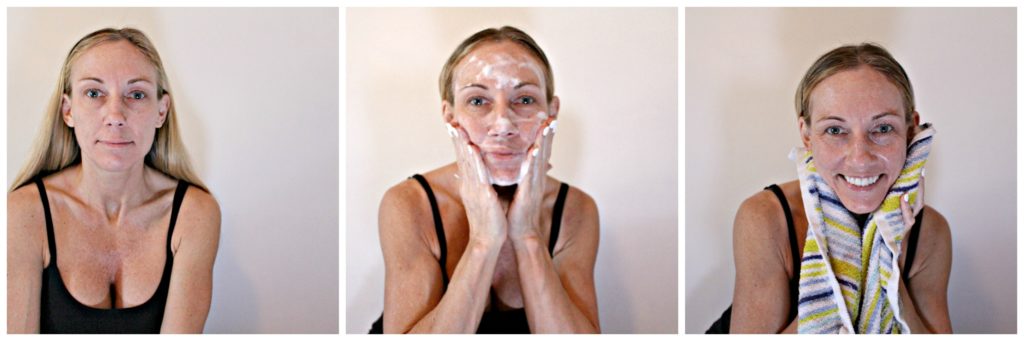
Wash and dry your face.
Step 2.
Prepare your skin with whatever you normally use: moisturizers, sunscreen, concealer, make up primer, etc.
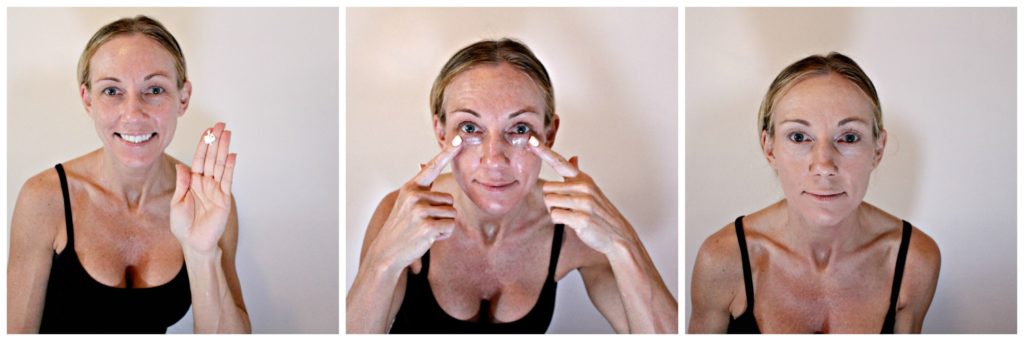
Step 3.
Add your foundation including any contouring, highlights and bronzer that you normally use for photographs.
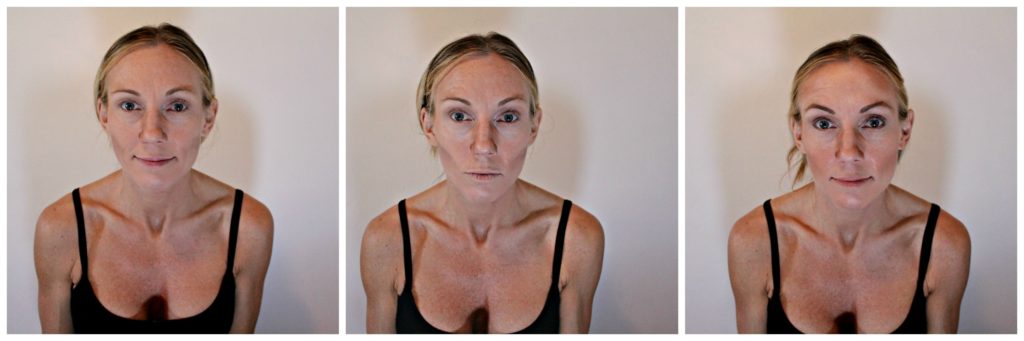
Step 4.
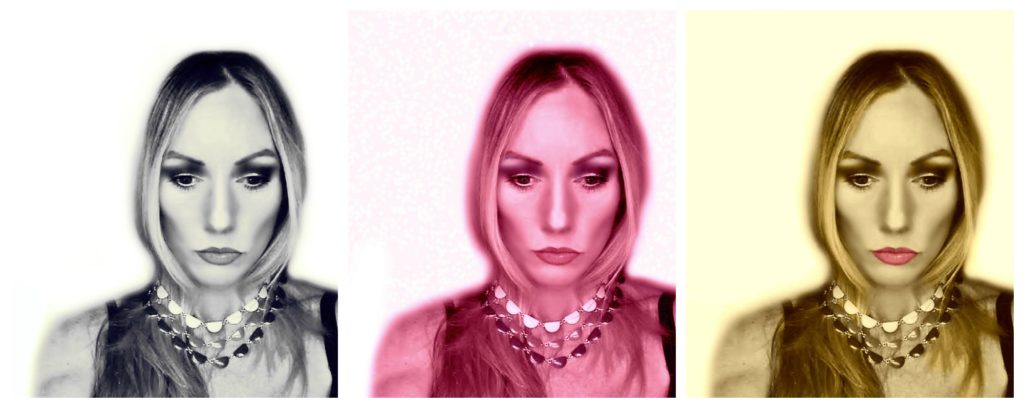
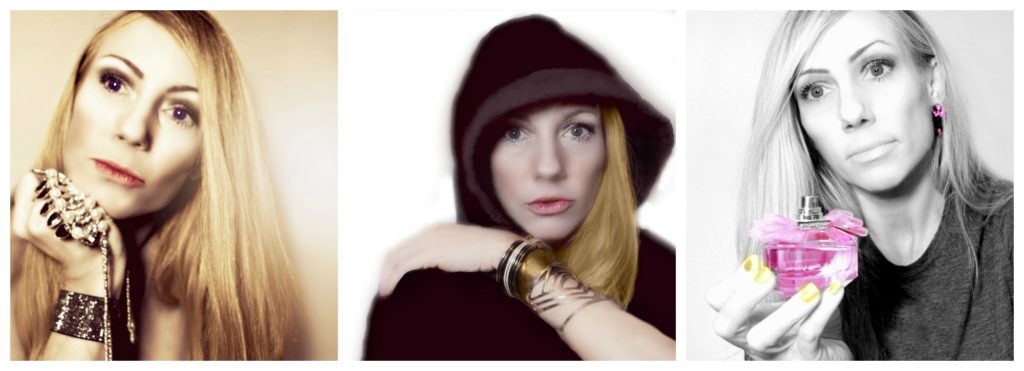
Do your makeup a little heavier than normal so that the distinctions are captured in the lighting and the photos. Upload your final pic to a photo editing program and smooth out the skin and adjust lighting (in pic 2). Fix any obvious flaws or blemishes that you want to change (I bumped my nose a little on the left side to make it more straight in the 3rd pic). So far there has been no other edititng aside from pics 2 and 3. Already it is looking better with not much time or effort. But I have to go do my hair and add some jewelry for a photo worthy look…
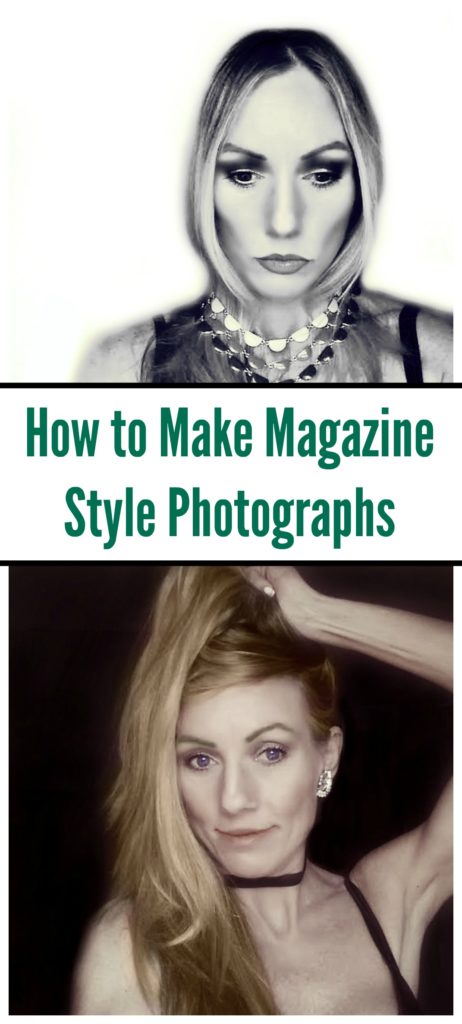
 Now that your make up and hair are done and your accessories and wardrobe is ready, take some pics!
Step 5.
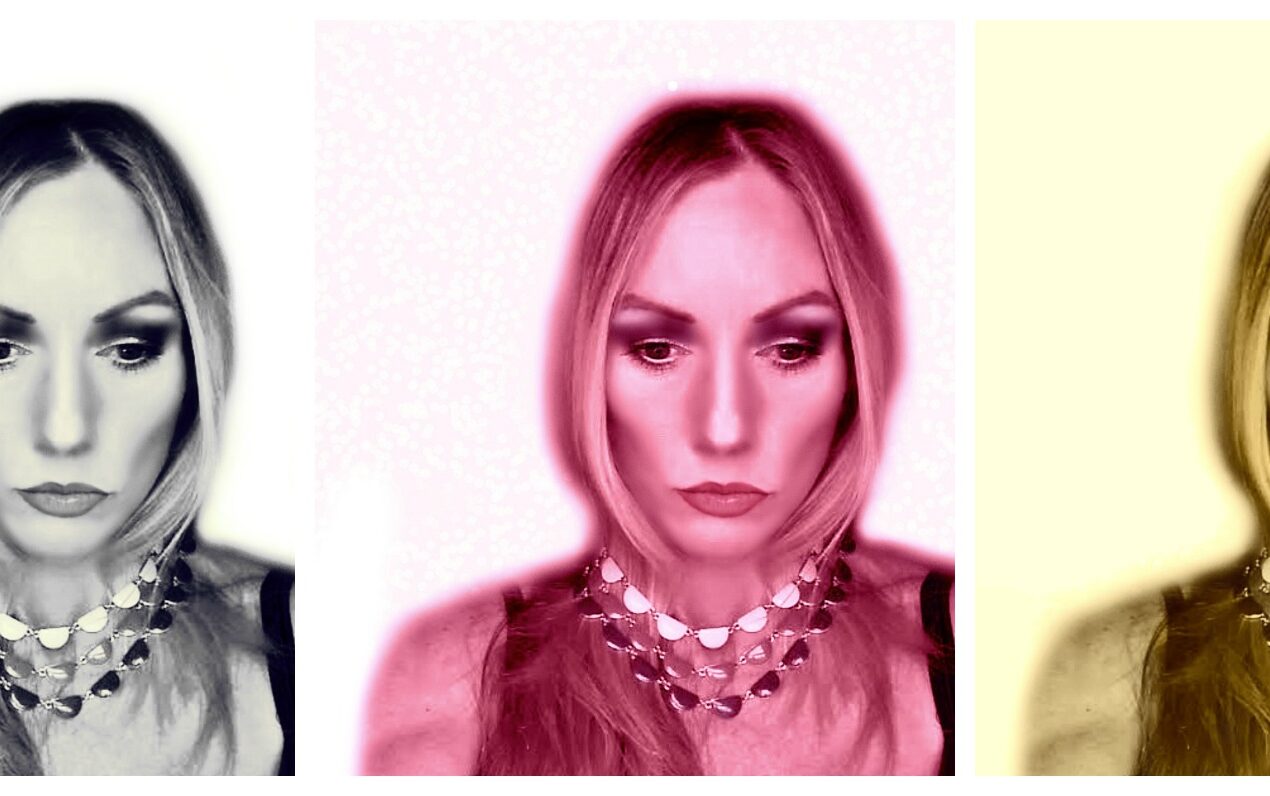
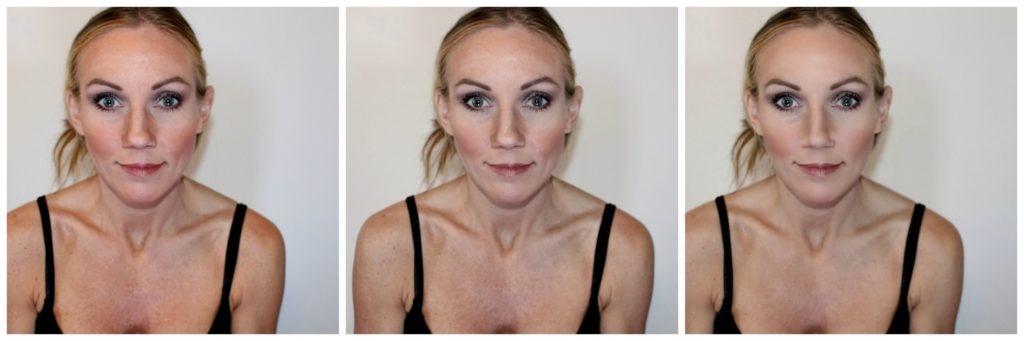
It is best to take the photos when you are standing in direct sunlight facing the sun. The pic I am using here I took in the morning sun of my bedroom window using my cell phone.
Notice that my nose is uneven in the first pic. In the second pic I have shaped my nose, smoothed my skin and added a rose hue to the entire photo. I also went around the photo and softened the edges around my entire portrait (optional).
In the third pic I have gone in and added some blonde back into to my hair, removed the flyaway hairs and brought back the blue in my eyes. I also sharpened the image so that it is less blurry than the second pic.
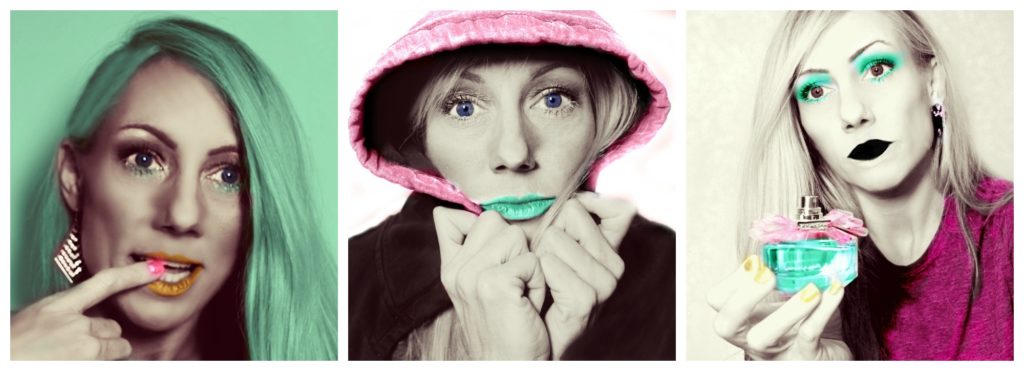
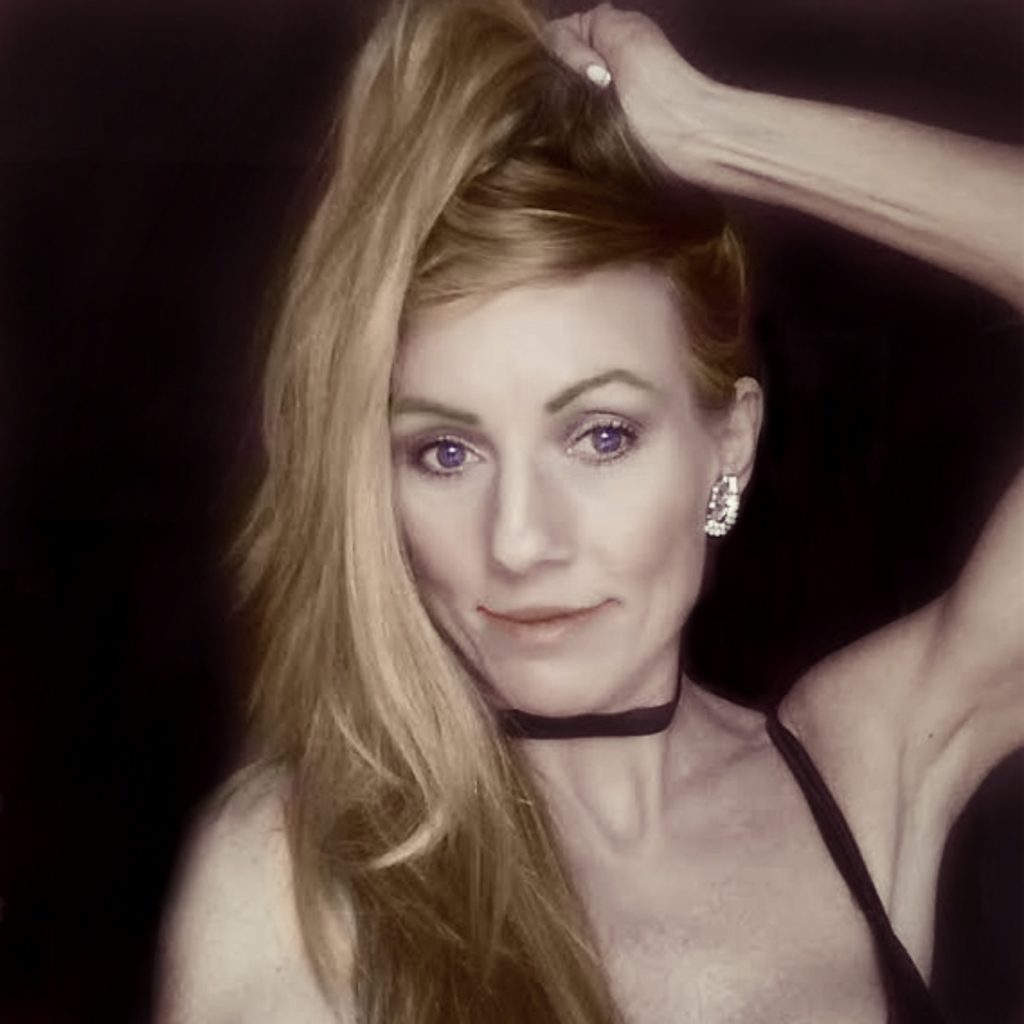
When you get a pic you like, change the filters to play around with the look!
Lets recap!
- Beginning with your make up done with highlights, low lights and color are essential.
- Using an editing program to manipulate the lighting and smooth skin is next.
- Fixing any obvious flaws such has my crooked nose and flyaway hairs are next.
- Sharpening the image is the last step.
- Then find your filter!
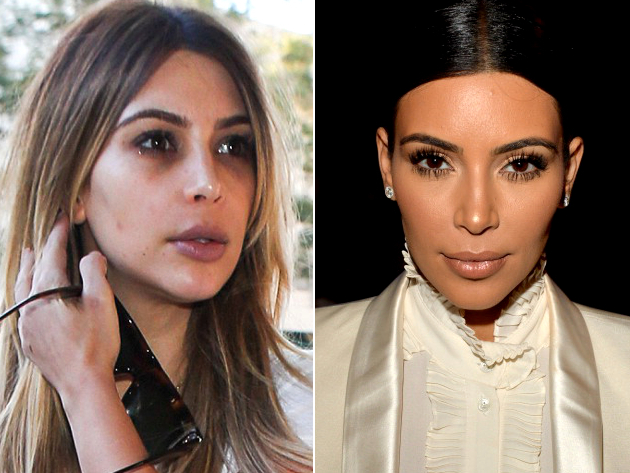
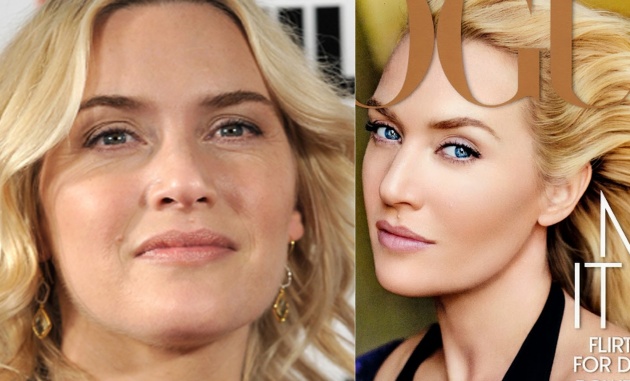
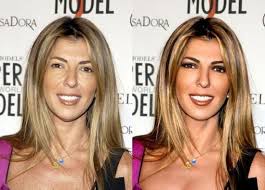
Easy right? And lots of fun. Here are some cool before and afters of celebs to show you how what a difference can be made using make up and editing!
Have fun being glamorous!
Read This:
5 Best Free Photo Editing Sites
Follow me on instagram to check out more of my make up and photo edits at:
and at