This shop has been compensated by Schwarzkopf #KeratinColor #KeratinCares
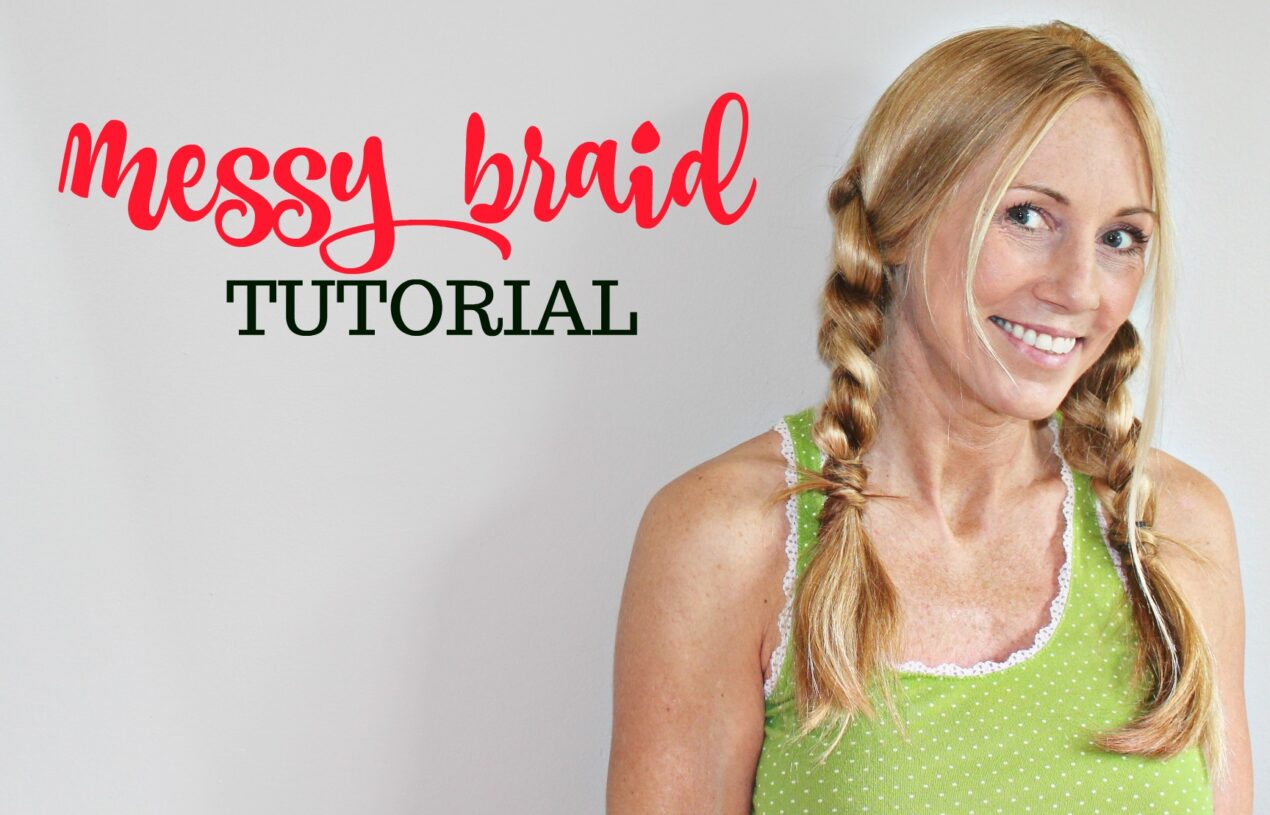
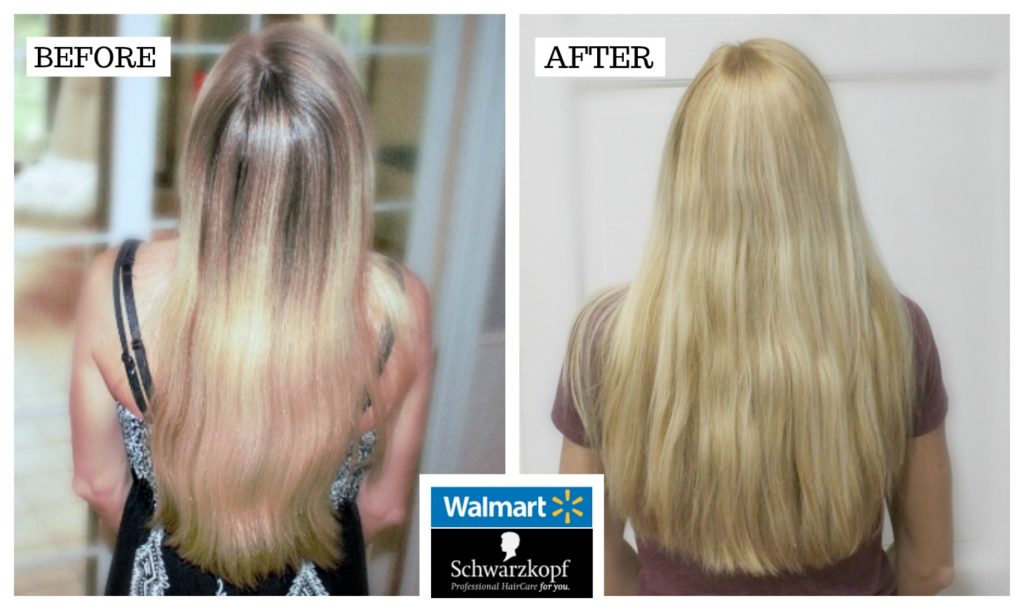
I was ready to do a messy braid tutorial for you so I set up the camera to take photos of the back of my head. This is when I saw the color differences in my hair! It was more of a contrast than I had known. I had been growing my hair out for a long time (taking advantage of the two-toned ombre look) but since my hair comes in naturally light blonde in the front, I didn’t know the contrast was so pronounced. I decided that I wanted to even out the color and have it be more uniform from the roots to the ends.
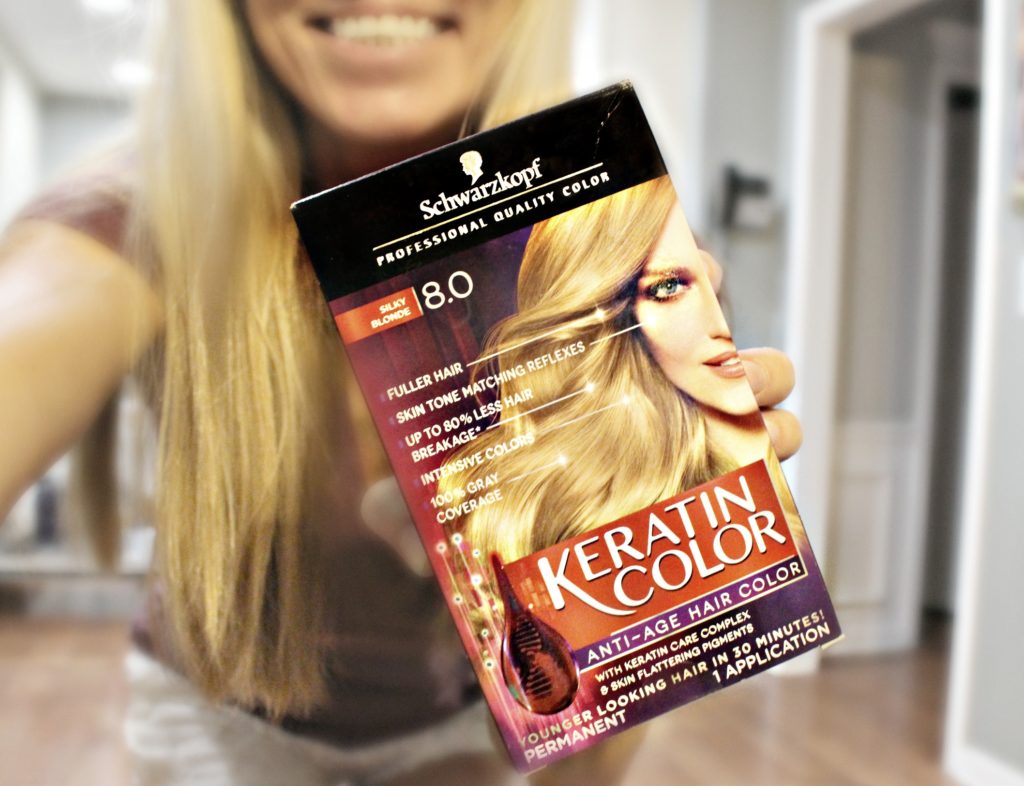
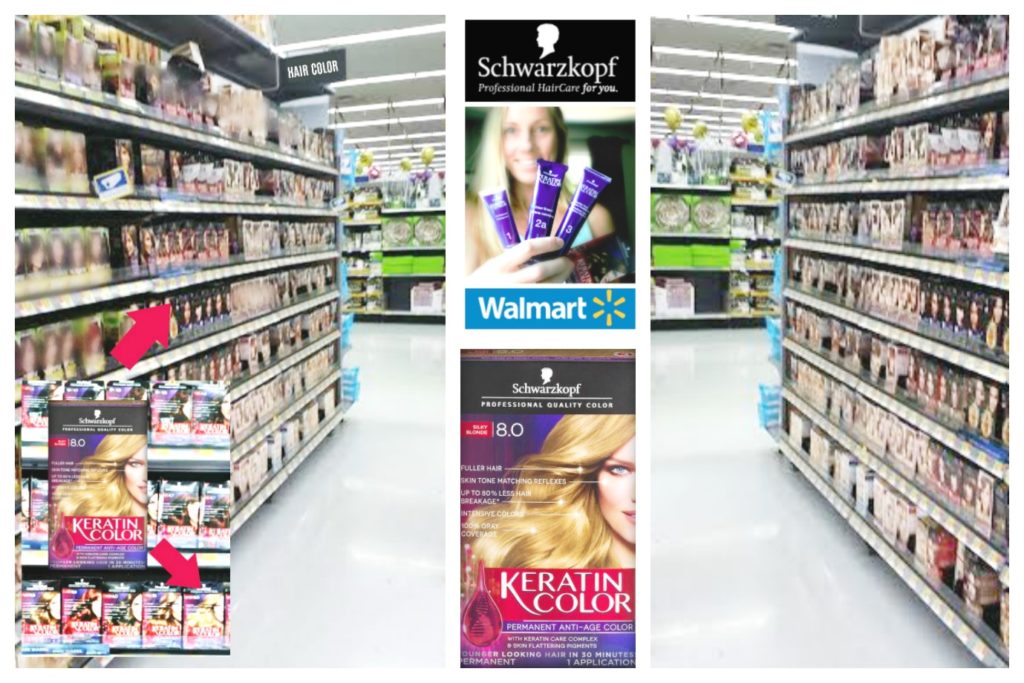
I didn’t want to wait to get my hair done (because I am impatient like that) so I ran up to Walmart to get hair color. Schwarzkopf Keratin Color is known to care for your hair. It prevents damage with 80% less hair breakage than other brands. It also completely and evenly covers grey.
I have long hair and din’t want to risk damaging it so I went with Schwarzkopf Keratin Color in Silky Blonde. I like that it has a pre-treatment for helping the color take more evenly and prevent breakage at the ends. Since my hair was so many different shades and is more porous at the ends, I was grateful to have this pre-treatment. I followed the directions in the kit. . .
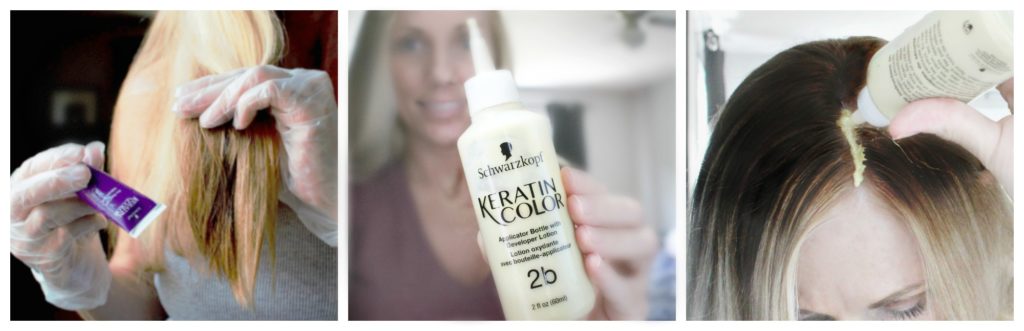
and BOOM! A new color with lots of shine and a healthier feel than before I used it! I was really happy with the results. Everything was evened out and the new colors are gorgeous and intense!
TIP: There is a “Try Me Free” Rebate going on now as well so get yours quick!
Now for the Messy Braid Tutorial (with my new hair!).
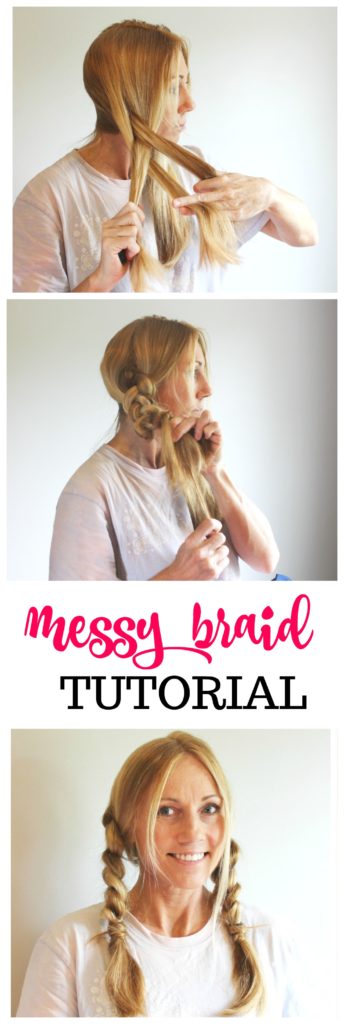
Step 1. Use your fingers to rough up hair at the roots for volume. This also helps the hair not lay fine and perfect because you want it to look messy.
Step 2. Use a center part to divide hair but don’t have the line be perfectly even.
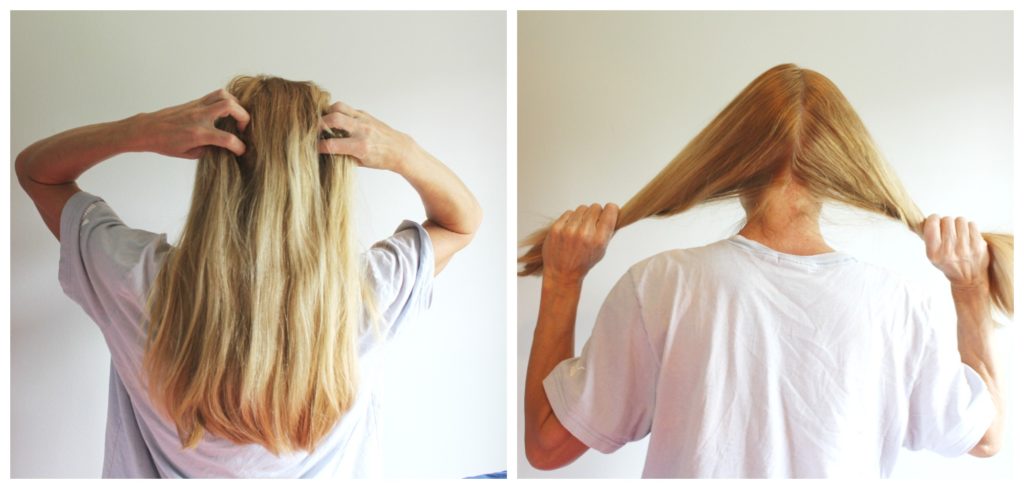
Step 3. braid hair on the ear rather than behind it. Use a light weave rather than a tight one so that they braid is loose.
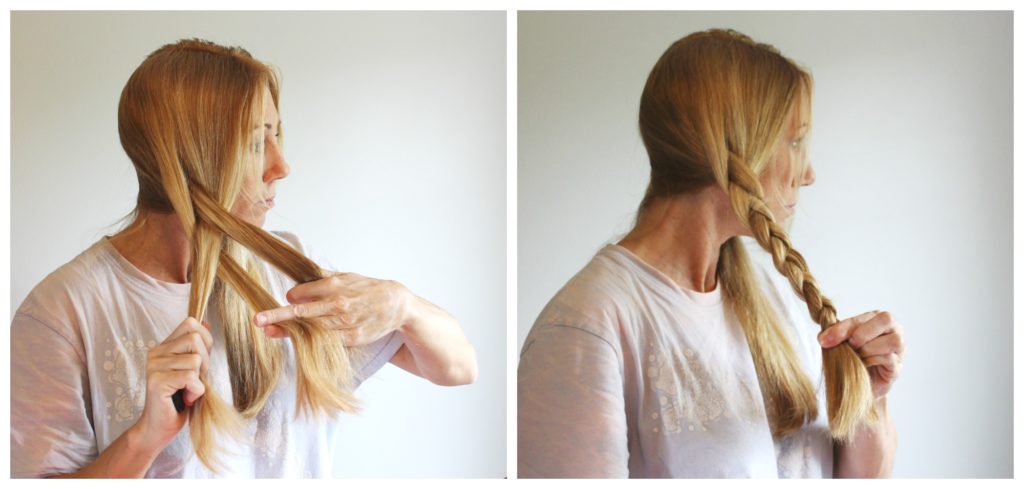
Step 4. This is the tricky part. Pick a strand of hair near the center of the bottom hair sticking out. Gently pull the hair while you help guide the braid upward toward your scalp. (This will give it a messier look.) Repeat this step with two more strands. (Three total.)

Step 5. Use a hair tie to secure the braid. Take the long pieces of hair that you pulled in step 4 and wrap them around the hair band to cover it with your hair. Tuck the end into the hair band to keep it from coming loose.
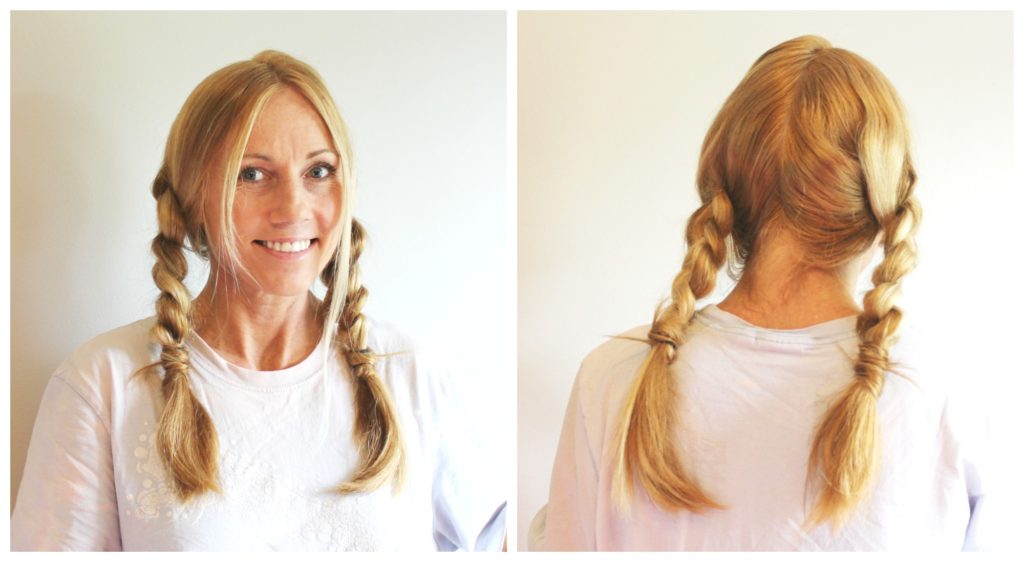
Step 6. Repeat on the other side!
You can follow me on Instagram @dapperhouse
and you can follow @schwarzkopfus too.
Please like us on facebook:
Helene
Cute braids! If I had long hair I would love to try this.
tara pittman
I recently got my hair braided. It made me feel so pretty.
Heather Johnson
That color looks super cute on you! When I had super long hair, I often rocked braids for an easy style option.
Cassie
I never braid my hair and when I try I’m always hopeless at it so this step by step tutorial is good for me! Your hair looks great
Jasmine Eclipse
I love this tutorial! I’ve been wanting to wear my hair in braids more often this summer, I think I will when I go to Hawaii!
Heather
It looks great! I used to color my hair on my own in college, then I married a man who has a hair dresser as a brother in law, so it’s been about 12 years since I’ve done that, however we’ve moved 8 hours away from him, so I need to go back to coloring my own hair. I’ll choose this brand for sure!
Sarah Bailey
I love how your hair looks, the colour is lovely and your messy braid tutorial is fab, I am totally going to have to give that a try!
Heather Gallagher
I love your color! and the messy braid is cute! I’m going to have to try it this summer – my hair is making me hot!
Emily Morton
So cute! I cannot wait until my hair is long enough to do this again!
Anosa
Oh this so pretty. Messy braid look goods on you. I need to grow my hair for me to be able to try this one.
Khushboo
I wish my hair were this pretty and this long! Love the cute braid tutorial 🙂
Adaleta
Your hair looks great!! I love the braids!
Apolline Adiju
What a brilliant way of taking care of your hair. I love the braids too.
Terri Beavers
Your hair is so long and beautiful. Mine has always been too thin to wear it long. I love the messy braid look. I will try this on my grand daughter’s long hair.
Blair villanueva
I miss my long hair, and hope i could braid mine soon. Yours is beautiful!