Vintage Dictionary Alphabet Wall Hanging
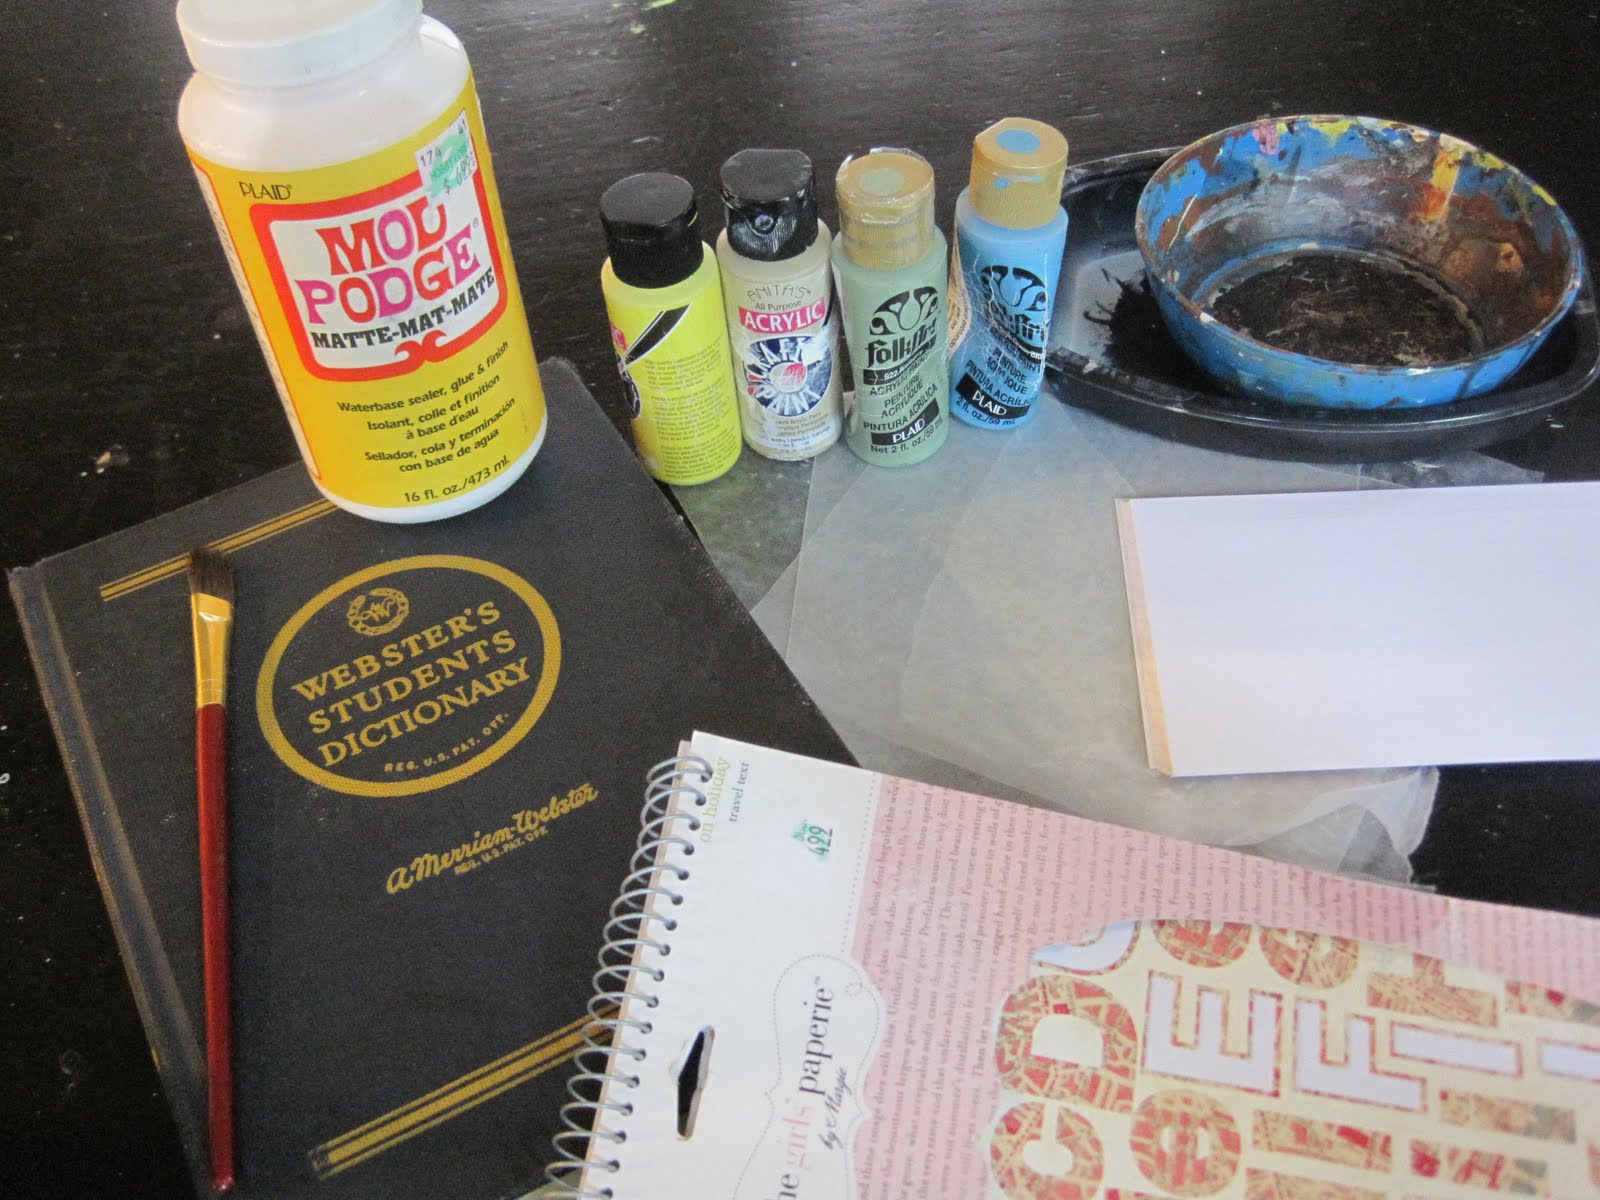
Supplies:
Vintage Dictionary, plain white note cards,
Modge Podge, brushes, alphabet stickers, and other embellishments,
paint colors to match décor, paint brushes, wax paper,
scissors, warm wet washcloth and dry washcloth for sticky glue hands.
Step 1.
Starting with the letter A , choose a page from the
dictionary that you want to display.
dictionary that you want to display.
Make sure that there are no inappropriate words
or content in the page you choose.
or content in the page you choose.
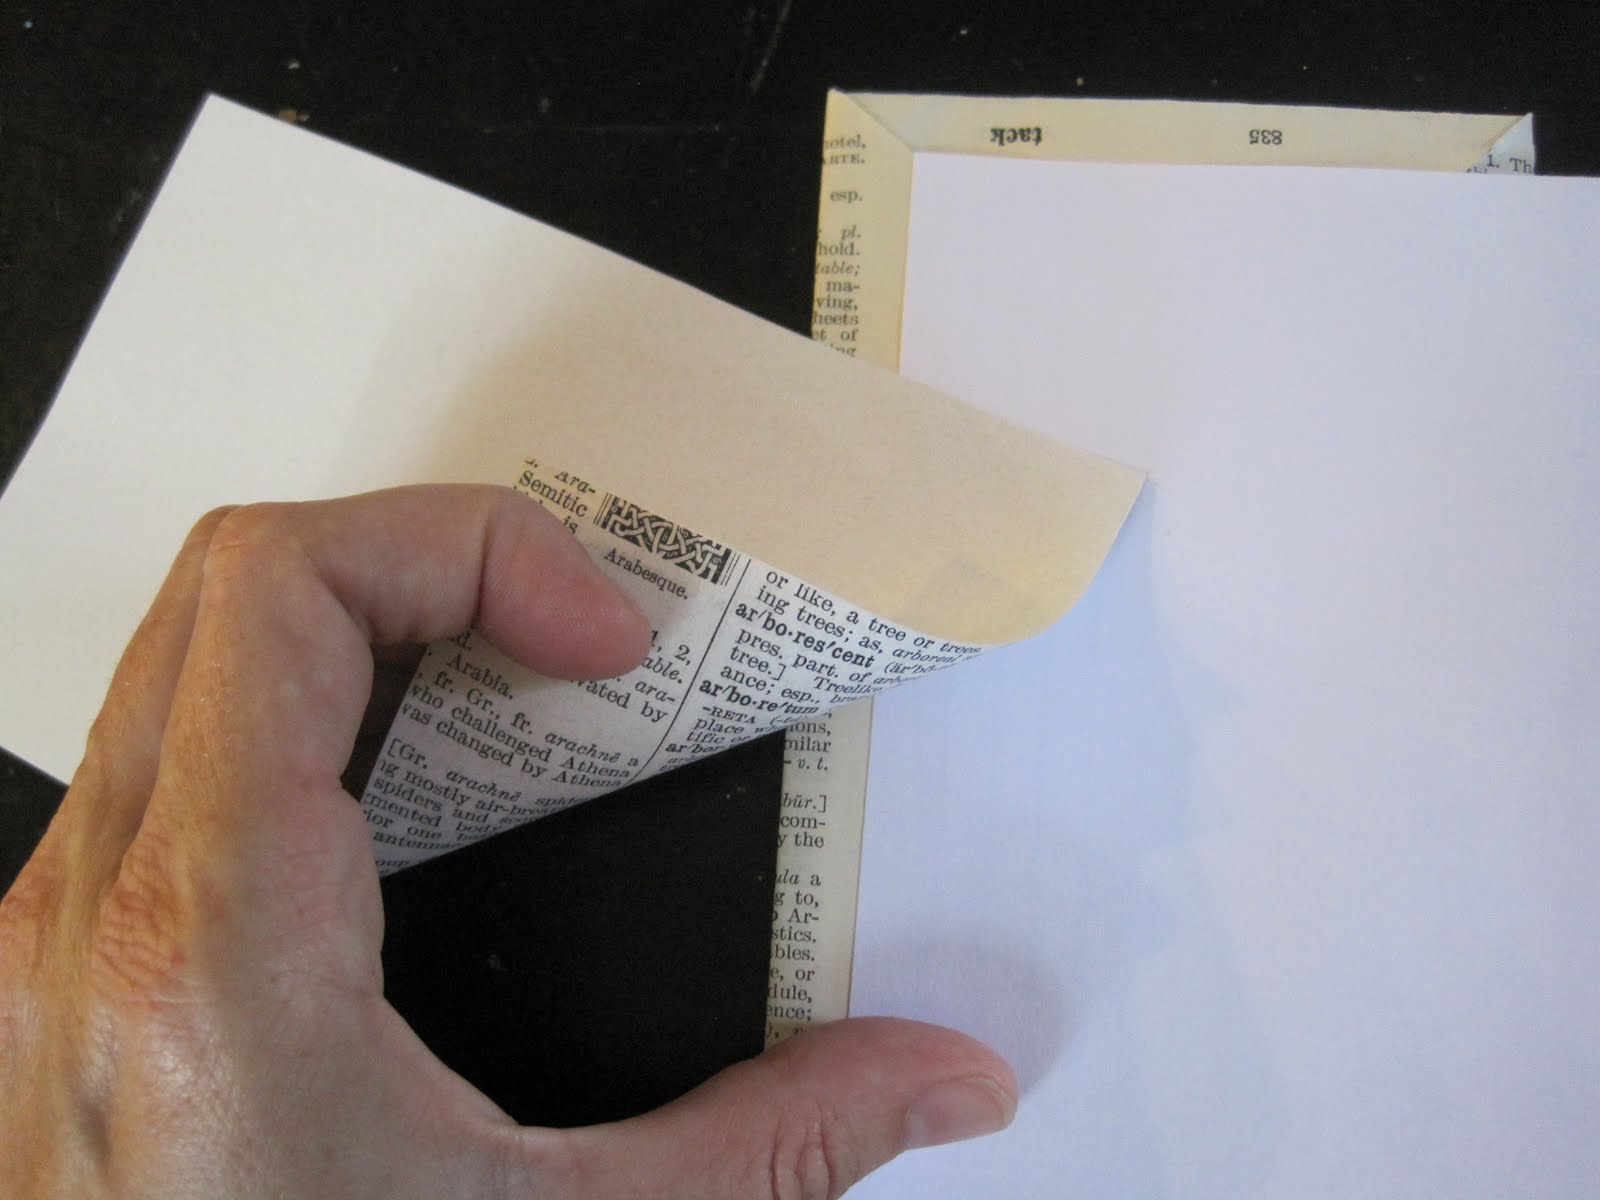
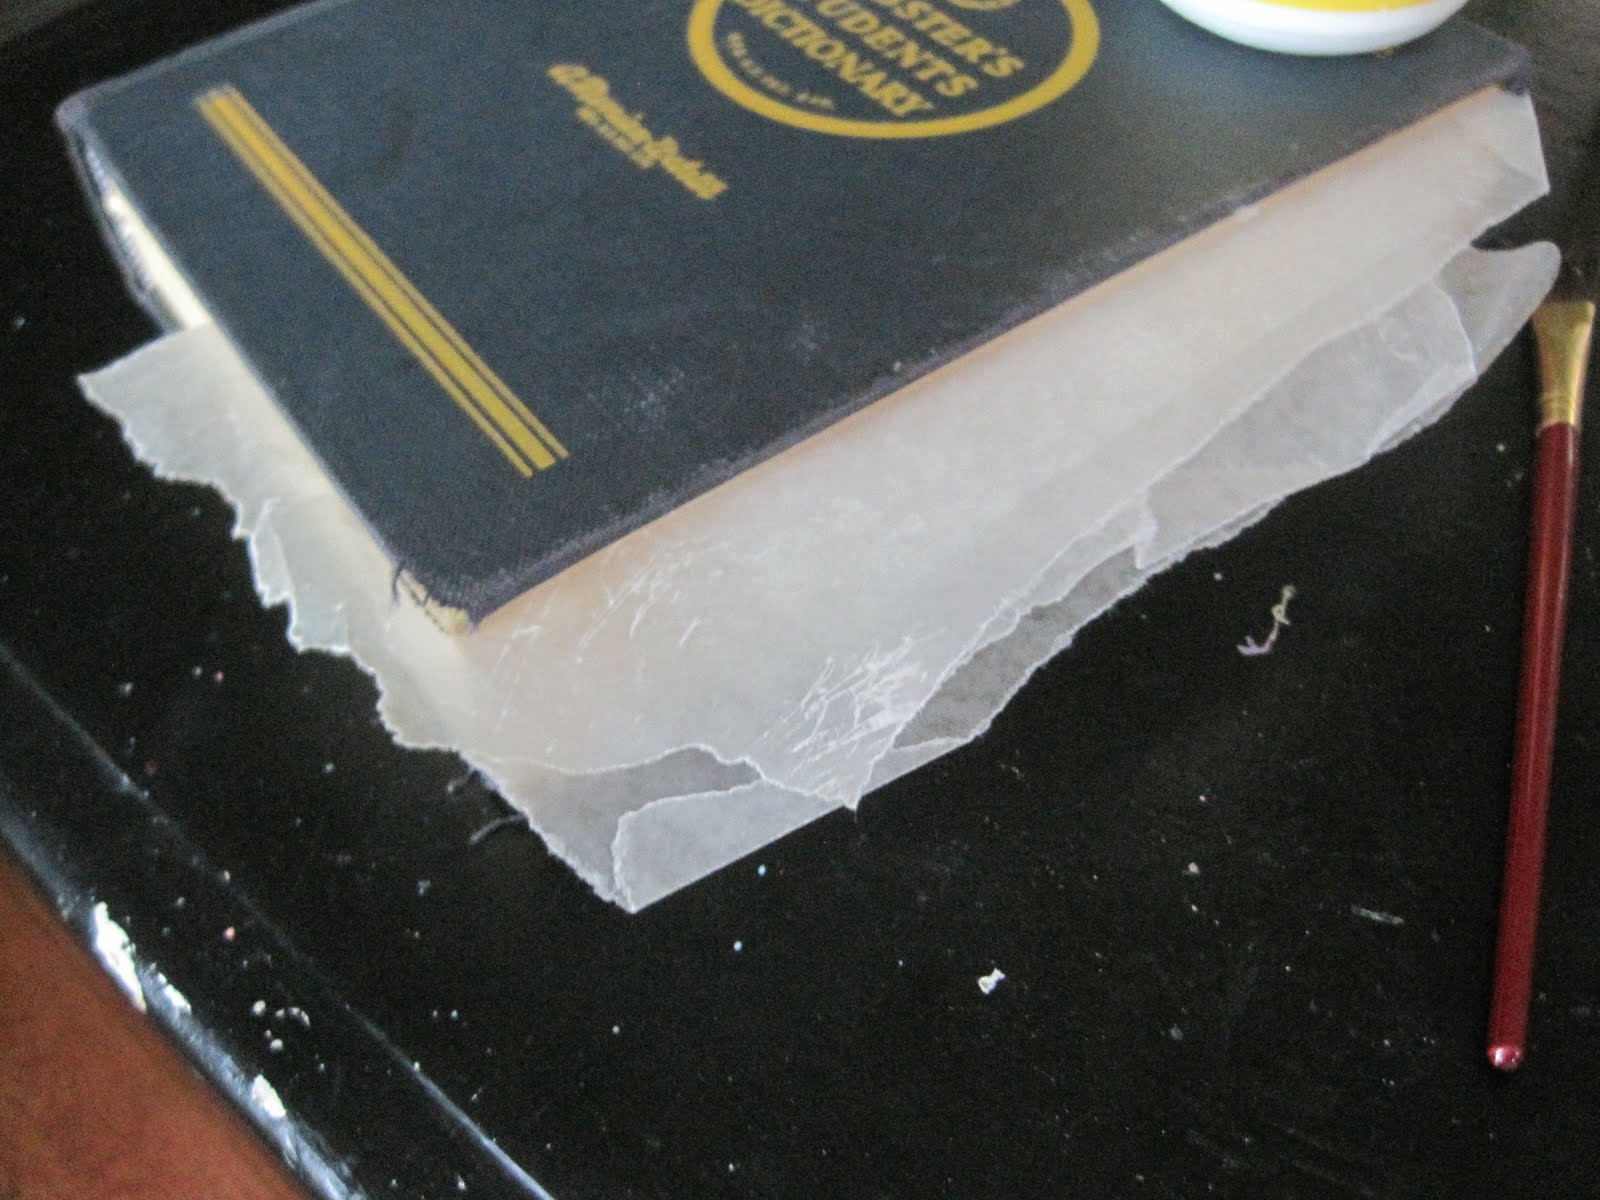
Without ripping it from the book,
Modge Podge the plain index card
Modge Podge the plain index card
and adjust it on the back of the page
so that it is aligned with where
so that it is aligned with where
you want it to be on the front.
Smooth it out carefully to remove wrinkles and air bubbles.
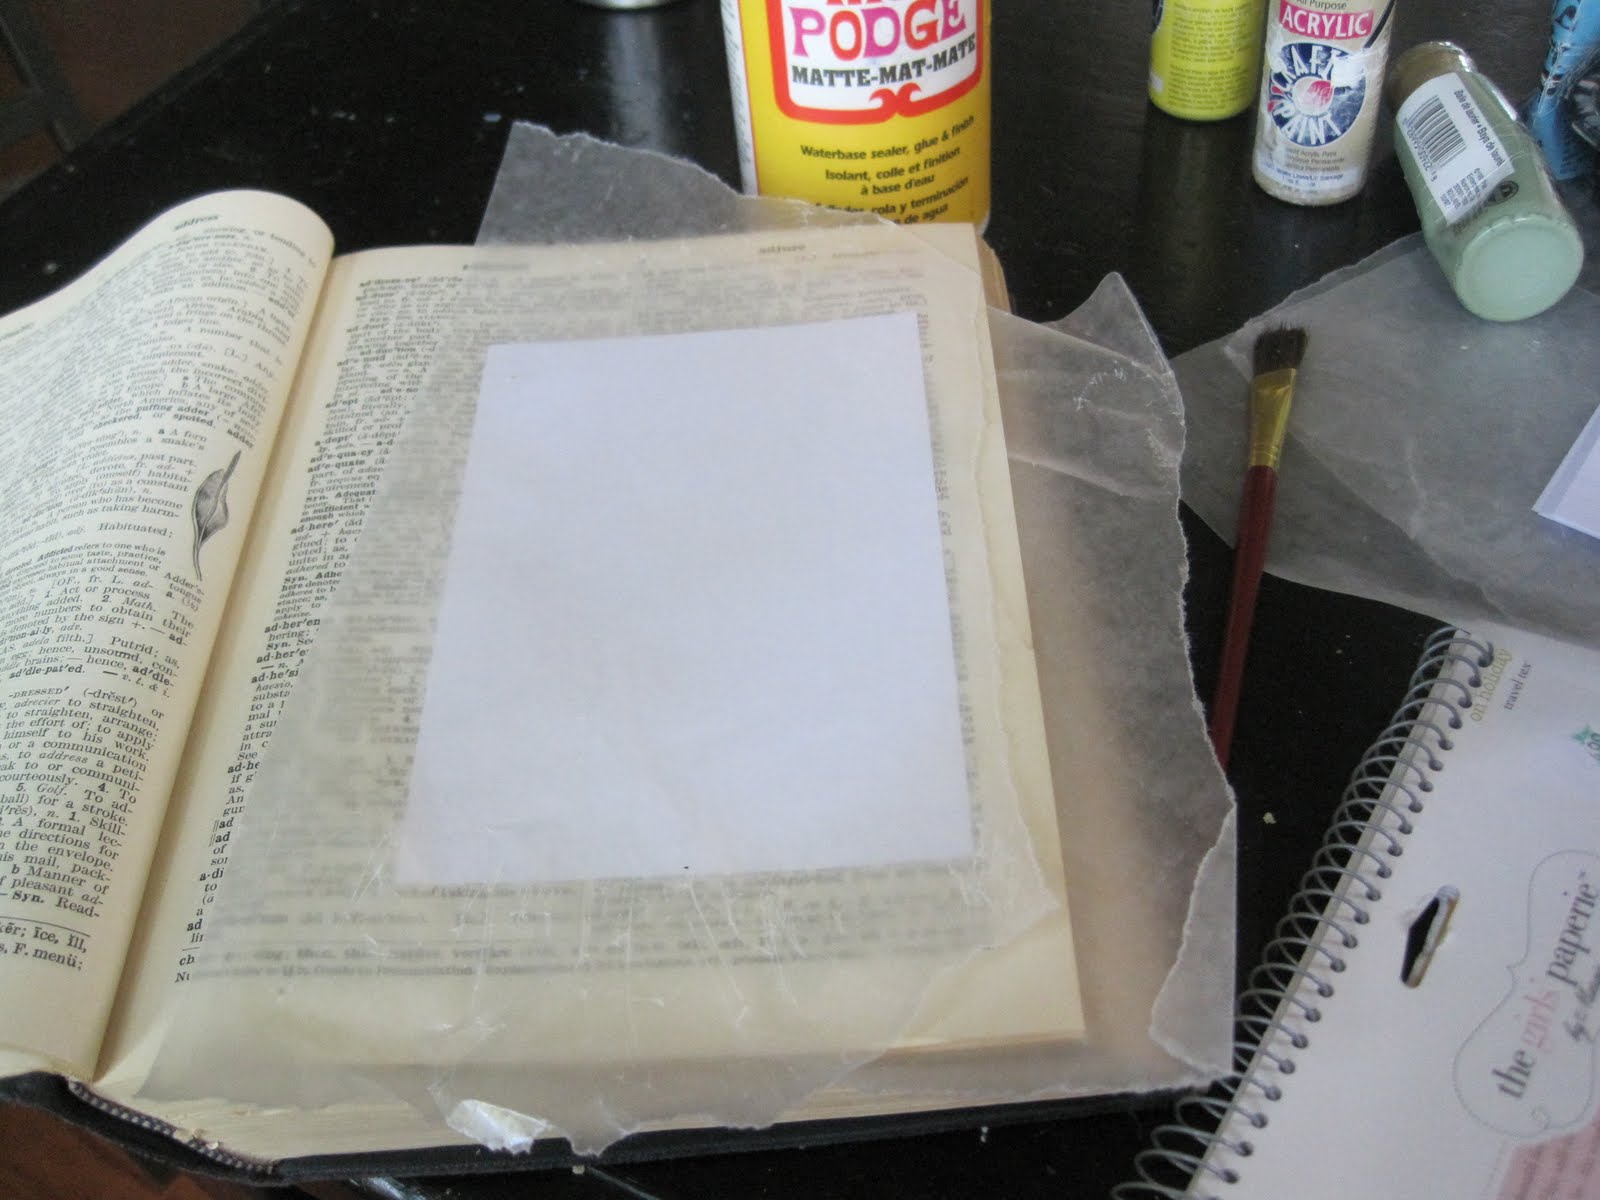
Put a piece of wax paper on either side
and go to the next letter.
and go to the next letter.
Repeat, repeat and repeat until all
cards are done for every letter.
cards are done for every letter.
Then set something heavy on the dictionary
to keep it pressed flat over night to dry.
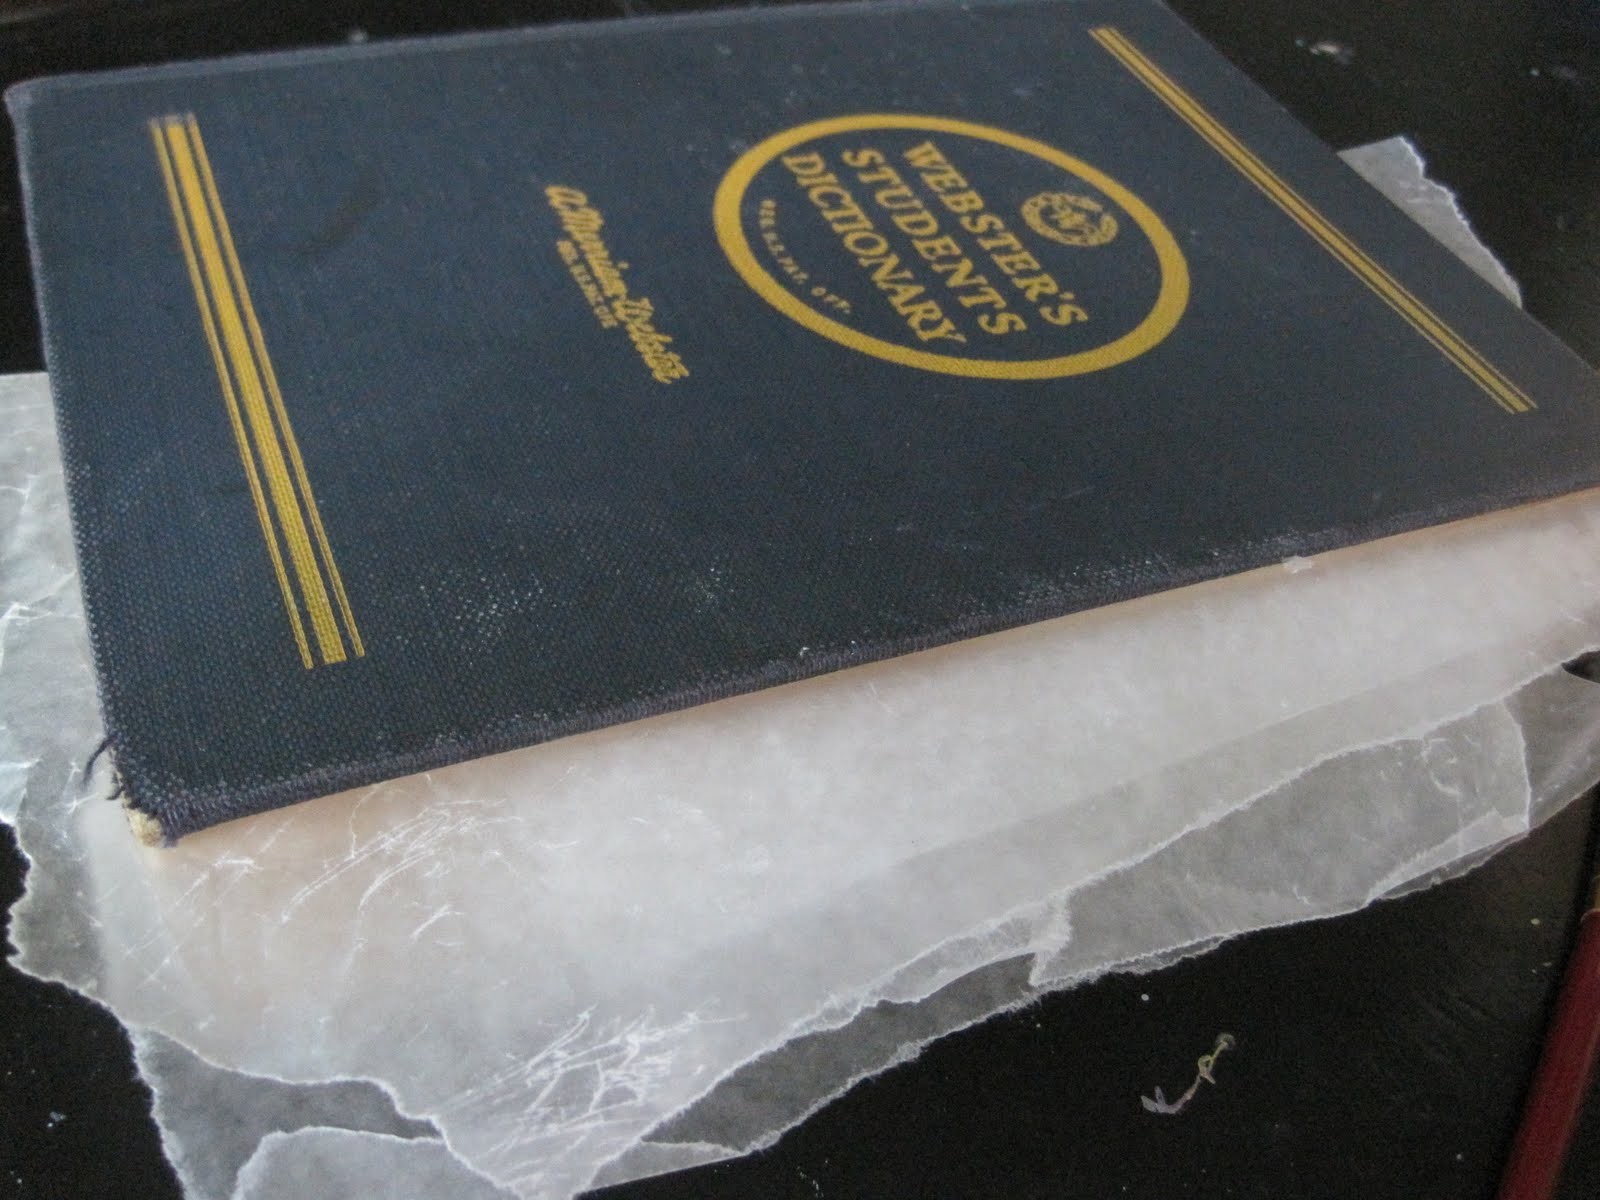
Step 2.
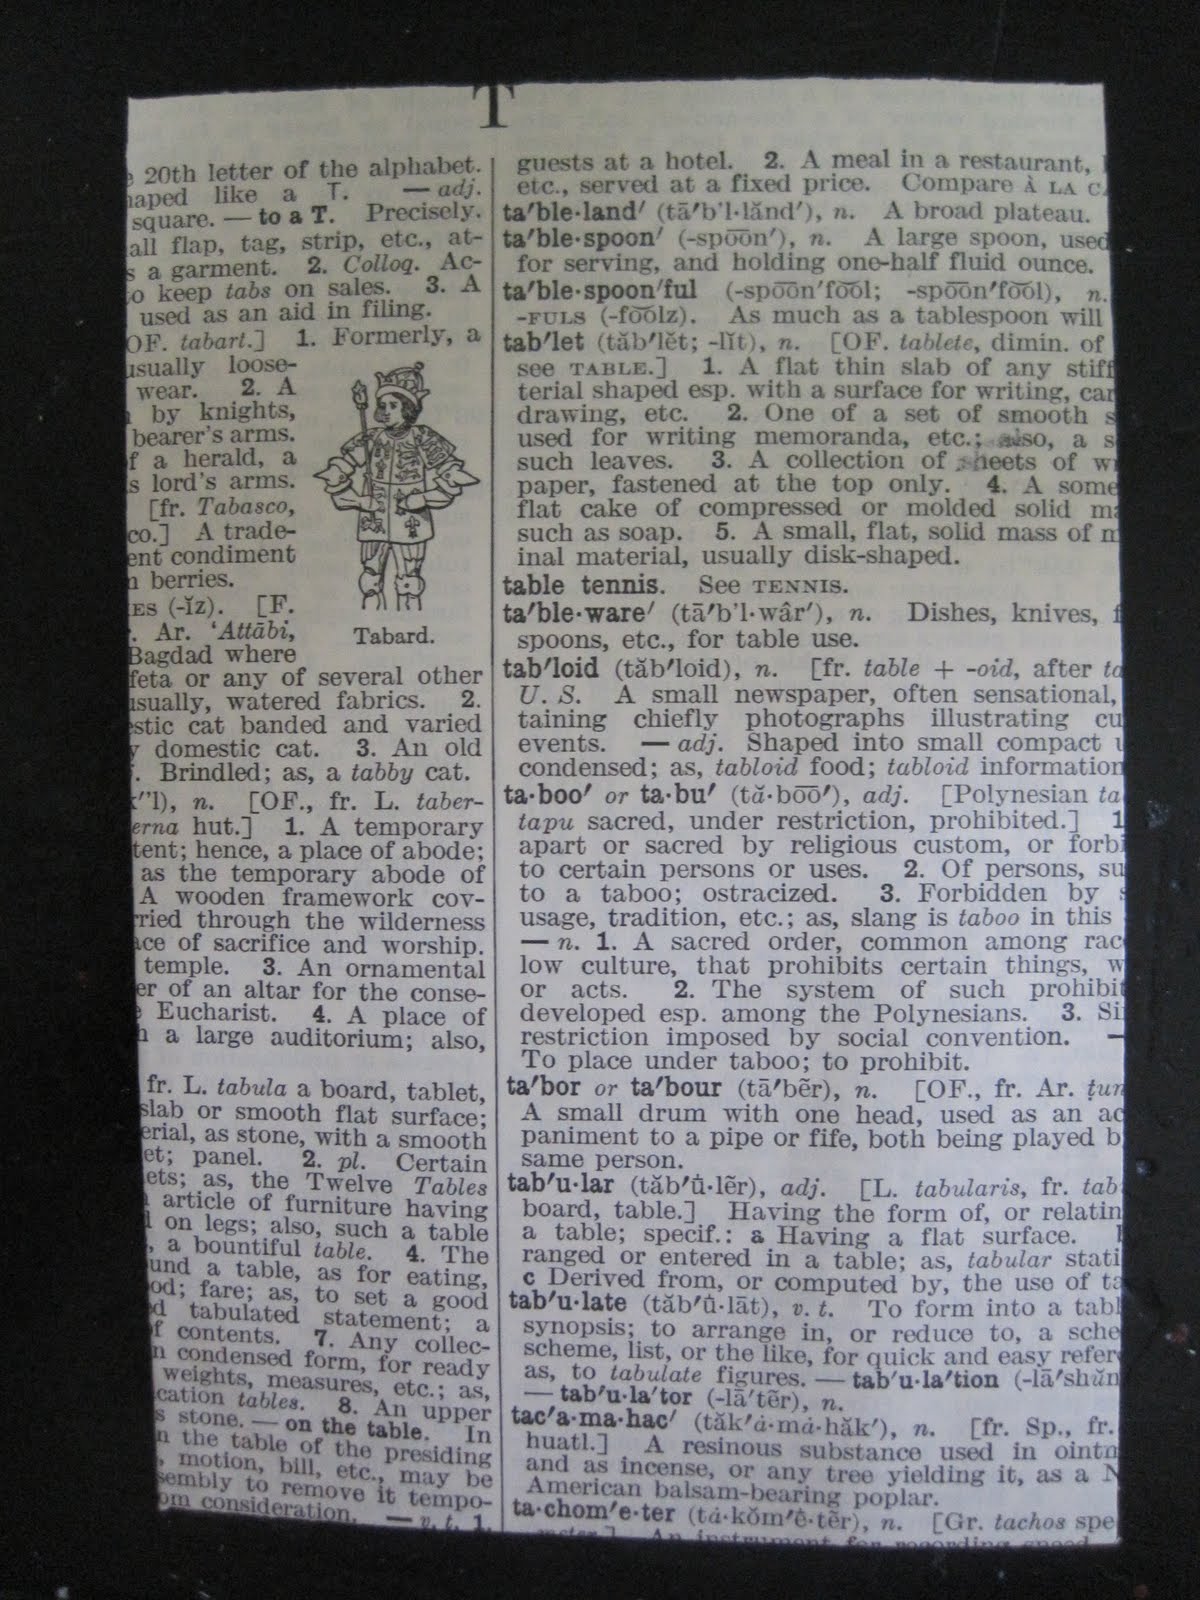
Once dry, remove one page at a time.
My dictionary is from 1954
My dictionary is from 1954
and the pages are fragile so I used scissors
to cut the page rather than risk a bad tear.
to cut the page rather than risk a bad tear.
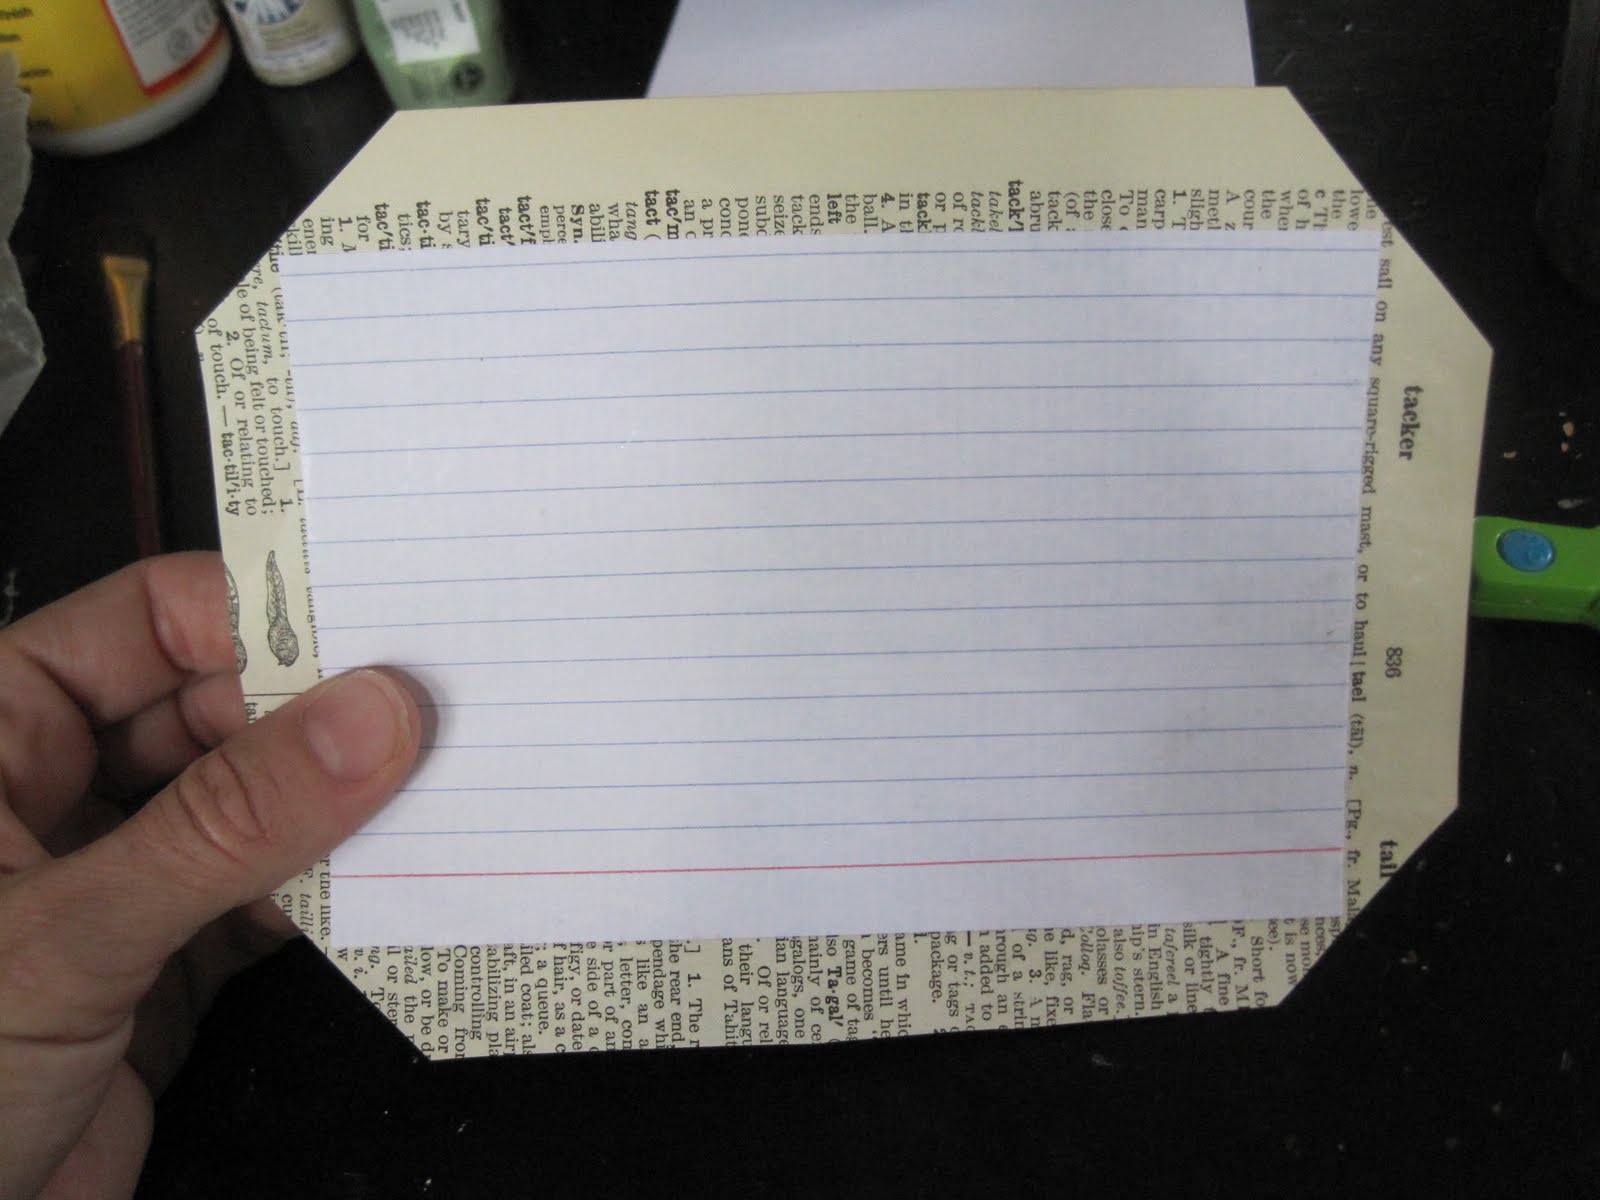
Cut around the edges of the note card
leaving a half inch of paper around the edge.
leaving a half inch of paper around the edge.
Carefully cut the corners to make smooth folds
cutting very near to but not
completely up to the corners.
cutting very near to but not
completely up to the corners.
At This Point;
If you like, you can cut a paper to fit over the back and
Modge Podge it in place.

I chose to photo copy mine
onto resume card stock
onto resume card stock
with an antique look to the paper.
Step 3.
At this point you can hang them up for a gorgeous
and unique alphabet bunting/ garland!
and unique alphabet bunting/ garland!
Or you can add embellishments!
You could do ink stamps, stickers,
gems, paint….limitless possibilities!
gems, paint….limitless possibilities!
You could glitter around the edges,
sew a border with thread or adhere to
larger paper frames.
sew a border with thread or adhere to
larger paper frames.
Is your imagination going as fast as mine???
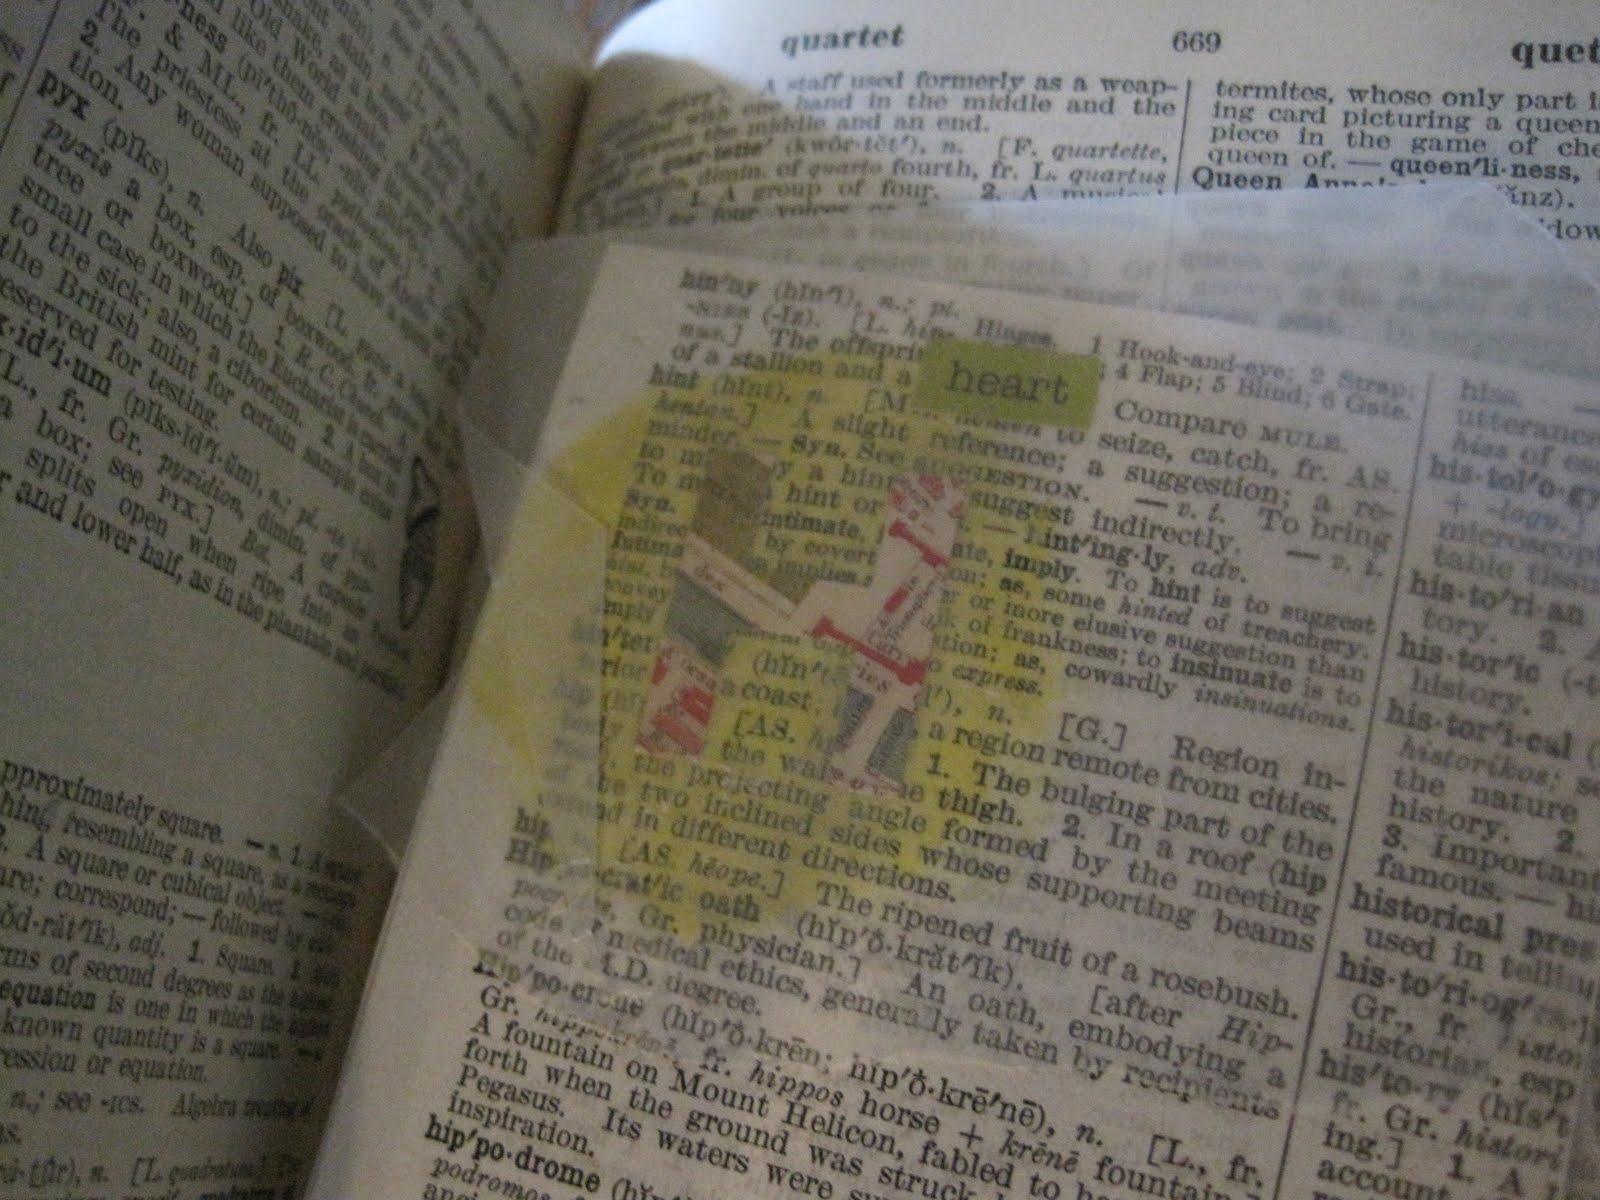
I chose to do letters in map paper
AND add a word as well.
AND add a word as well.
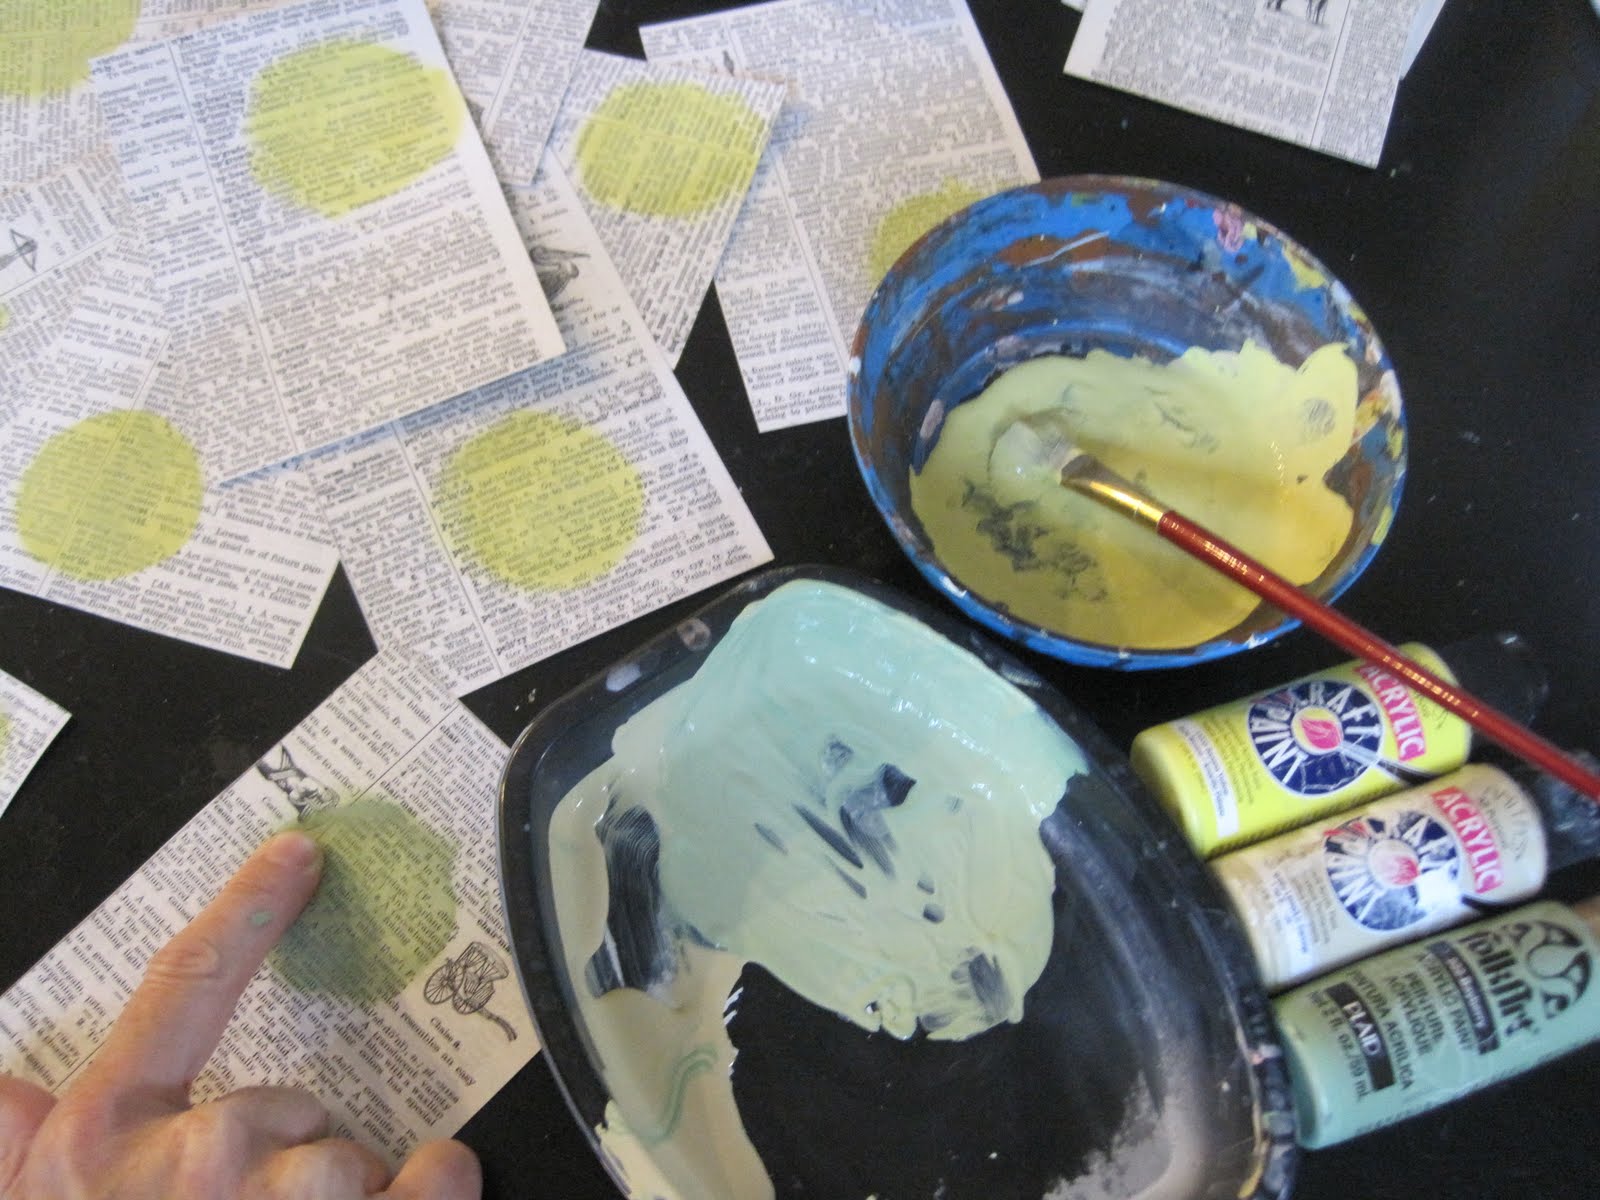
In order for the stickers to show up well,
I chose paint colors for the background.
I chose paint colors for the background.
I mixed the Linen color paint with the
yellow and green to make it more
yellow and green to make it more
of a muted, vintage color.
I applied the paint in circles with my fingers
I applied the paint in circles with my fingers
so it would look rubbed in rather than painted on.
I let the paint dry.
I let the paint dry.
Step 4.
I layered a coat of Modge Podge over the paint circles,
then placed the letters and words over the top.
I brushed everything to seal it.
As I finished each one, I covered it in
wax paper and again,
As I finished each one, I covered it in
wax paper and again,
put it back in the book to press and dry.
Weight the book.
Weight the book.
Step 5.
Remove all alphabet cards form the book,
remove the wax paper and cover he front of
each card with a thin coat of Modge Podge.
each card with a thin coat of Modge Podge.
I watered mine down a little bit to make a fast
but confident glaze that make the cards
but confident glaze that make the cards
smudge proof
(able to take the grease and dirt from the fingers of those
(able to take the grease and dirt from the fingers of those
who wish to admire them close-up!)
As you coat each letter card,
put them back in the book in the wax paper.
put them back in the book in the wax paper.
Again, weight the book and leave them to dry.
Step 6:
HANG!
We have worked so hard and waited patiently.
Hang those babies up!
Hang those babies up!
In the dictionary I used, the “X, Y & Z”
were all on one page.
This created an even hanging of 3 rows of eight.
You can obviously do whatever fits your space.
were all on one page.
This created an even hanging of 3 rows of eight.
You can obviously do whatever fits your space.
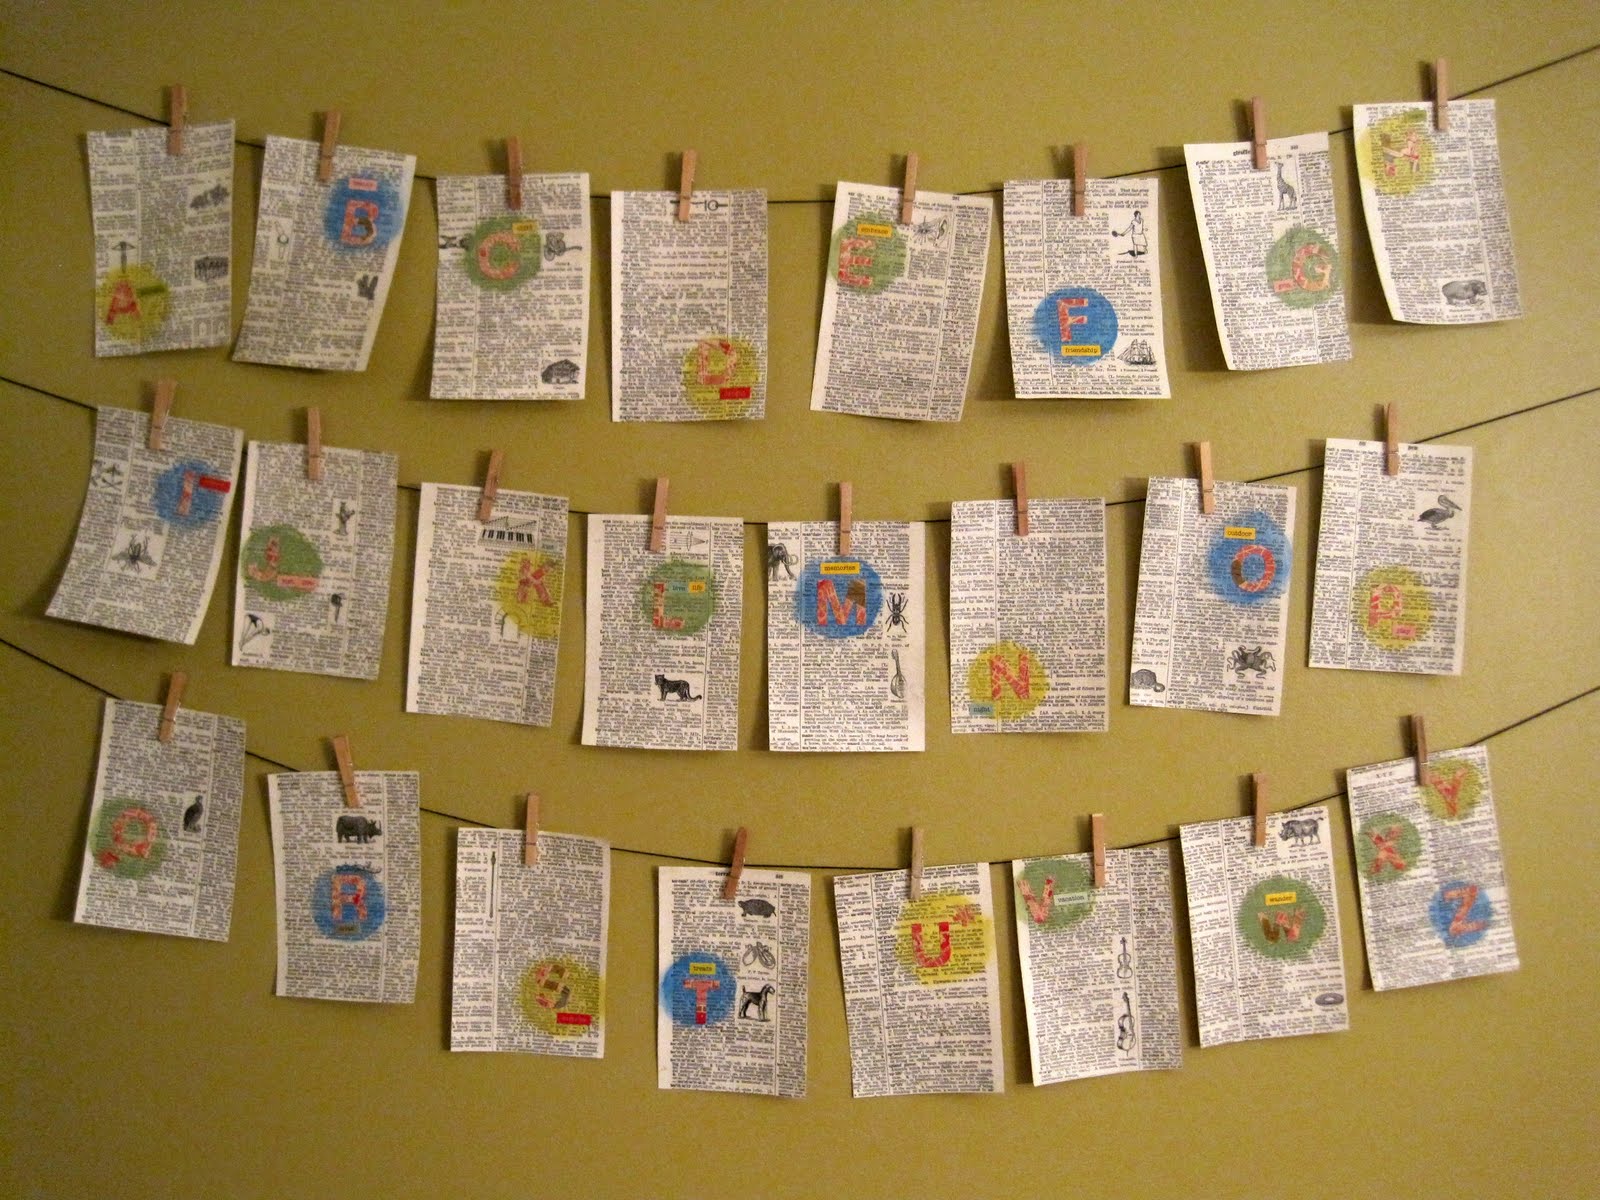
Hang with clothespins covered in matching paper or paint.
You could decorate them in a variety of
creative ways or just use them plain and simply as I chose.

TA – DA !!
*click to enlarge pictures 🙂
xoxo,

! Have a Fabulous Day ! – Jenny at Dapperhouse