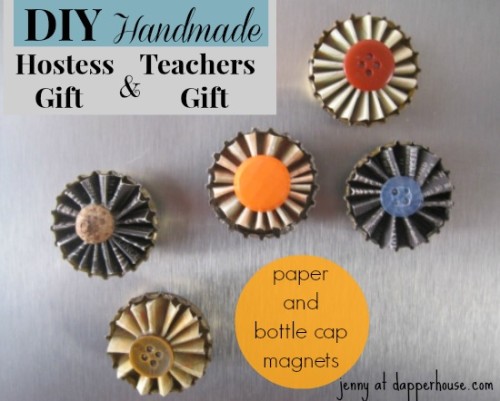
These magnets are lovely because they can be custom made to suit the person receiving the gift. You can match the kitchen colors of the hostess. You can match the personality of the teacher, or use school themed papers. Either way these magnets are sturdy, useful and thoughtful gifts that you can be proud to give.
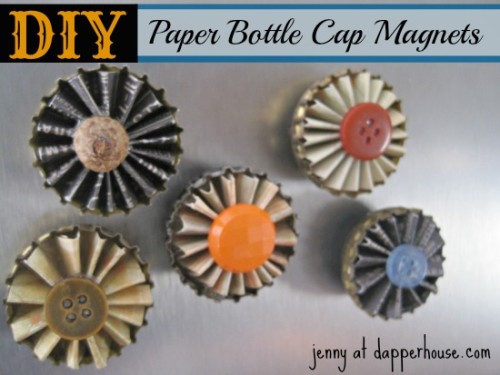
Supplies
You will need:
scrapbook quality papers
buttons (or any embellishment small enough to fit over the centers)
bottle caps
Strong magnets that fit on the back of the bottle caps
scissors
Strong Glue (I use Amazing E6000 Industrial Glue from Walmart)
*You should use gloves to protect fingers and hands from glue. You should use in a well ventilated area to avoid glue fumes. Follow all safety rules.
*When I make these I allow about 3 days from start to finish because the drying time in each step takes a bit of time.
Tutorial
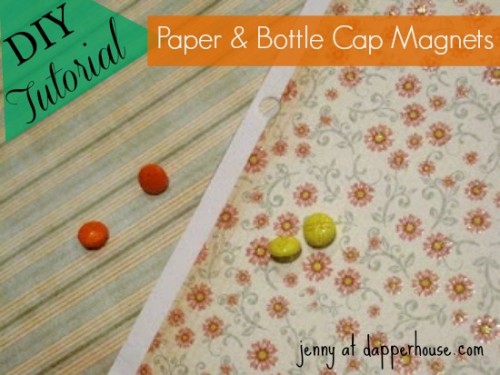
Choose your paper and coordinating centers. I chose buttons for most of these but have used other items as well such as tiny silk flowers, gems, acorns, etc.
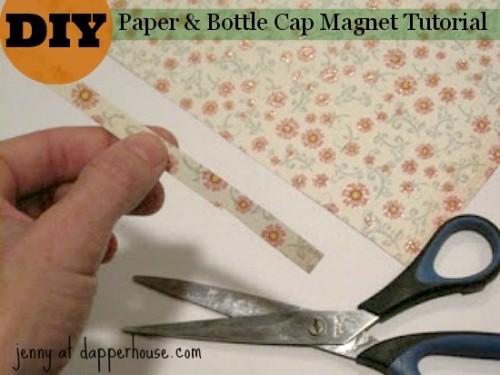
Cut your paper into strips that are 10 – 11 inches long and 1/4 – 3/8 inch wide. You must cut the paper very straight or you will end up with a lop- sided flower that sits poorly in the bottle cap.
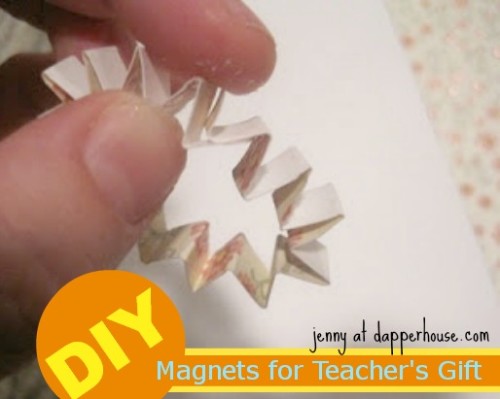
Fold the strips of paper (again making certain that the folds are even and straight). Each accordion fold should measure about ¼ in. long along the strip of paper. When folds are complete, glue the ends together by overlapping them for a seamless look. (Shown in photo)
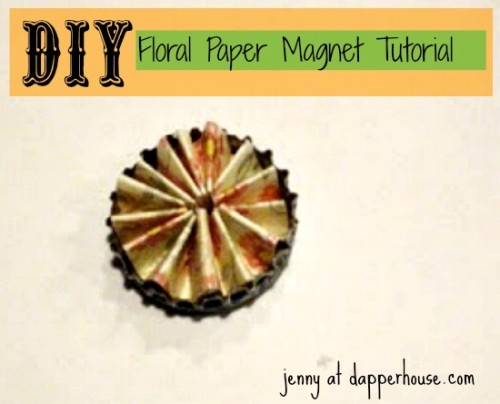
Once your flowers are dry, put glue in the sides and bottom of the bottle cap. Carefully take your folded paper and gently push it together into the round shape of a flower. Hold it together and press into the glue. TIP: The paper will flip out of the cap so you must put a light weight on top of it to hold it securely as it dries. I let this dry overnight.
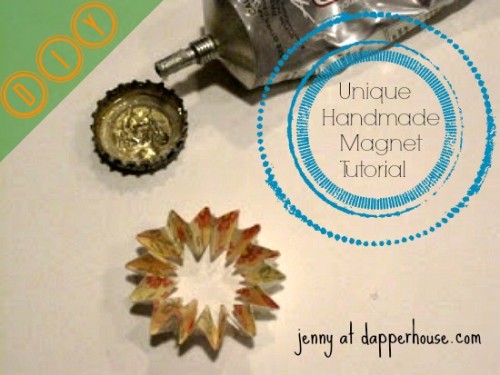
Once the paper flower has dried inside the bottle cap, you are ready to add your center embellishment.
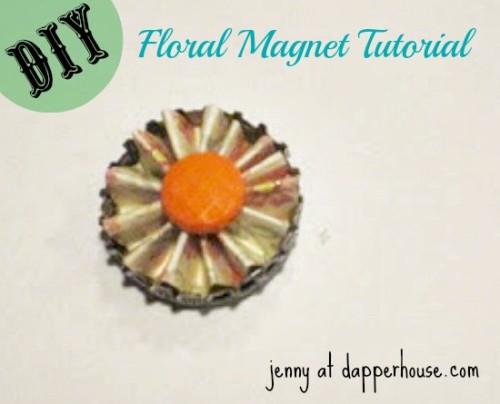
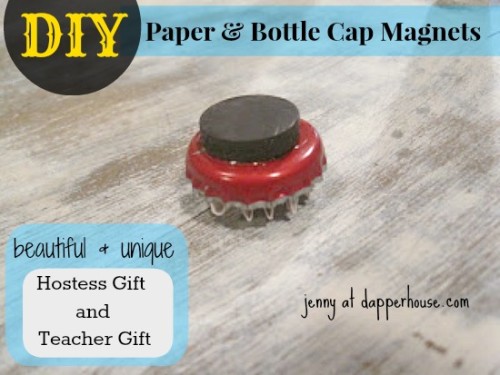
Once your embellishment is dry and secure, flip the bottle cap cover. Put glue on the back side of the magnet and firmly set the magnet into place. Turn the magnet a little to spread the glue and use a craft stick to smooth the glue around the edges so it will be secure. (Now, again with the drying! Let it dry overnight again to be secure)

Sally
I have never seen anything like these before they are really neat!! I’m going to try to make them myself!!
jtemcio
Thank you for saying so Sally!
I give them as Thank you gifts quite often for the small kind gestures that
people do, like taking care of my son or bringing my garbage can up. . . anything!
They do make a lovely gift for birthdays and things too.
I like to give them in sets of 3 or 4 so I make a bunch at one time
and have them on hand. That way when I need a gift I have it right away!
I hope you have fun with this project 🙂