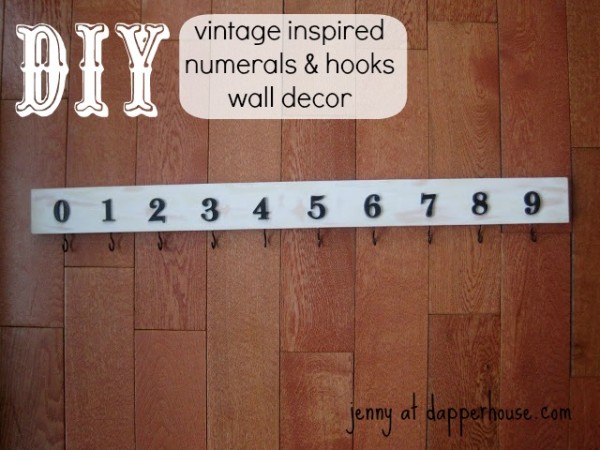
I love making crafts but I will admit that I cant do anything involving power tools. This post is featuring a DIY craft project that is simple to do at home. It makes a wonderful addition to your home decor. It also makes a great gift that you can be proud to say that you made!

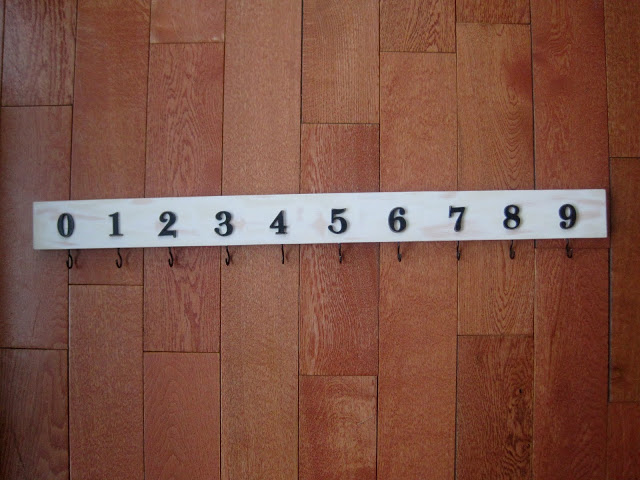
For this project you will need a board of any size and color that you choose for the space that you are looking to fill. You will need numbers (or letters) that you find at a craft store, antique market, etc. Buy hooks that can be easily installed into the wood and that are small enough to not hit the wall when hung. Purchase two picture hangers for the back. And lastly, you will need glue for the numbers. I suggest a hammer and small nail to start the hole for the screw in hooks. As well, I used a dish towel and pliers to turn the screw into the hole by wrapping the cloth around the hook so that it would not bend or scrape the finish. And this is similar to what yours will look like when you are finished depending on the wood, numbers and hooks that you choose. Lets get to it!
First I took an extra board laying in the garage from when we had our
kitchen cabinets re-done.
I sanded it in all the right places and added some
off white paint to make it look mildly distressed.
off white paint to make it look mildly distressed.
I decided to use numbers 0 – 9 from an old wall clock that quit working.
I popped the numbers off the clock and sanded down the pegs on the backs
to make them flush with the board so the glue would hold them securely.
I installed the hangers to the back before putting anything on the front.
Then I measured the board and figured out how to space my hooks
and numbers evenly along the front of the board.
Then I measured the board and figured out how to space my hooks
and numbers evenly along the front of the board.
I began to install the hooks by starting each hole
with a nail, then screwing the hooks down in to the board
with a dishrag and pliers as I explained in the beginning of this post.
with a dishrag and pliers as I explained in the beginning of this post.
(TIP: Make sure that the hooks are flush with the back of the board
so that they hang up against the wall without causing the board to stick out
or the hooks to damage the wall.
or the hooks to damage the wall.
Once the hooks were in I was ready to add the numbers.
I use e6000 industrial strength glue for most every project,
but this Goop is a great substitute.
Here is is the next day, dry and ready to be hung on the wall.
This will be seen in Urban Chic Home in Glen Ellyn, Illinois soon!!
I hope that you have fun creating a functional and fashionable
wall hanging…for you or someone you love.

! Have a Fabulous Day ! – Jenny at Dapperhouse


amber
very cute… what a great project for my teenage boys, I need new hooks