Supplies:
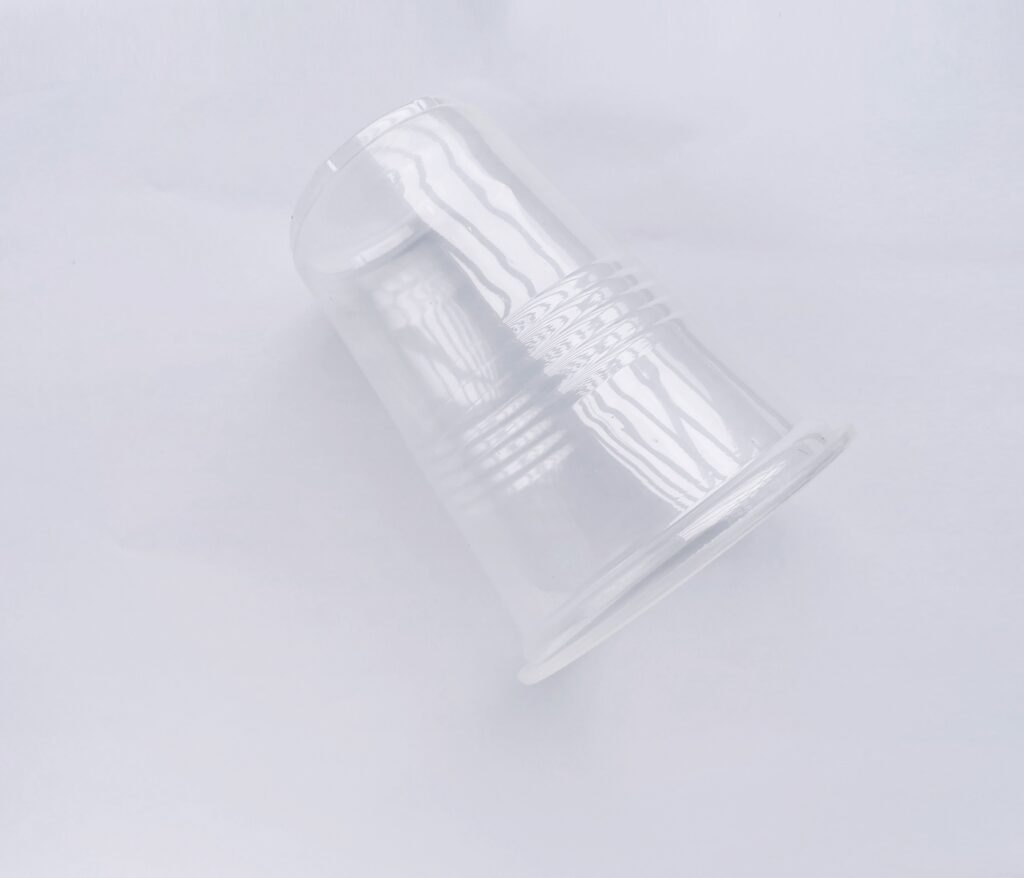
- Plastic Cups.
- Black, White and Red Craft Papers.
- Pencil.
- Ruler.
- Scissors.
- Markers.
- fast drying glue (safe melt glue gun for kids works if they are old enough)
Instructions:
Print out the PDF template and gather the supplies for the craft.
Step 1:
Select a cup that suits the size of the PDF template.
Step 2:
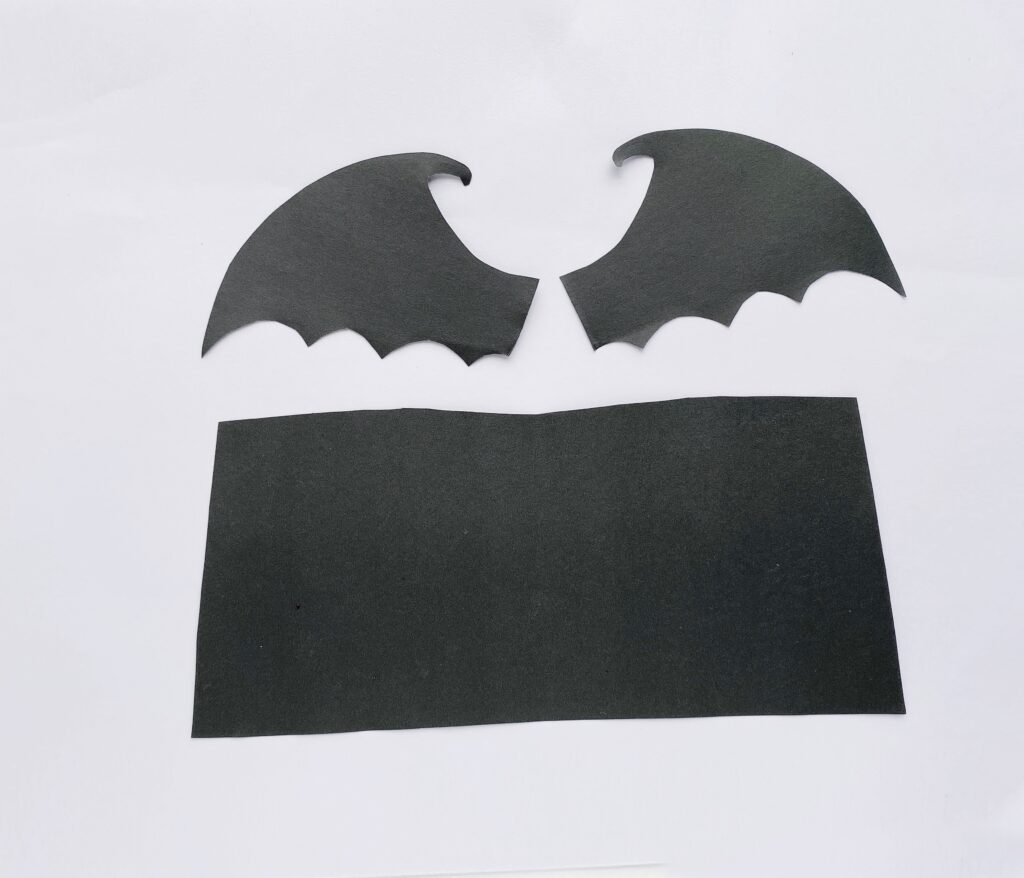
Trace the templates on black craft paper to cut out the wings and body for the bat.
Step 3:
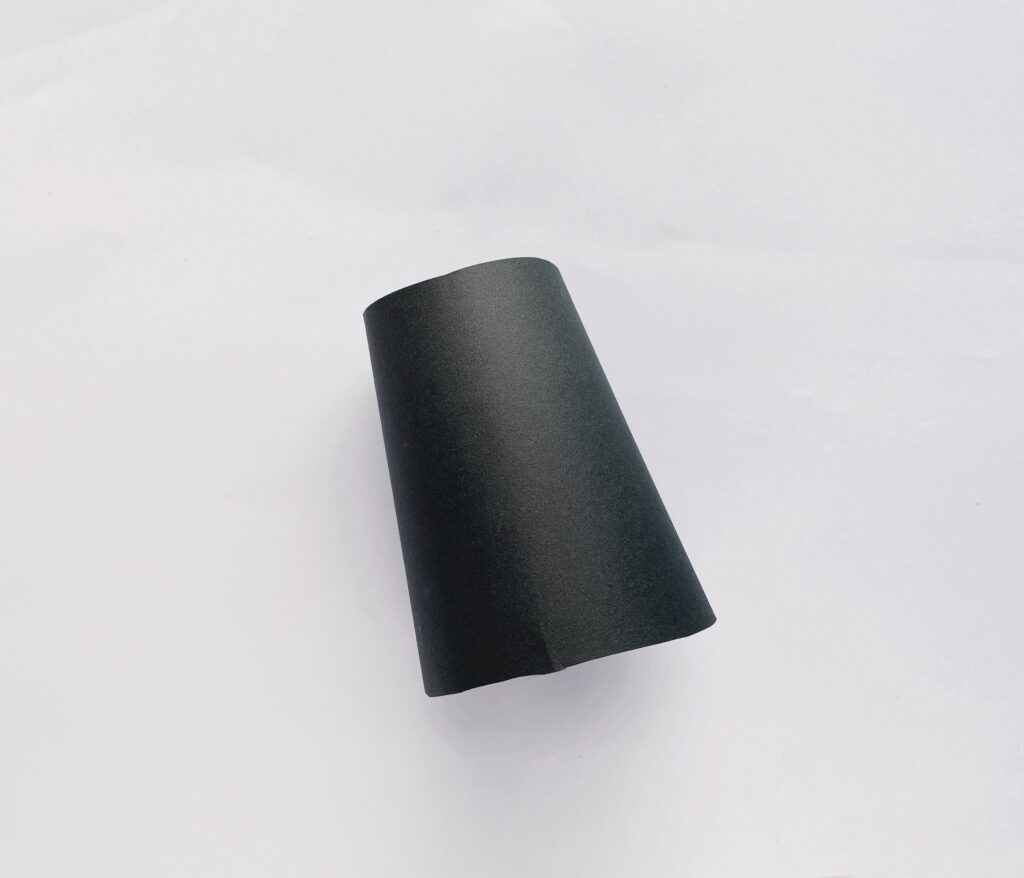
Wrap the cup with black curvy craft paper.
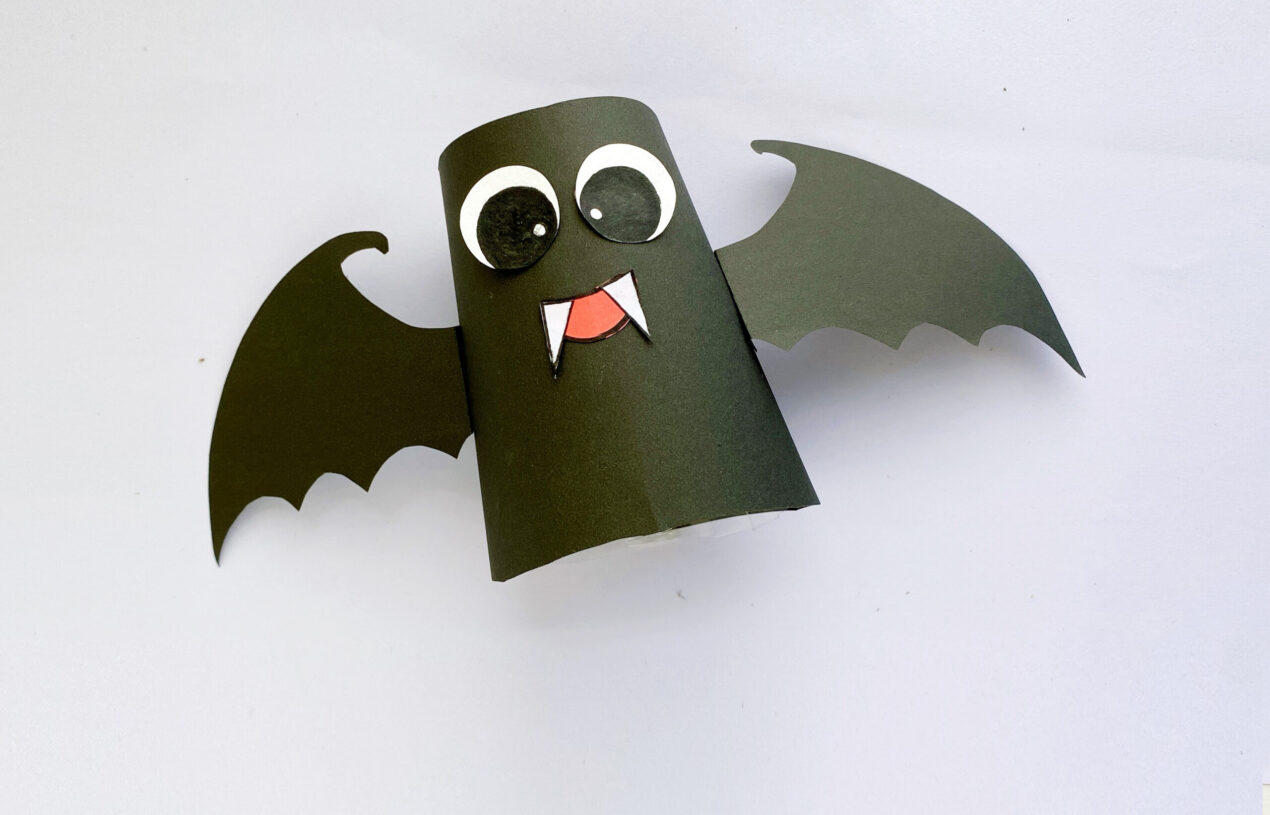
Step 4:
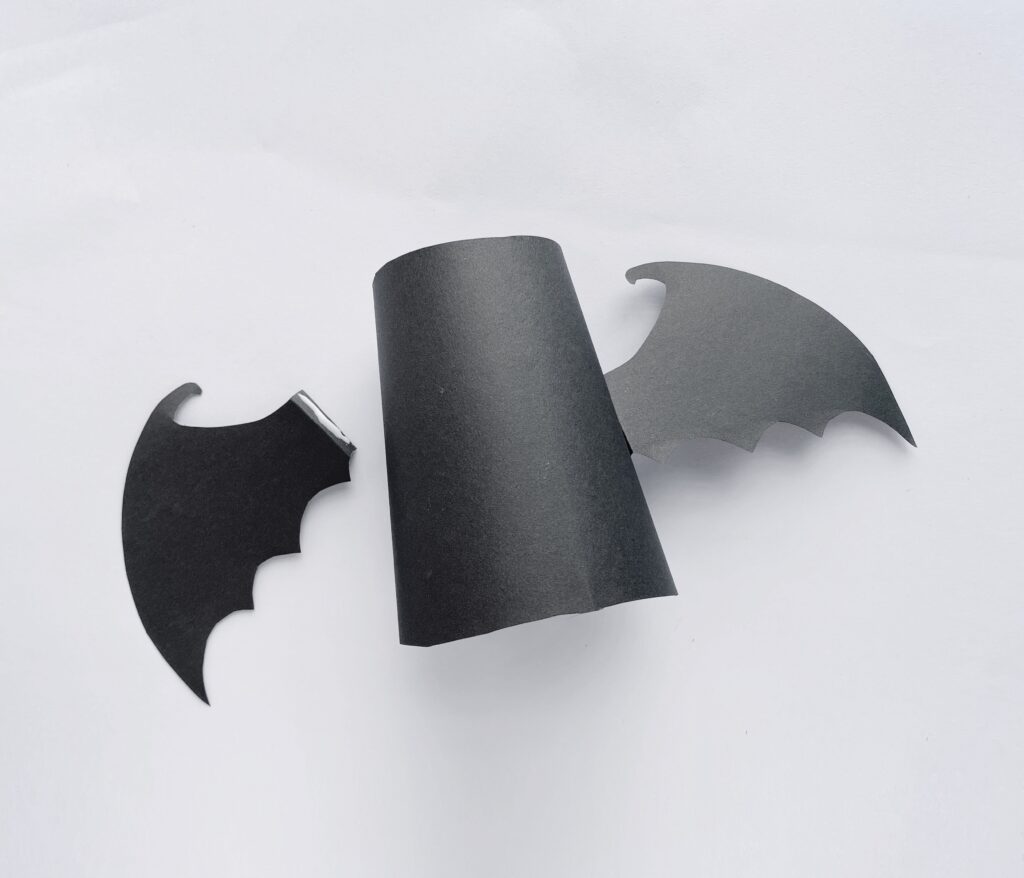
Fold the front side of the wings and apply glue.
Then glue the wing with the cup.
Step 5:
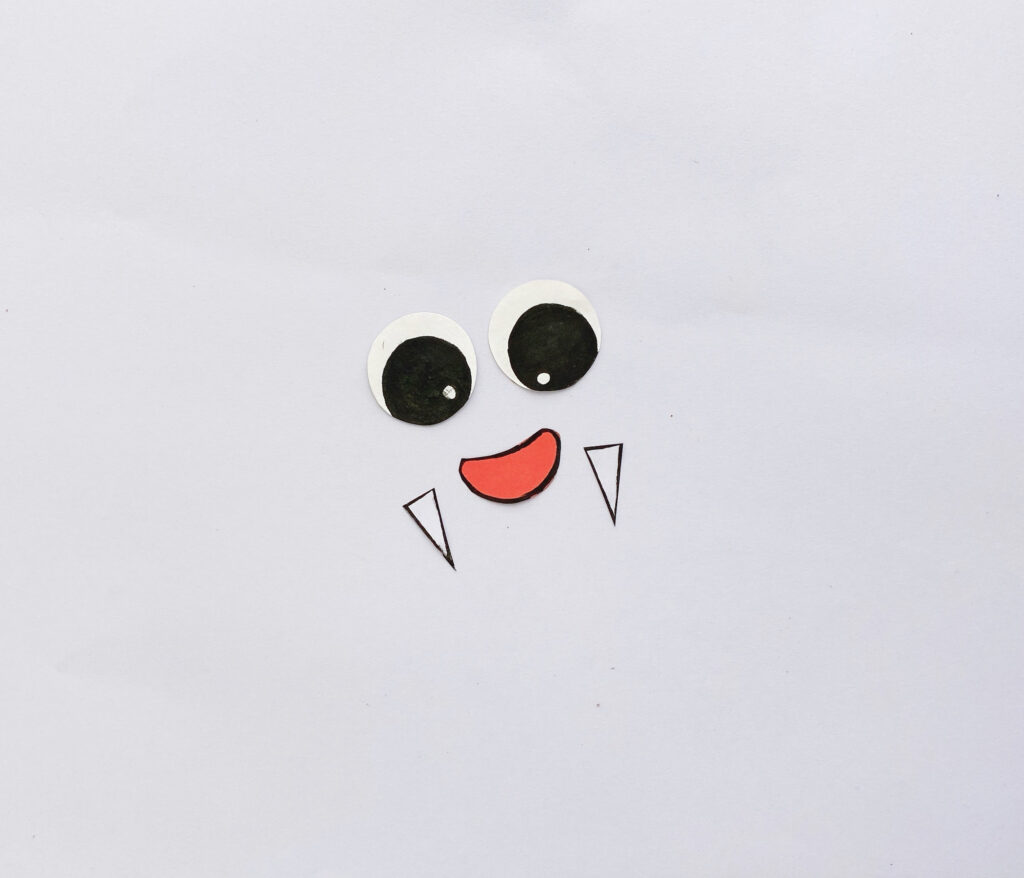
Use the PDF templates to cut out the eyes, mouth and fangs for the bat.
Step 6:
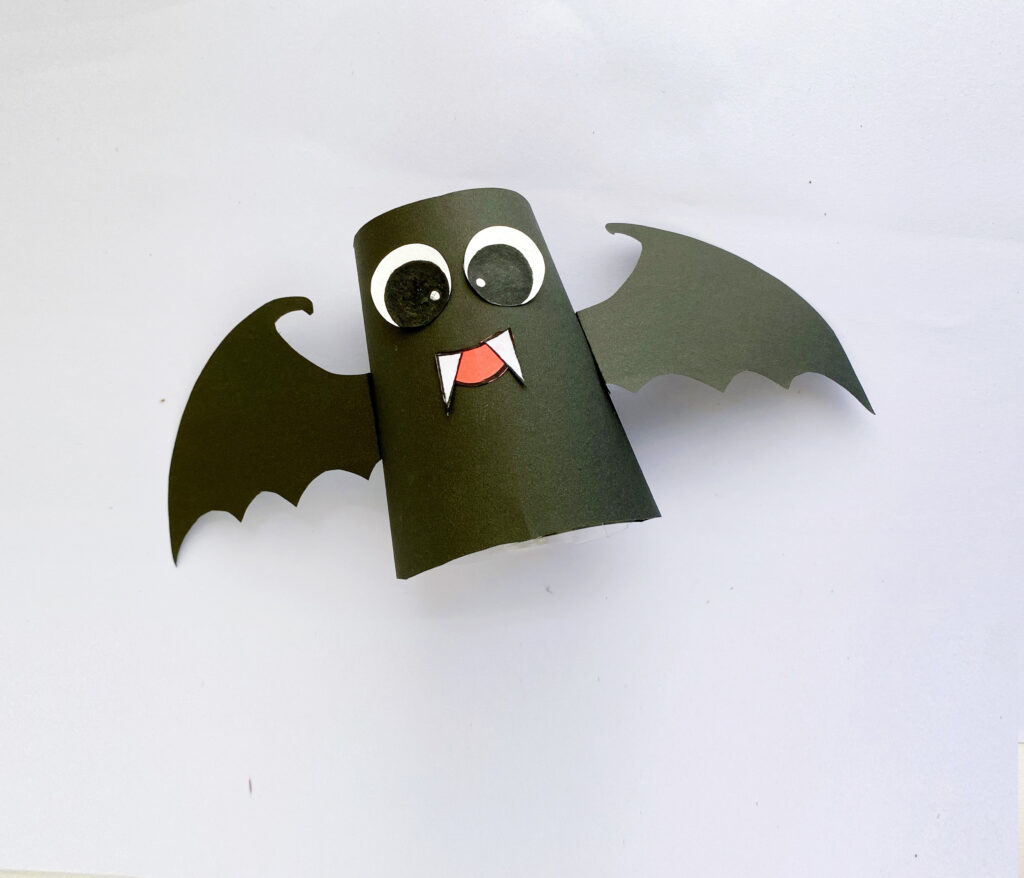
Glue the eyes and mouth on the cup.
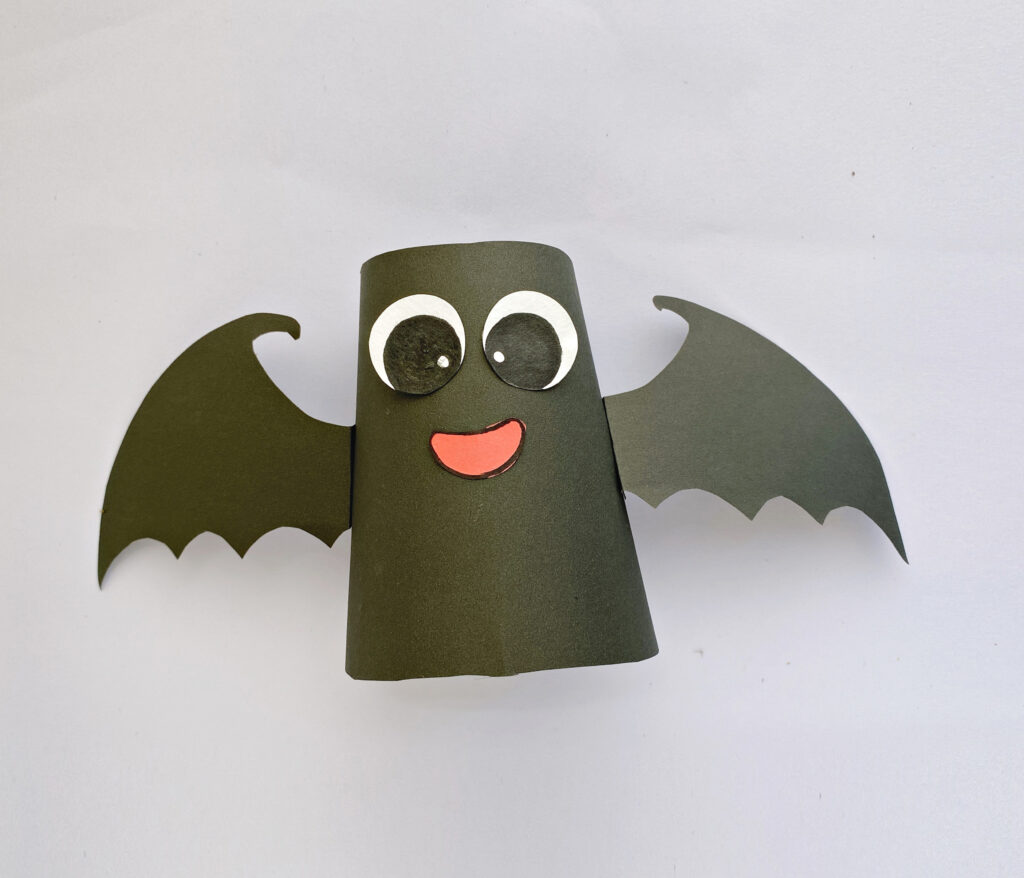
Step 7:
Then finish it off by glueing the fangs over the mouth.