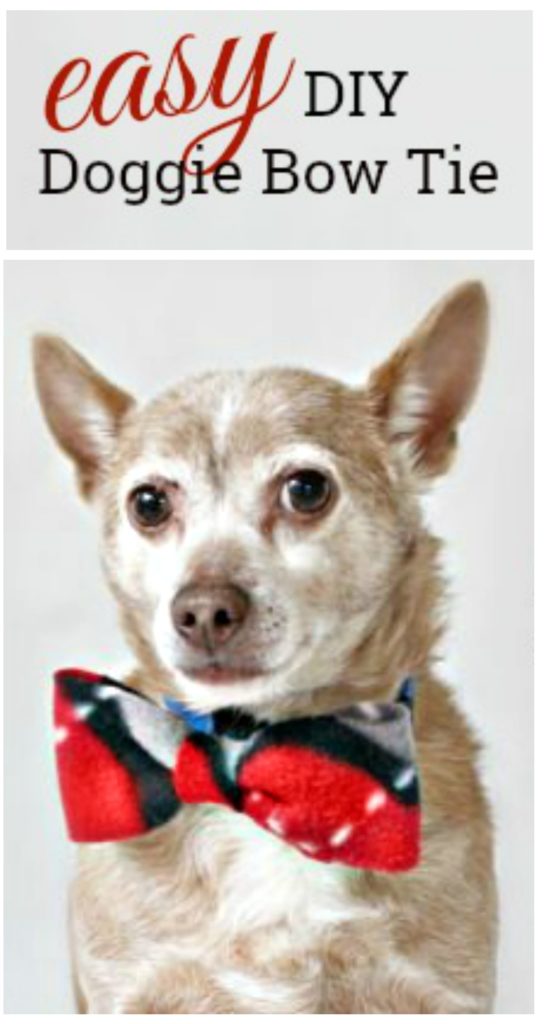
DIY Doggie Bow Tie
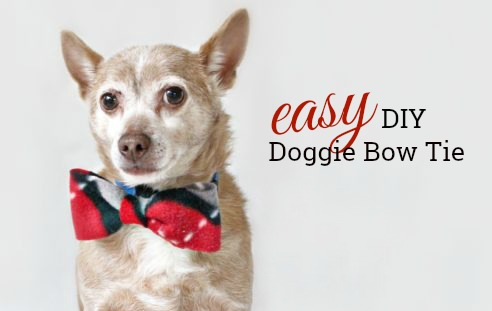
This is a simple and fun craft that makes any dog look collegiate and adorable. Our dog Reese looks so handsome in his bow tie that I wanted to show you how to make one for your pup!
Supplies:
- You will need a piece of fabric that is no bigger than 8” x 11”
- Scissors
- Ruler
- Glue gun
- Your dogs Collar
Instructions:
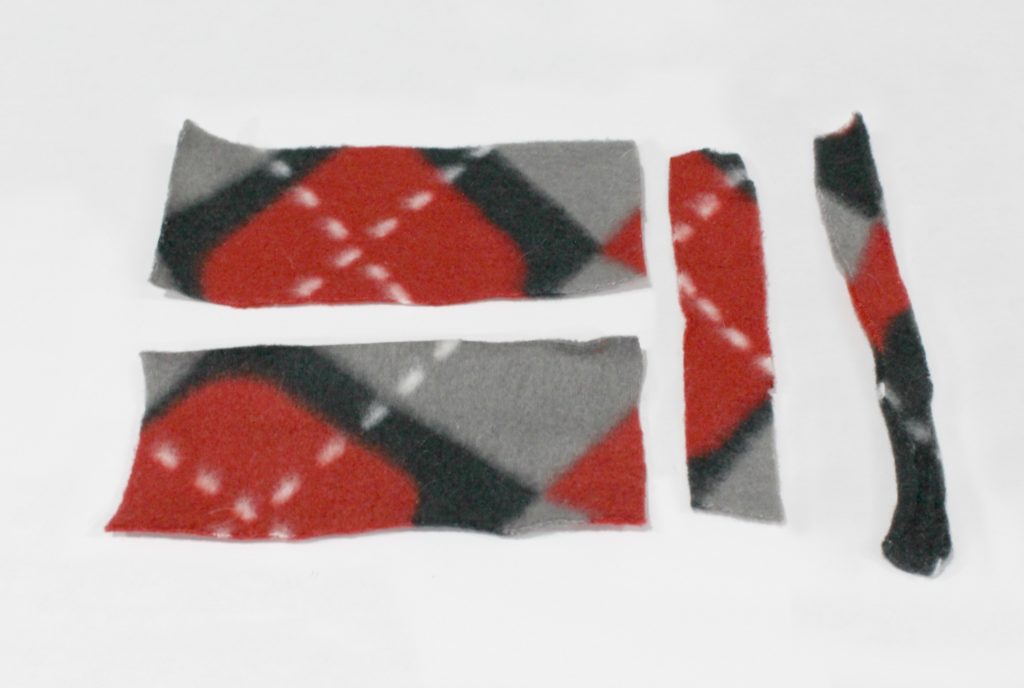
Step 1. Cut the fabric into two pieces that are 6” x 2 ½”, one piece that is 5” x 1” and 6” x ½” inch.
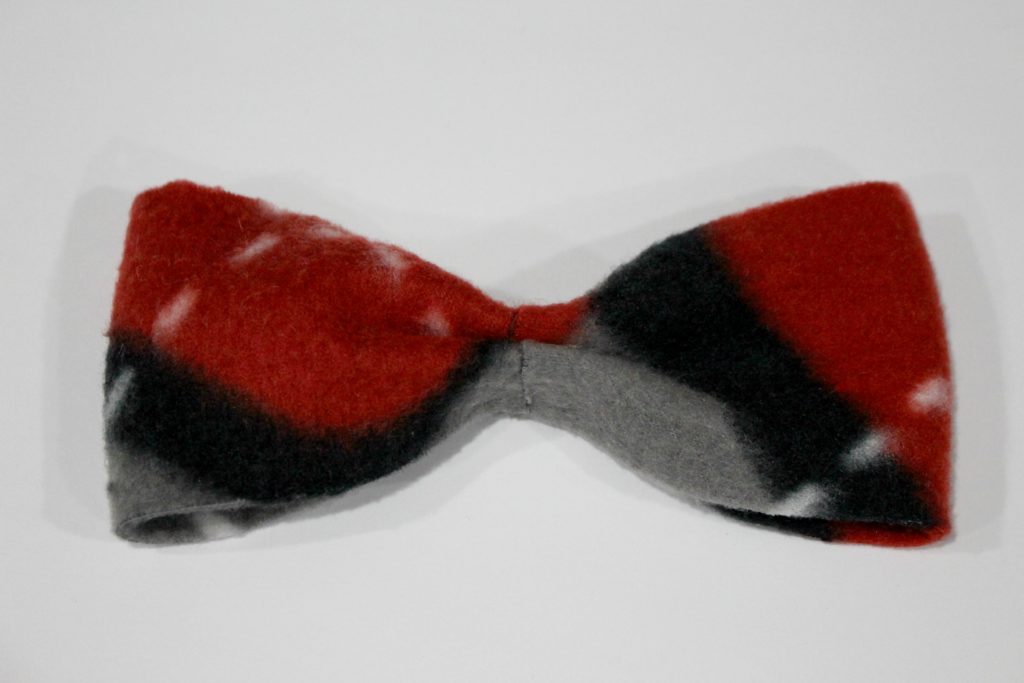
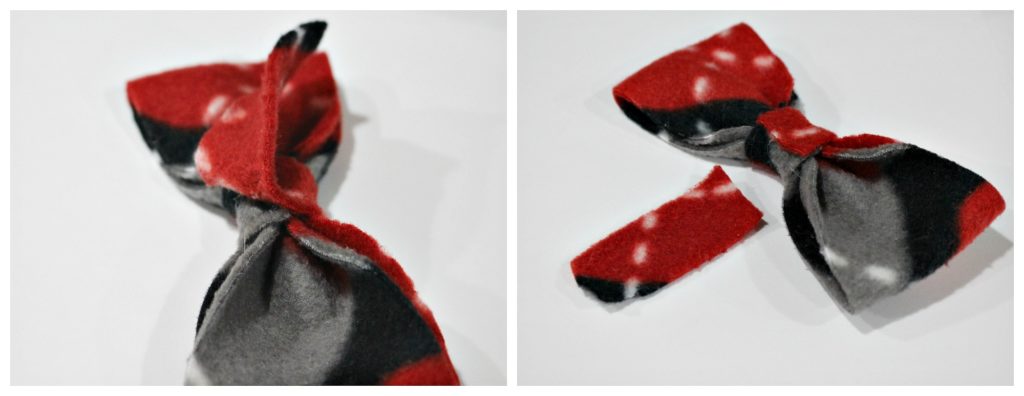
Step 2. Take the two larger pieces of fabric and fold them in half. Use the glue gun to secure the edges together at the ends and in the middle.

Step 3. Bend the fabric and cinch it in the middle (as shown). Then secure it with the glue gun.
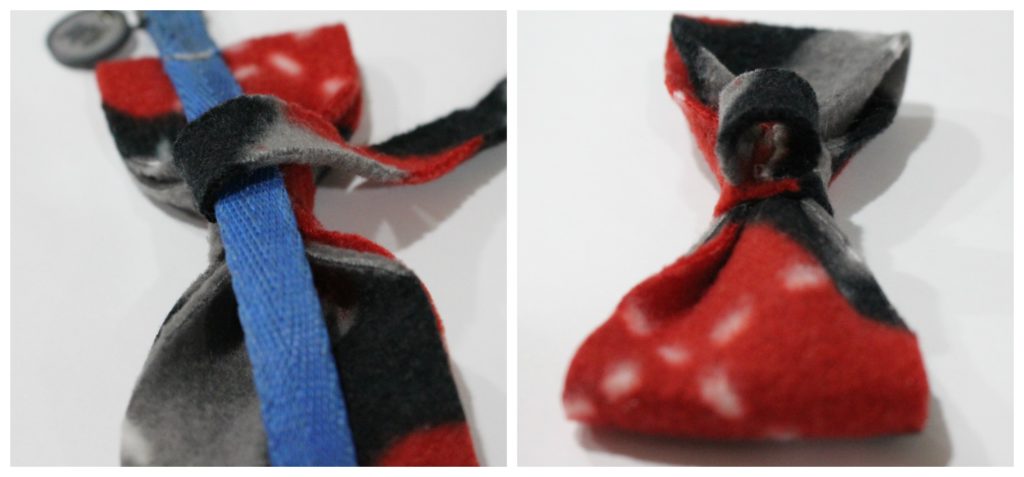
Step 4. Take the piece of fabric that is 5” x 1” and wrap it around the middle of the bow. Use the glue gun to secure this piece and use the scissors to cut off the excess fabric.
Step 5. Lay the dog’s collar on the bow tie and use the 6” x ½” inch piece of fabric to make a loop on the back of the bow tie. (Make the loop big enough to thread on and off the collar but tight enough that it doesn’t droop down.) Use the scissors to trim the excess and use the glue gun to secure the loop and attach it to the bow tie.
Step 6. Thread the bow tie onto the collar.
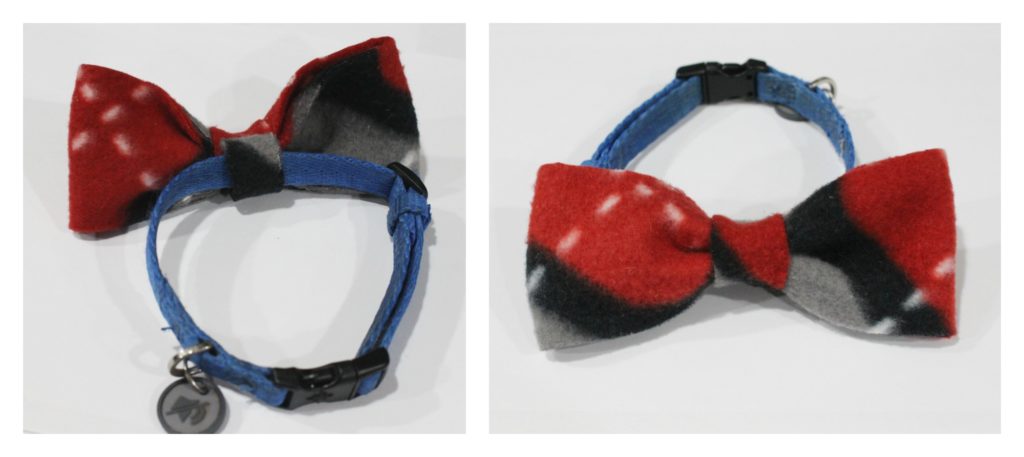
Step 7. Put the collar on your adorable dog!
Pin this for later. . .