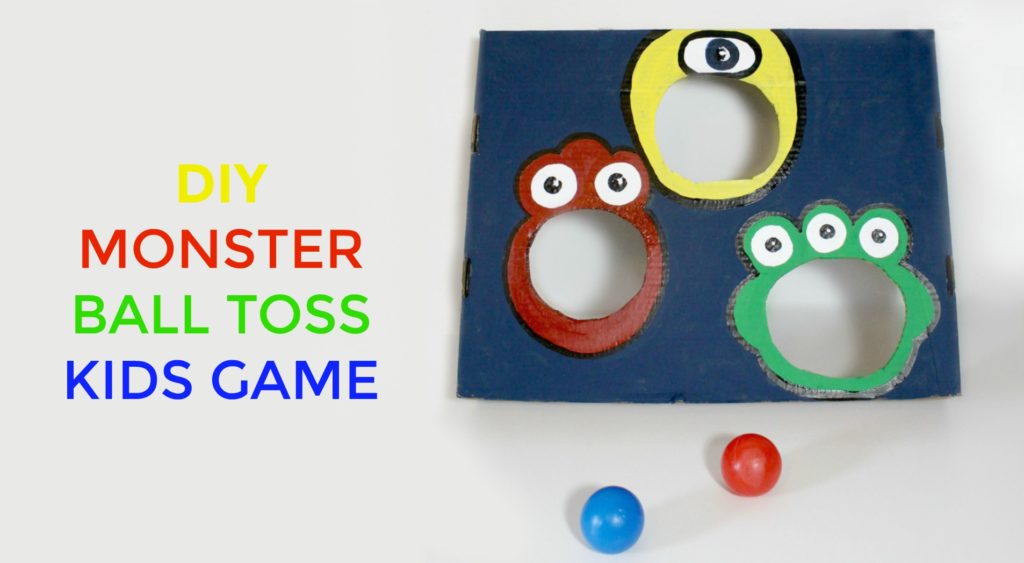
DIY Monster Themed Ball Toss Kids Game
Supplies:
- Large cardboard box (mine was 17” x 21” x 6”)
- Pencil
- Balls for tossing
- Utility knife
- Craft paint in the colors red, yellow, blue, green, white, and black
- Medium and small sized paint brushes
Instructions:
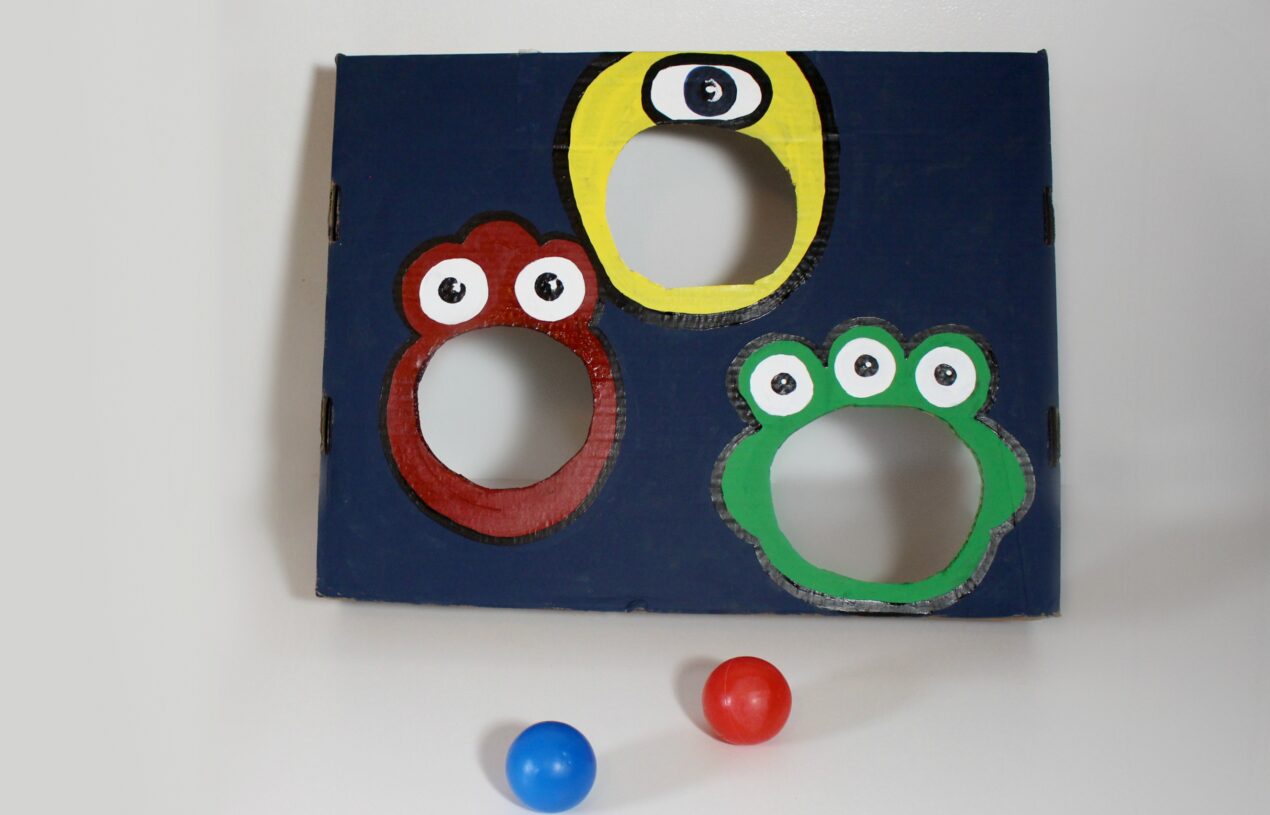
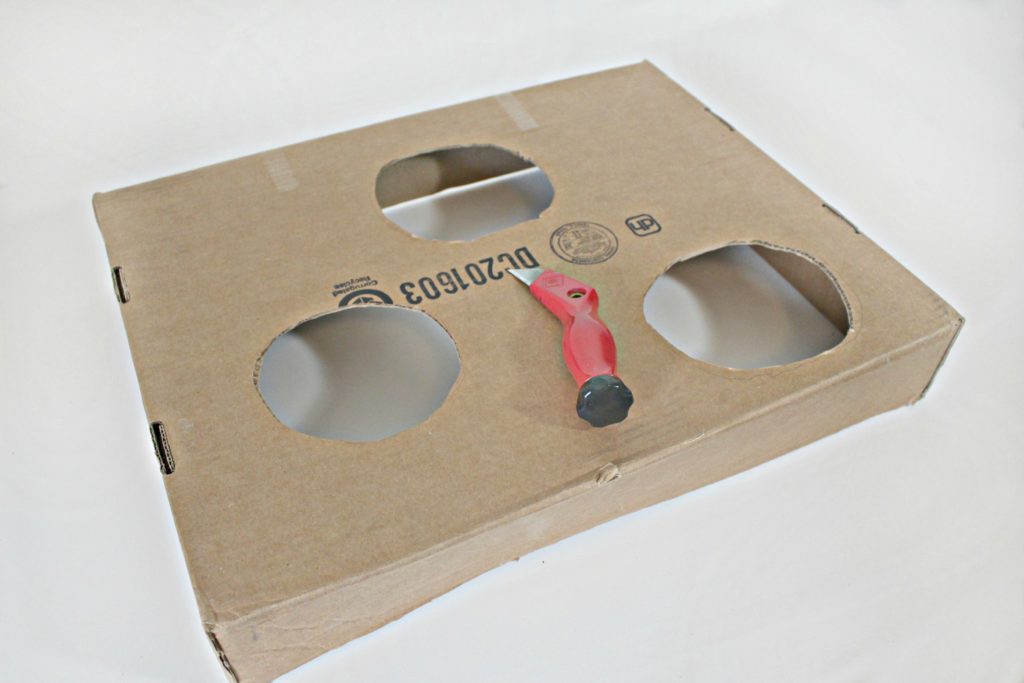
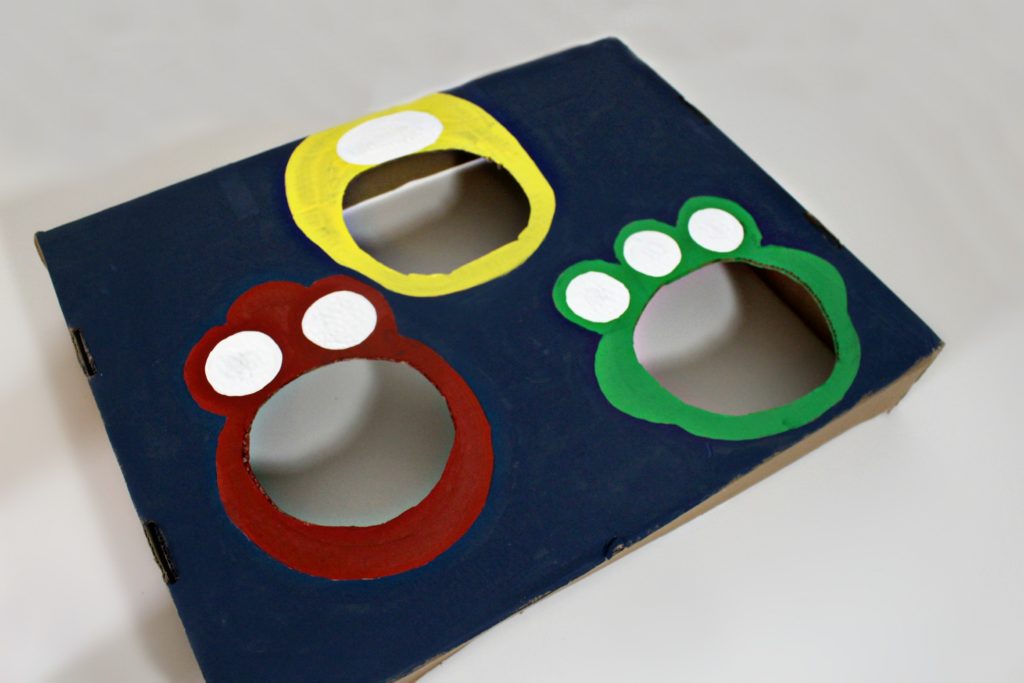
Step 1. On the box, draw 2 – 4 holes that are 3 – 5 inches bigger than the balls, depending on the difficulty you want for your kids. The bigger the holes, the easier it will be. When drawing the holes keep in mind that each hole will be the mouth of a monster that you will paint on the box.

Step 2. Use the utility knife to cut out the mouths/holes.
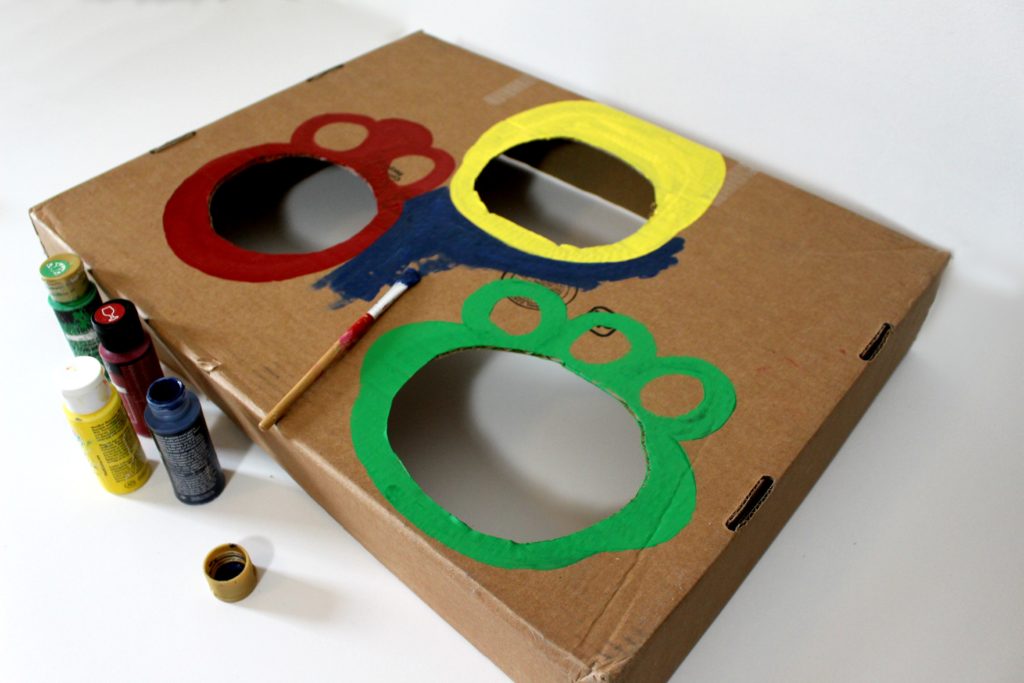
Step 3. Use the red, yellow and green paints to paint the monster faces on the box around the mouths. Let this paint dry.

Step 4. Use the blue paint to fill in the area around the monsters. And cover the rest of the box. Let this dry.
Step 5. Use the white paint to create the eyeballs on the monsters and let this dry.
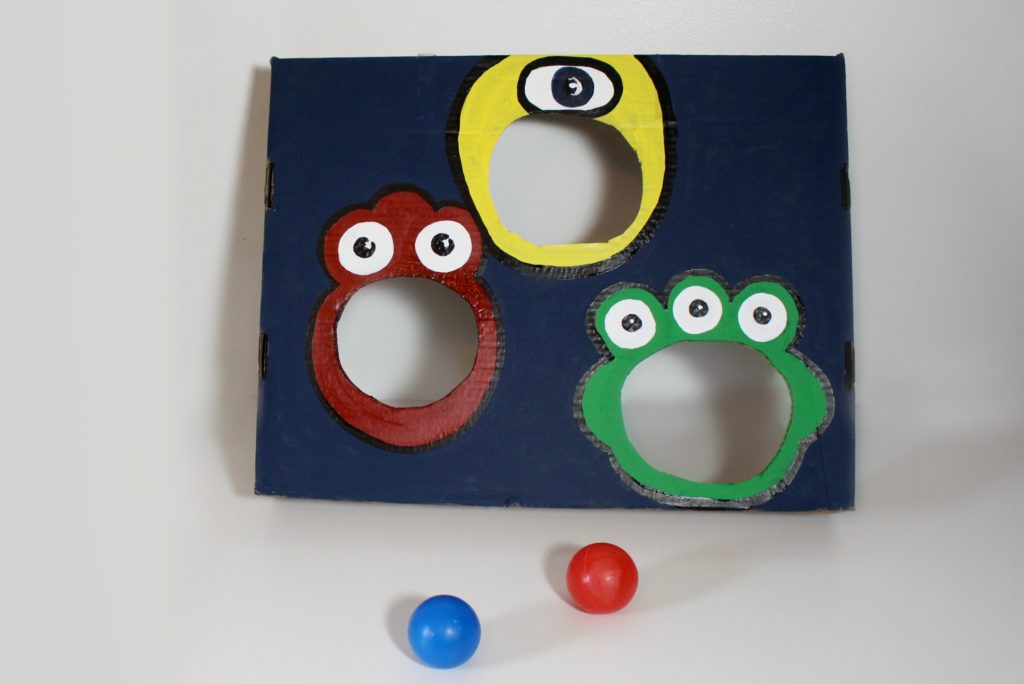
Step 6. Use the black paint to finish the monster eyes and black paint to outline the monsters. Let this dry.
Step 7. You can use a weight such as bricks or hand weights to hold the box down on the ground or you can lean it up against something.
Step 8. Let the kids play toss and try to get the balls in the monster’s mouths. Whoever feeds the monsters the most balls wins the game!
PIN THIS FOR LATER. . .
![]()